Hope to have another post soon!


 **note: there is still time to enter in the giveaway for new Seaside Home book! Comment on this post! I will announce a winner on the 15th :)
 Sweet and simple, I put together a little tutorial - here is a link to the pdf.
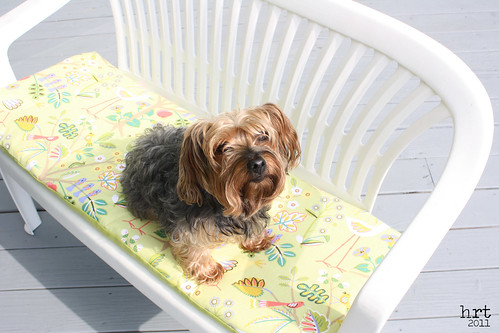 This post goes out to those home dec/improvement projects that [sadly] do not warrant a whole blog post all to themselves. Above is the last of my outdoor-furniture-recovering-extravaganza. Again using my crazy low priced JoAnn's fabric.
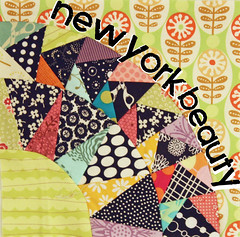
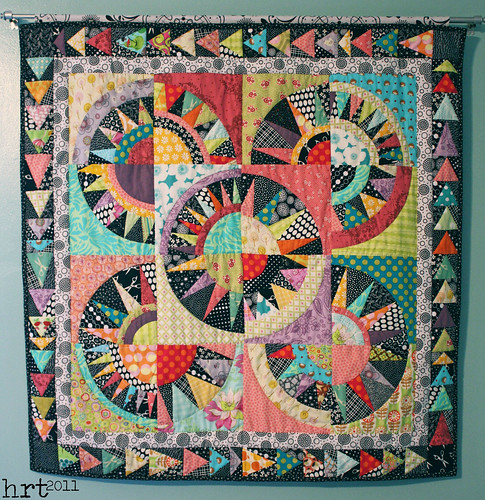 My New York Beauty is finally quilted, bound, and hanging in its rightful place in our dining room. I still love the 'I-Spy' of it all - seems like a treasure hunt every time I walk by it! I have the pattern and the fabric stack for a pickle dish quilt, but it has to get in line behind my pile of UFOs. Also not quite ready for another intensive paper piecing project. [You can read all about my adventures with NYB blocks here]
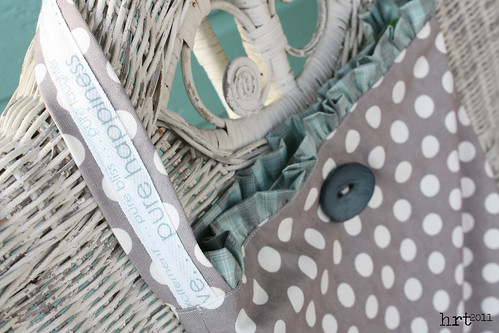
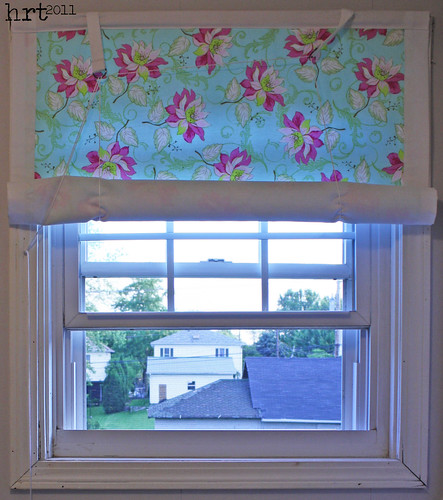 New curtains for the bathroom! The former curtains were faded and on their last leg, so it was definitely time for a change.
 This is the first time I have made a shade that operated like this one - fairly simple, but looks and works well. I used the same book that I did to make my roman shades in this post.
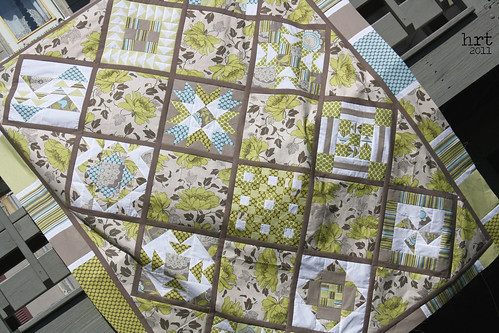 As I shared earlier - I do indeed have another quilt neatly folded and ready for the quilting to begin. [alas, I still wish I had the patience or the machine or the skill to quilt a full size...] The Bloggers' Block-A-Palooza quilt is finished!
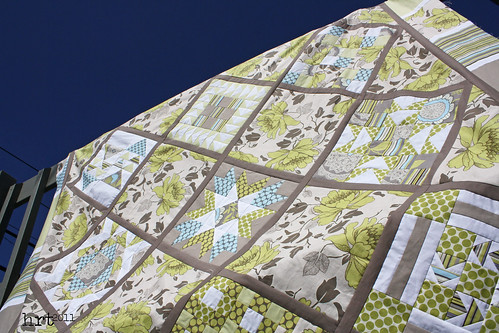 This is attempt numero 2 at on-point piecing. The basic on-point construction in my Diving for Diamonds quilt was simple enough. Upping the skill level for this quilt I attempted to add sashing. Which didn't quite turn out as I had planned [i.e. don't look too close at some of the point/intersections]. For the life of me I couldn't figure out what had to be sewn to what and in which order for those to work out - so if anyone has suggestions or a tutorial they can direct me to, I would love the help!
 The leftover blocks I made are destined for pillows. This was a great qal - always something new to look forward to on Mondays and Thursdays! I was a little hesitant to make the cut into my Lotus stash, but I think it definitely paid off :) Well, a little dog is lovingly staring up at me asking for a food bowl refill - Have a great Wednesday!
 I sew and blog as a hobby... you know something that you do voluntarily, something with limited outside pressure or force... So sometimes, I get behind on my blogging and I have to force myself to be okay with that. No one will die, my income will not be affected - in short, no major tragedies are happening because I disappear off of the interweb for a time. And though I have not been posting, I have been lurking around some inspirational blogs and continuing to craft.
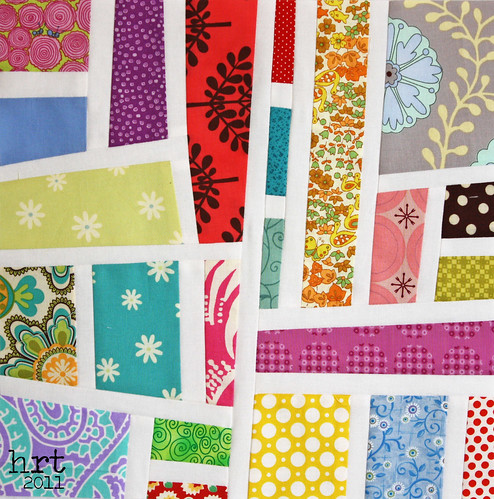
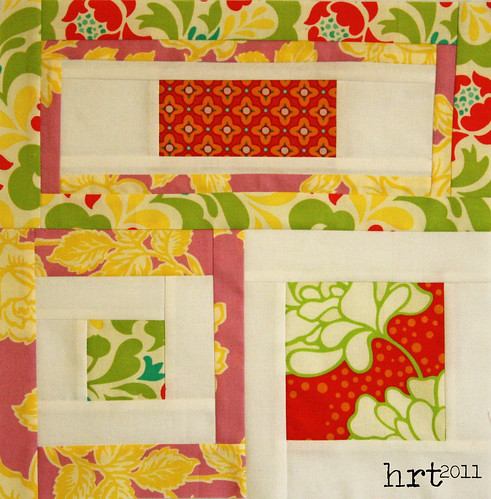 In February we made improv style rectangular and square blocks for Rachel.
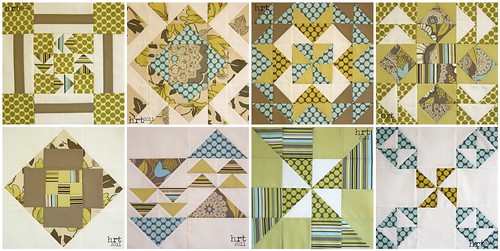 I also wanted to share with you the final installment of blocks for the Blogger's Block-A-Palooza quilt along. Are you impressed that I had all of my blocks completed in a timely manner? [even before finishing instructions were posted!] In fact - these blocks are now in a completed quilt top that I finished two Sundays ago! [if you want to see these blocks a litle closer, click on the image to head on over to my flickr]I also have another top completed using an Odyssea charm pack and am putting the binding on a baby quilt made with a Lovely charm pack. So, no sewing slacker here [just a posting slacker :]
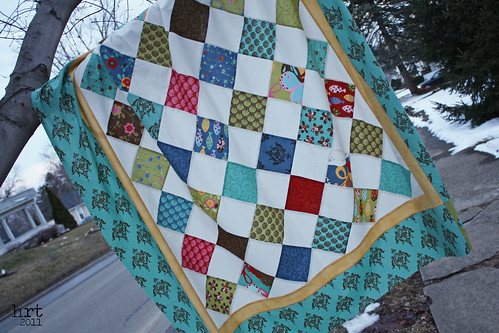 Many moons ago, in a place not so far away was a land of dolphins, and seals, and penguins, and killer whales. Amongst the plethora of now-defunct businesses in Ohio lies Sea World Aurora. One of my fondest childhood memories is an elementary field trip to Sea World that my mom and grandma came along to chaperon. From that trip I have 1) memories and 2) a Shamu made from really stinky plastic. One of the attractions I remember was pearl diving - divers are in a giant clear tank and you watch them swim to the bottom and emerge with a pearl. And that, my friends, was the catalyst in the naming process for my latest quilt finish: diving for diamonds.
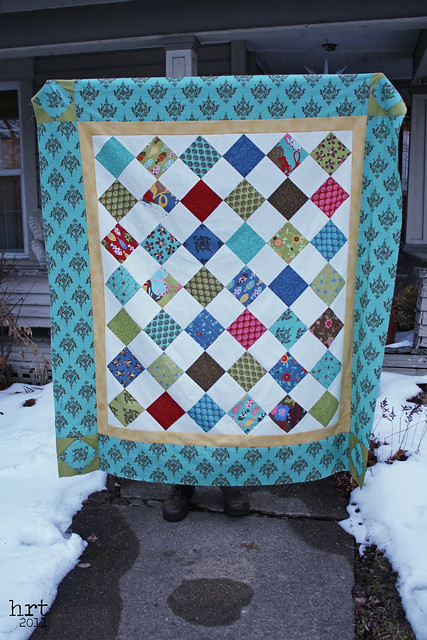 This is my first 'on-point' quilt. It was really not all that complicated, I just needed to do some math and figuring before I started out - and thank goodness for a design wall to help me lay it all out before sewing! On-point just helps a quilt to shine, next time you are over on flickr take a look at how many quilts are posed in close-up pictures to look as though they are on point. Point envy, perhaps :)
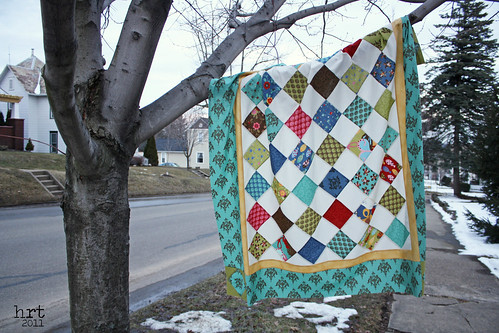 A confession: I accidentally bought backing fabric twice, so the quilt got a border and a considerable boost in size. I am CONSIDERING quilting this myself [eek, I'm scared!] A few more practices with my darning foot, and I think I might be ready! My quilting templates are already drawn up for the borders :)
 Want to know a little more about what happened to Sea World Ohio? There are details here and here.
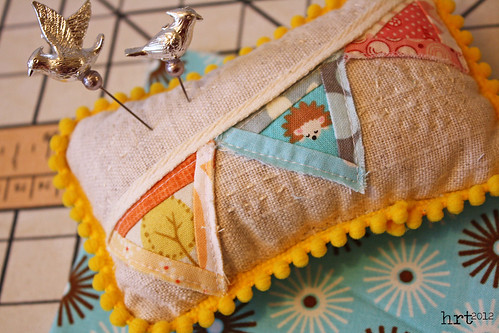
 Though quilting hasn't even started, these pillows are ready to match the hemispheres quilt that I finished a few months ago. The plan is to use this quilt to freshen up the living room, and the pillows will be the finishing touch. It is always a struggle to figure out what to do with all of the leftover bits and bobs from a project - scraps, extra blocks, additional yardage. There is always a part of me that wants to keep all of these together, I'm not sure why, suppose it is 'just in case' I need to make something else to match. This is why I especially like to use as many of those extras up, and these pillows did just that.
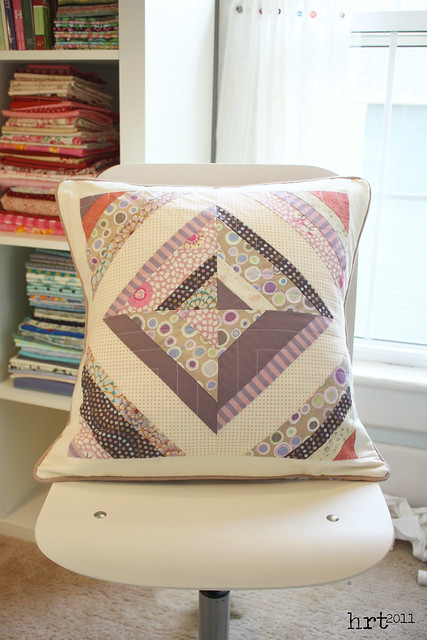
 My first crack at string blocks was last year in the Block Swap 2. The technique is super simple using a paper pieced method. I enjoyed playing around with machine quilting on these blocks. It's so neat how you get unintended patterns when you quilt - in my head I only saw the quarter square corners and not the overall cross pattern that appears.
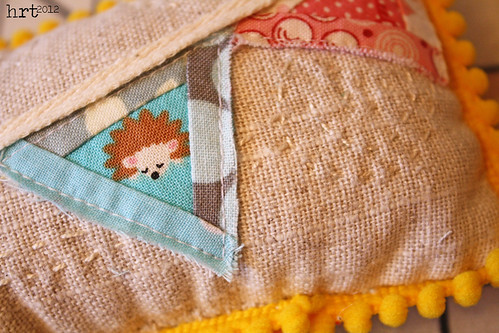
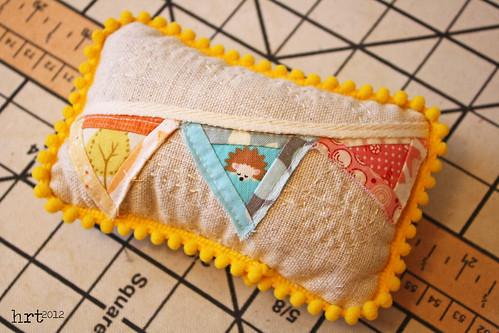
 Leftover circles made this pillow a snap to put together. This is my first attempt with a darning foot - I am not sure that it is perfection, but it really wasn't as scary as I thought! Practice will make perfect I'm sure. I actually made two of these, the other one is up in my etsy shop if you love it too ;)
 The backing finishes off the remaining stash of my fave fabric from the hemisphere quilt. Sad to see it go, but glad I was able to use it in a larger piece. The piping [and other half of the backing] is a cotton linen that I had and happened to coordinate PERFECTLY! I have enough of this fabric to bind my quilt with - yay for using what I have!
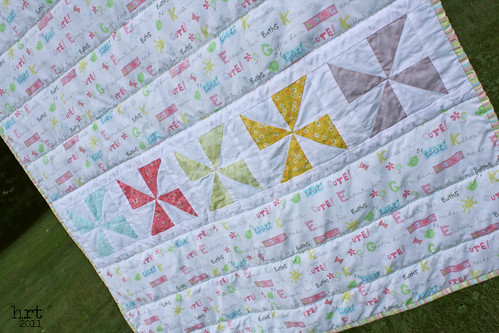 I think now might be a good time to share baby Liv's quilt with all of you. I took the pictures while there was still green grass to be seen. At the moment we have brownish/green lawns, but the weatherman has promised to take that away from us and cover them up with 4"-8" of snow! This is a particularly depressing time to have another snowmaggedon... it was 60 degrees this month! 6-0, you know spring time, grab your sandals and leave your jacket at home weather. So in the meantime, let's look at little Liv's quilt [and the green grass]!
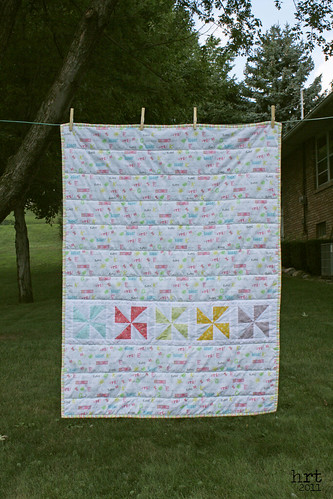 This is a fun little quilt that was inspired by Windham's Simply Baby fabric that I bought at my lqs. I love prints with writing and text! I made some simple color blocked pinwheels and sashed them in white to show them off.
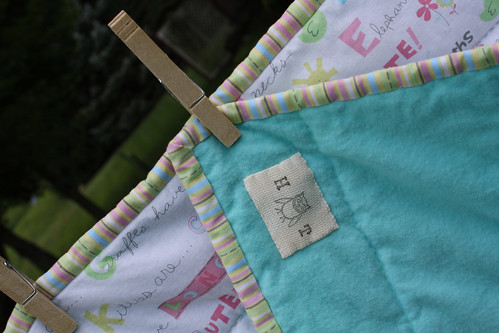 The backing is a delightful teal flannel [really cozy and a great color]. I used a light weight poly batting and hand quilted it with long stitches and perle cotton in yellow, green, and pink. It is VERY simply quilted, but I like the minimalism + I am not a quilter, so this was manageable for me.
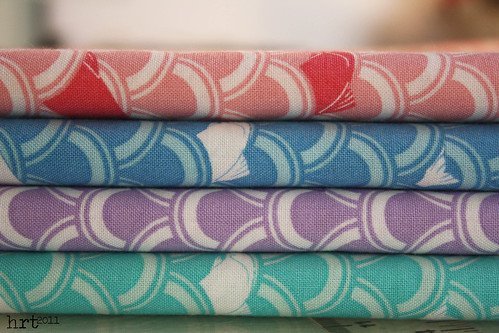 I can tell it's February... the longer winter lasts, the colder it gets, the more snow and ice that pile up, the more I dream about the sun, the ocean, the beach... With that in mind I want to share my latest fabric purchase. A lucky find of some Tula Pink Full Moon Forest!!
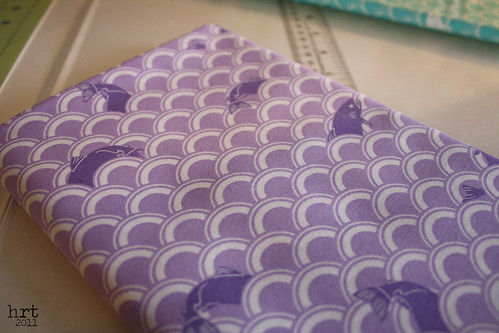 I can't get enough of those jumping fishies and the gorgeous bright [sunny] colors! I am just dreaming and doodling what they could become.
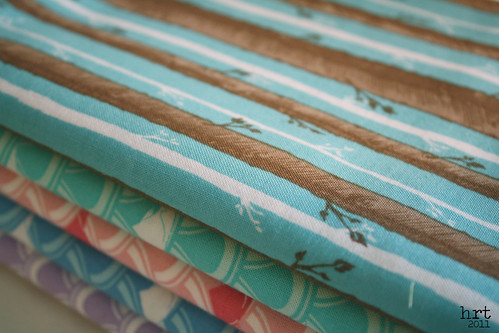 Do you need a little sunshine too? I put some fat quarters in my etsy shop :)
 How very international of me to have a blog post title in French :D I am so excited to FINALLY be able to share my finished wonky log cabin! All quilted up by the wonderful ladies in the quilting group at UCC. I love the finished look - clean, modern, fun, bright.
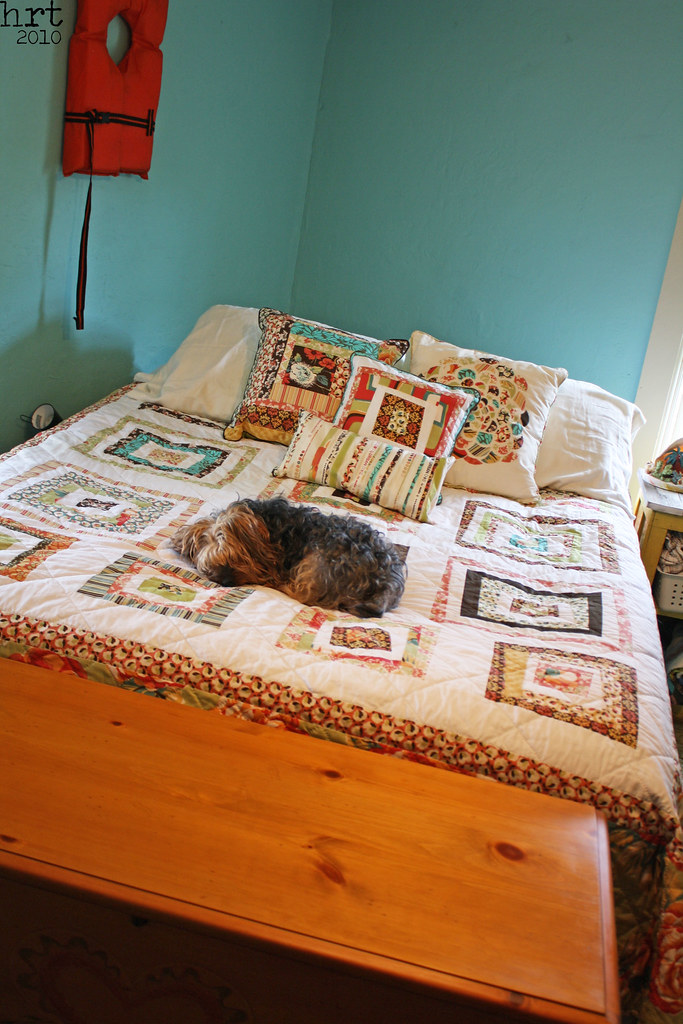
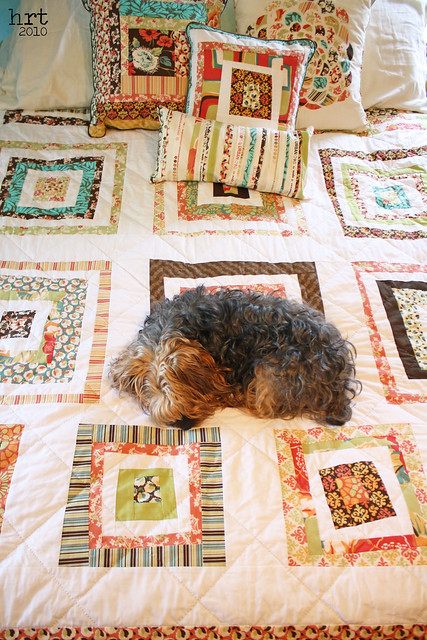
 The quilting is simple and clean - a diagonal grid. The grid on the center is slightly larger than the one used on the border. A quick job of marking with a quilting ruler!
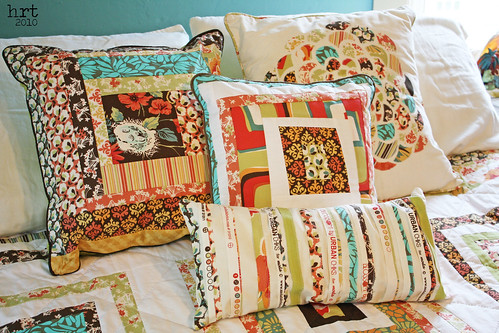 And no bed is complete without a mountain of pillows! These were some of the first pillows I made [and clearly I liked them as I haven't been able to stop making pillows since!]
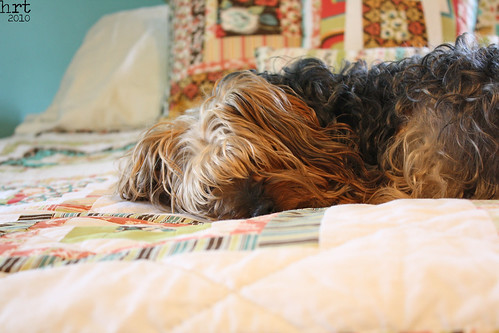 Best of all, the warm and white batting is so cozy; and that's important as the nights get colder! Sophie definitely approves :D I have to add that, even though this photo looks posed - there is no other photo I could have taken. I tried to take a pic without her in it, but she is a persistent little bug and kept jumping on the bed!
 It's official - I completed another unfinished object [ufo]! Last year I set off on a mission, a brave mission to root through my box of half-finished projects and work on those before starting any new projects.
 Happily this lasted for a while until I remembered why I had thrown these projects to the side originally - no longer my taste, ran out of fabric, too tedious, or just plain bored... Perhaps, [and these are the words of a fabric/craft addict for sure] it isn't my fault - it is the blogs, magazines, fabric designers, etc. who flood my world with way too many exciting and inticing projects that I just CAN'T pass up! I press on, though, using the box of neglected and rejected craftiness as my 'go to projects' whenever I need to grab a quick take along craft. But today, today is a good day - this post is about a finish after all :D
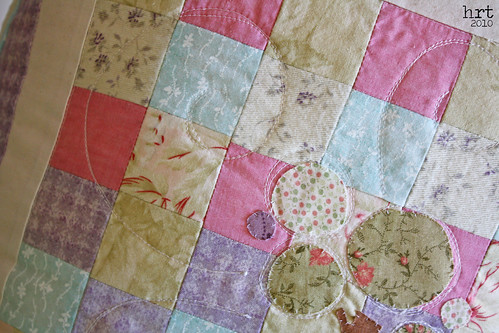 Judging by my fabric choices, I put the checkerboards and appliques together about 4 years ago. I pulled them from the ufo abyss, added borders, quilting, backing, and piping... et voila, lovely little pillows [I actually made 2 of them, so yes pillowS].
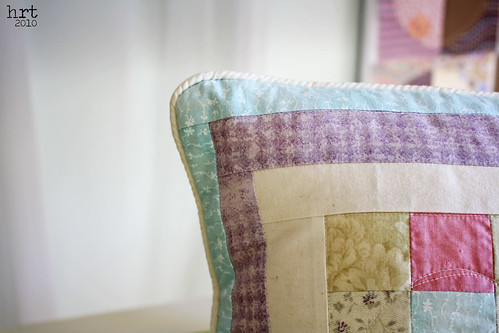 They turned out well, and I am surprised to see so many elements that are me now as a crafter: little checkerboard, somewhat bright colors, modern tree design. My house is beginning to overflow with pillows, so this little number is in my etsy. [I think my new motto is: a chicken in every pot and a pillow on every chair. Thanks HH :D]
 If you've just tuned in, I have been laying out a few ground rules for making fab pillows and cushions in the Pillow Basics Series. Today will be the final installment [Hurrah!]. I typically finish my pillows with either piping or a traditional quilt binding.
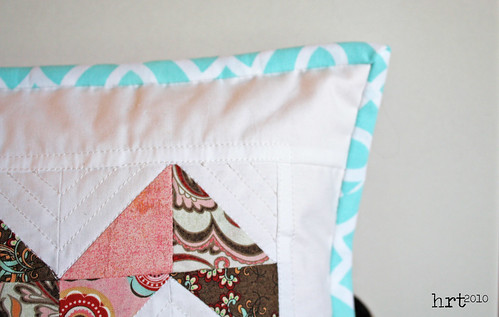 If you are binding your pillow...
 If you want to use piping...
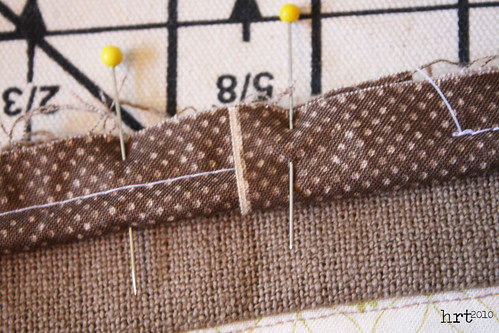
 Fold the strip in half around the cording, pin.
 I have an ab-fab foot that is made for sewing piping - it has a groove in the center that holds the cording in place. You can make piping this way with a zipper foot as well. I like to set the needle position to as far right as it will go and the stitch length as long as it will go. Begin stitching 1" from the 'start end' [rember when we talked about the selvage in lesson two?]; stitch.
 Pin the cording in place along the edge of the top of the pillow. Ease the corners by snipping into the piping. Tuck the end under the 'start end'
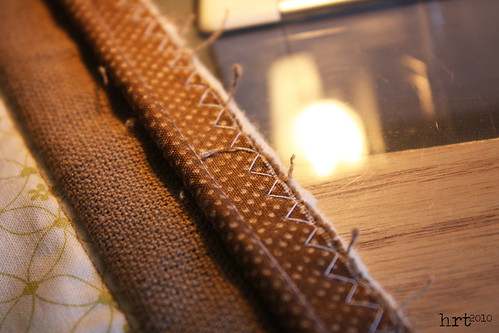 Using a wide zig-zag stitch [with the regular sewing foot], sew along the edge of the piping to secure it into place.
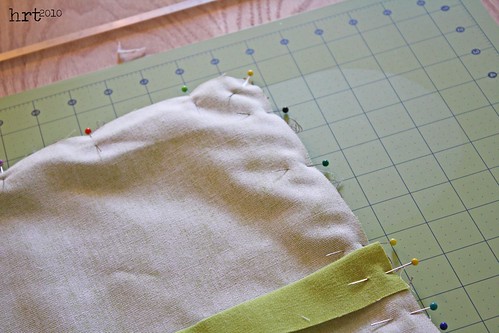 Layer the pillow back over the pillow front with right sides together, pin. With the zipper or cording foot attached, move the needle position all the way to the right and then move it back to the left one click. [This will ensure that none of those basting stitches show on your finished pillow] Stitch tightly along the edge of the piping. If you are using a thick fabric for your piping, you may want to switch to a denim needle in this step.
 Trim the corners, rounding them to match the piping. Turn. VOILA! You're pillow is finished and ready to spice up your sofa!
 This wonky star pillow is up for a new home in my shop!