skip to main |
skip to sidebar
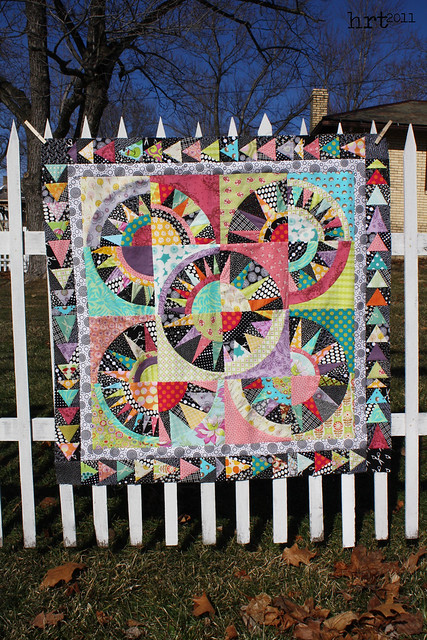
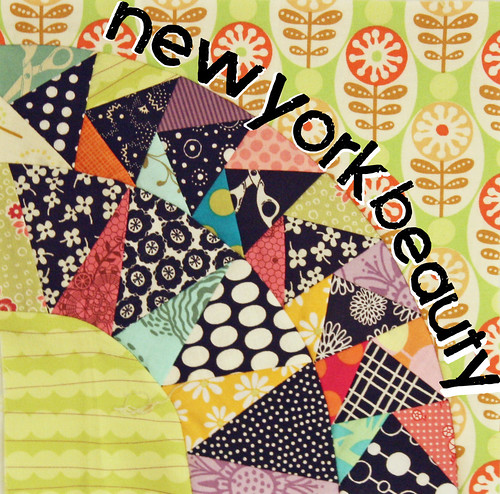 Are you up for the challenge? Ready to put your paper piecing hat on? Let's take on some New York Beauty blocks! In this post I will share some links and tips to get you started [and announce the fabric winner!] Perhaps the most important tip I can share is: just go for it! Don't be intimidated by paper piecing or curved piecing [like animals, I think they can smell fear :] It may take a little practice, but I am confidant that if I can make these blocks, so can you.
 First the patterns. There are books and free piecing patterns all over the place. The patterns that I used came from Ulas Quiltpage. [a note: some of them I slightly adapted/changed] These are great and fairly simple designs. If you check the pic above, you can see that I used a variety of patterns. If you are looking for something a little more complex, check out these patterns over - they are not necessarily more difficult, but many have multiple paper pieced sections. [the block at the top of this post is from those patterns.Component 1: Paper PiecingOnce you understand the basics of how to paper piece - the sky is the limit. I recommend heading over to the Quilter's Cache. They offer great step by step instructions and diagrams to help you get the hang of it.The biggest issue that I have with paper piecing is choosing the right size fabric. My recommendation: go big. Yes, it is a little wasteful, but choosing a bigger scrap and trimming the excess makes the process go much smoother. As you make your blocks and gain experience, you will become a better judge of what size piece you need.Another tip - when you trim the paper pieced section, check your template/pattern and make sure that it has a 1/4" seam allowance on the outer edge of the section. Otherwise, when you sew the block together, all of your precious little points will be cut off! And that is part of the beauty of paper piecing - it is so much easier to get all those perfect little points using this method than traditional piecing.
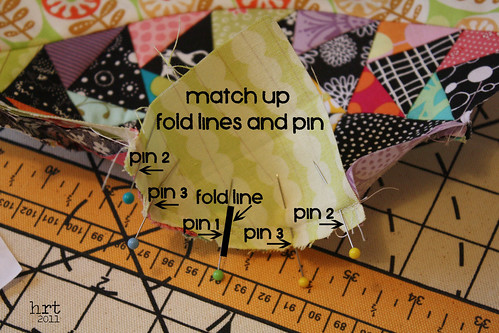
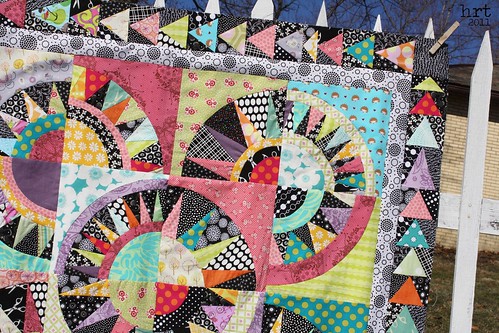
Component 2: Curved PiecingAfter paper piecing, the solid sections remain. To make sure that the sections line up perfectly, I fold each of the two sections I am going to sew together in half, making a crease. Then I match up the creases [with the sections right sides together] and pin. Then I pin the two ends, then pin toward the center. Once the two sections are sewn together, notch along the seam allowance. Then press the seam allowance toward the solid section.I would love to see any nyb blocks that you whip up! And now for the winner [drumrooolllll, please]: Cathy Tomm! I sent you an email! Just a note: Cathy was not my first random winner, the first person was a no-reply blogger and left me no way to contact them. Thanks everyone who played along - I enjoyed reading and responding to everyone's lovely comments :)
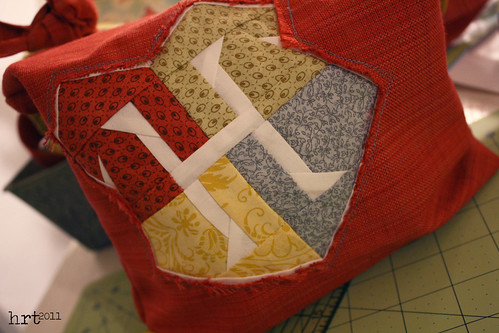
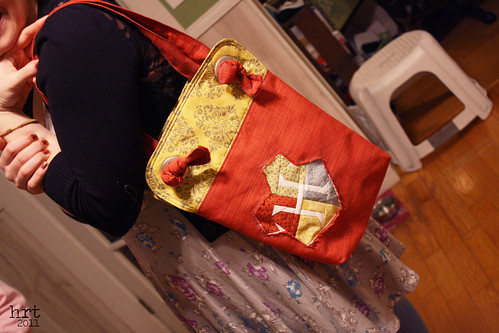
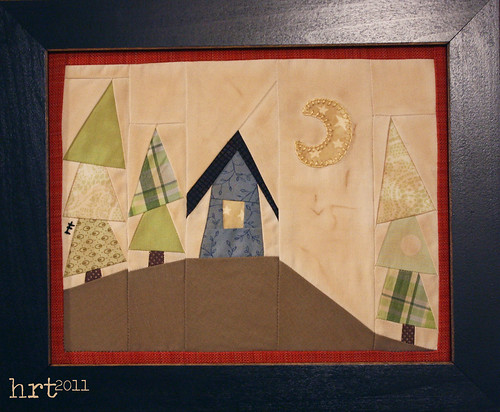
 I'm still around - even if my online persona has been mia for quite a while now! Again real life has taken me away from my computer. Between the holidays, pre-classwork, a masters level course intensive, and being stuck in Georgia any spare moment has been filled. Rest assured, my crafting addiction has not taken a holiday. I have projects to complete, pictures to upload and edit, and lots to post about and share in the coming days. Above is the final block for the Block Swap I was a part of in 2010. I joined in on the Nittany Block Party and my first fabrics have arrived - can't wait to get back into the swing of things!
How do you keep up with posting when life gets crazy?

 This summer quite a few new additions came to our town. [which meant some baby showers were on my schedule] As I have mentioned before, I really enjoy making baby quilts - you get to try out new techniques, you aren't committed to a giant project, + I get to give a personal, handmade gift! I hope that these little quilts will see alot of snuggle time :)
 This is Zak. [really wish I could take credit for the adorable cap!]
 I was completely inspired by this retro-esque backing fabric! It screamed to be made into something for a little cowboy.
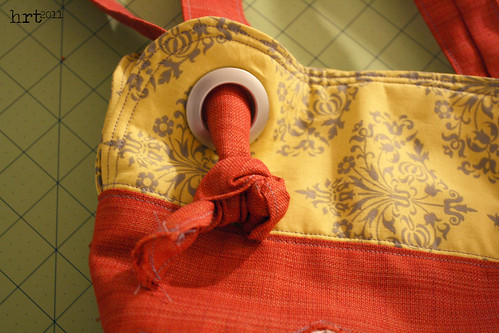
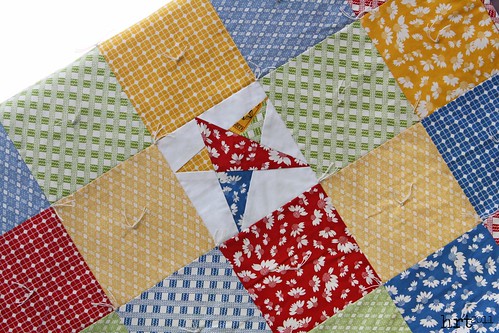 The stars are paper-pieced and [I think] go along with the western theme. The patchwork was a great way to use my humble stash of American Jane 4-in-1 prints. Awesome backing fabric + stars +knotting = a great vintage vibe!
 This is Emili. [this is a pre-delivery pic - but take my word for it, Little Miss Calli is ADORABLE!]
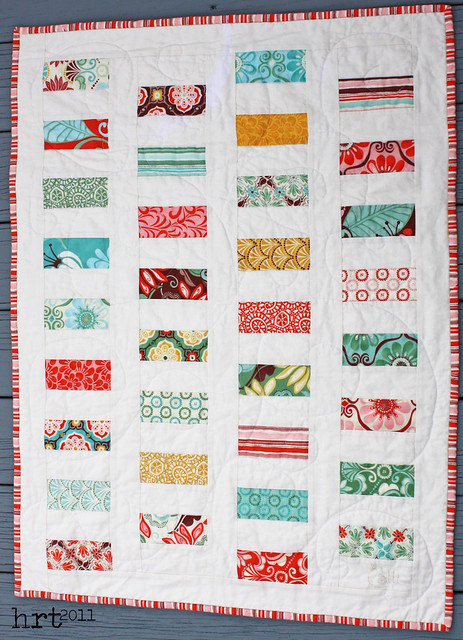 This is their bedding - I tried to stay in a similar colorway and this line has some plums in it. I've always been a fan of coin quilts and with a candy bar of Fandango in hand, I went to work. It went together fairly quickly, more than a few layout revisions on the design wall.
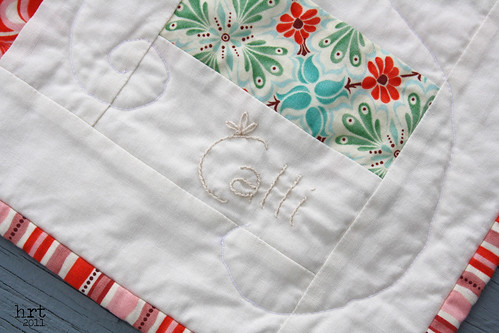 To personalize it a little more, I embroidered her name. This is my first real attempt at machine quilting with a darning foot. Not terrible this being one of the few things I have quilted, I was fairly happy with myself. I hope both of these quilts will be part of many fond memories for these first time moms :)