skip to main |
skip to sidebar
 My name is Heidi and I love vintage kitsch. There is my confession. I enjoy my small, but lovingly currated, collection of vintage pyrex. When we cleared out my grandparent's farm before auction, I picked the items no one else wanted {furniture with "character", bits of old fabric, christmas ornaments in disrepair, rusty bits and bobs}. When I saw the Indygo Junction patterns for these little circus performers, I knew my shelves needed them!
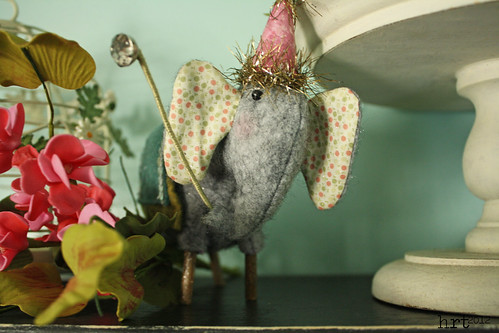 The elephant came first... I think he is adorable with his little stick legs. That sparkly bauble is a button salvaged from my grandma's house.
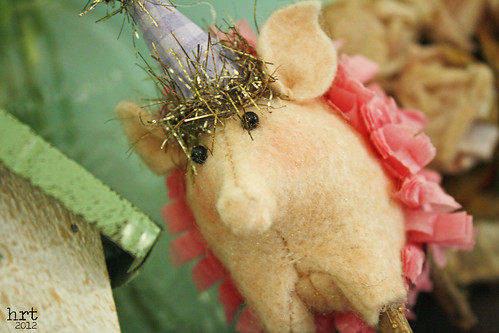
 This little piggy went to the circus. The elephant and piggy are similar in construction. I really enjoy the decorating and detail work on them - choosing that perfect trim or paper for their hats.
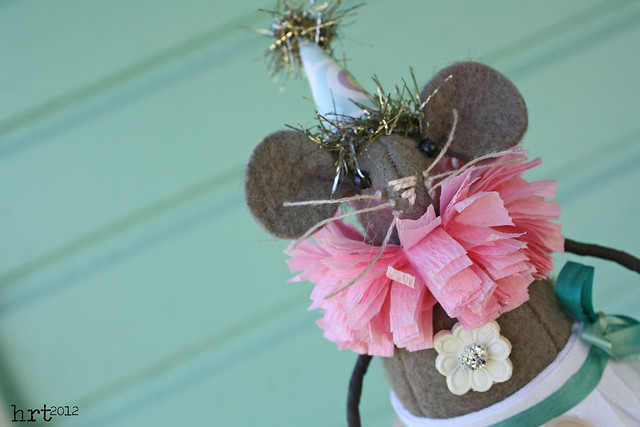 Mouse in the house. She is just adorable. What's cropped out in this picture is a little pink balloon made out of paperclay. Paperclay is a wonderful air-dry clay that is easy to work with and acrylic paint friendly. If anyone has some great suggestions on how to store paperclay long term, I would love to hear them. I don't use it often enough and it seems I am always throwing some dried-out bits away no matter how many ziploc bags I use.
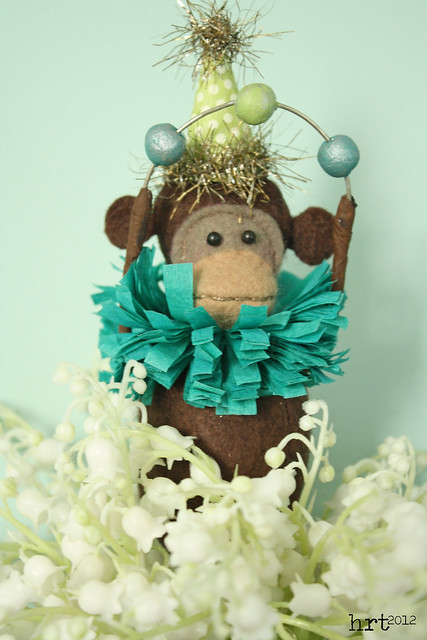 Monkey see monkey do. I love this little juggler - again with the help of paperclay! In case you wondered what the rest of the monkey {& mouse} look like, here is a full photo. The legs are pipecleaners wrapped with floral tape and then painted - a new technique for me!
 This post is two-fold: I wanted to show off my circus folks, but also share with you the Finish-A-Long happening over at Quilter in the Gap. I have long talked about my box of unfinished objects {UFOs}. Each quarter you share what you plan to finish, link up to her site, then add links to your finished projects at the end of 3 months. I'm excited to get to work + there are great prizes at the end of each round! Worst case scenario, I get some work done! So my first hope-to-finish is the last 2 circus animals that I want to make - a lion and a horse {possibly a unicorn}. I have all of the supplies out to make them - even little legs and arms all painted up for Mr. Lion. But these little guys are pretty time consuming with all their details.
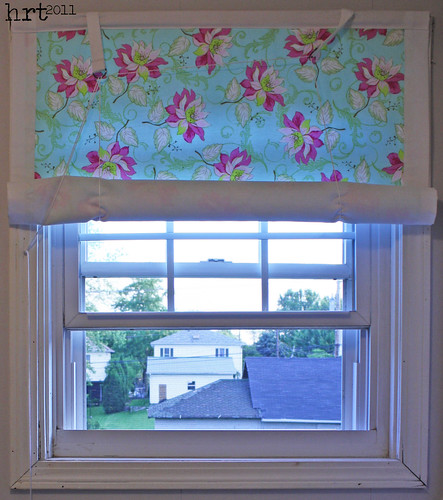
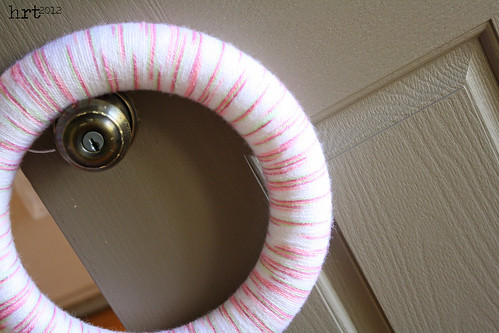 Next up is this wreath. I had grand plans to get it finished in February for valentine's day. I want to make a variety of felt flowers just like I did for the Christmas wreath I made.
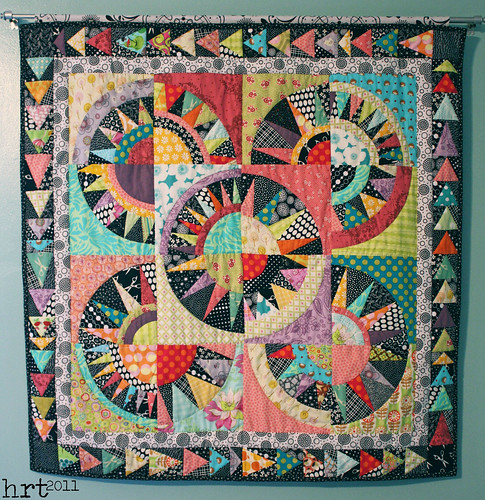
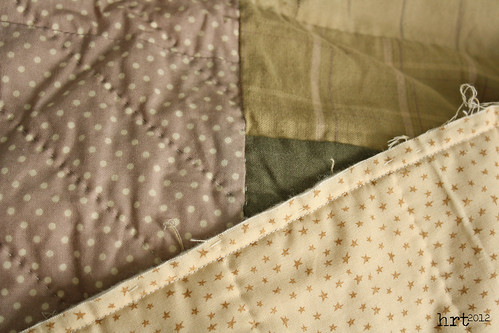 My last hope-to-finish is the binding on this queen sized quilt. I don't want to reveal too much until I am completely finished.I hope you are enjoying Spring - it always seems like the best time of year for a fresh start!
Here I am - blogging; astonishing really... Between two full time jobs, a part time job, technical issues, and a variety of other things [known as life] I have sadly neglected my blog, as well as my online persona. So let's give this a try - really, I have things to blog about, heck, I even have pictures edited of things to blog about :D Let's ease back into this, a few pictures, brief descriptions, nothing fancy...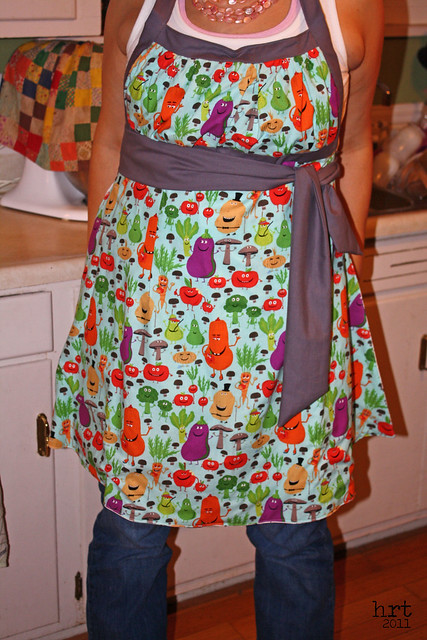 I like aprons. I like to wear them. I like to make them. I like to gift them. The folks in my FCS classroom [I am long term subbing currently] think aprons are a strange, foreign concept reserved for black and white pictures of grannies. I however, know better - they are clothes savers and even fashion statements in their own right. Above is the one I made [for myself] that I wear when we cook in class. I love those crazy veggies! The Emmeline Apron is easy, fabulous, and reversible! This one has a Sweetwater floral print on the back.
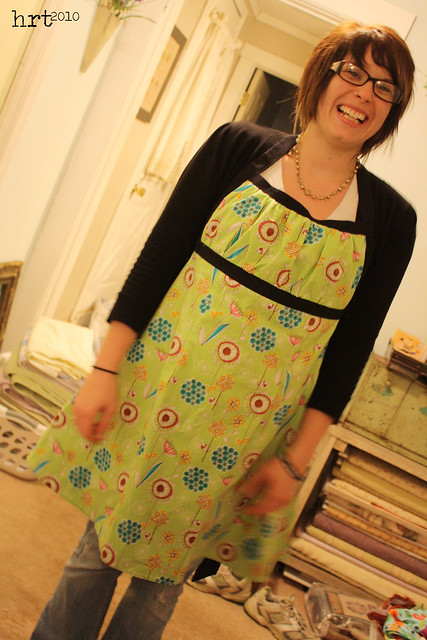 Yes, it is another Emmeline Apron [I actually made 3]. This is my best pal Jordan - she works at a coffee shop and needed an apron [though she decided she didn't want to bleach it up, so she doesn't actually wear it to work...]
 Nope, I don't know what pattern I used to make this apron for my sister's housewarming gift. I think it's super cute with a vintage vibe.Well, that wasn't so difficult - hope to be back online Friday with some more things to share! Thanks for sticking with me :D
 I have a crush on vintage advertising and labels. The wonderful artwork, the neat fonts, the retro colors - the sense of nostalgia. When we cleared out my grandparent's home for auction a few years ago there was no shortage of ephemera. My great-grandparents built the house, and like many during the depression years, they saved everything!
 One of the carry overs of food packaging that has lasted to this day, is the inclusion of recipes. [usually the recipe calls for another product that the manufacturer makes] Some of the recipes I found were much more appetizing than others, but the artwork was lovely. I am a big fan of the old school Betty Crocker cookbooks with the 'sketchy' looking art, so I was super excited when I found these 'free with purchase' recipes.
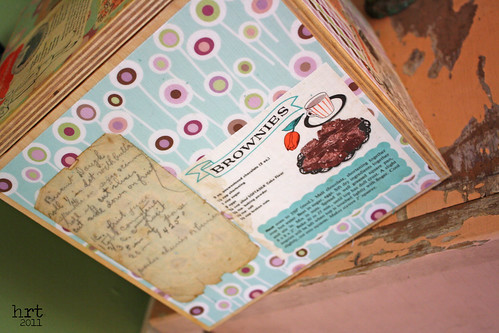 I already had the wooden box, it just needed a handle for the top. With trusty modge podge at my side, I went to work. Some scrapbook paper, vintage images, and even a few of my grandma's handwritten recipes later, I had a great place to store my little tin recipe boxes and all of the misc. recipes I have printed off from websites that were previously hanging out in my cupboard.
 The result is a little kitsch - just the way I like it. I hoping that it will encourage me to try out more new recipes and to cook at home more often [too bad I can't reach into the box and pull time out :]
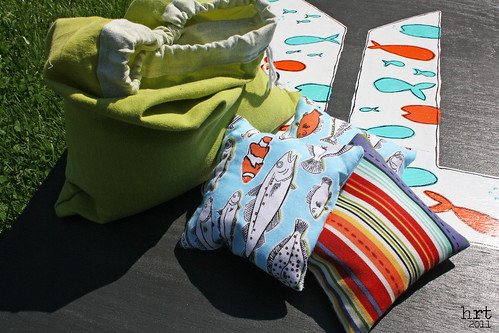
 Oh the agony of sick days... If I were to be forced to take nearly a week off of life, I would have preferred to be able to function! I mean how much fun is a week off where you can't manage to even sew?! [I think missing my sewing machine may even have made me sicker] But I am back in action [mostly]. I wanted to show you the latest addition to my pillow obsession. Meet the crabby pillow!
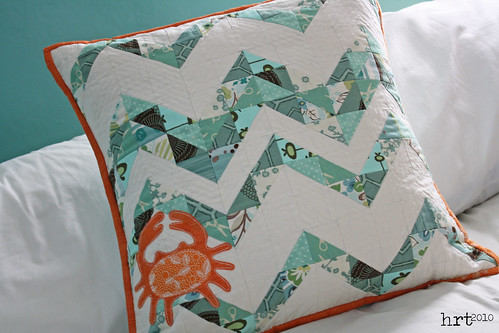 Inspired by the Caribbean. We have many grand adventures while cruising, some more comical than others. At one of the beaches, they had these collapsible 'tents' for shade. So we picked one up and when we did the tiniest, and daintiest of crabs wandered out. Surely, as a lover of nature and crabs, I lept for joy and scooched in for a closer look.... umm no, I squealed fearing certain death if it came near.
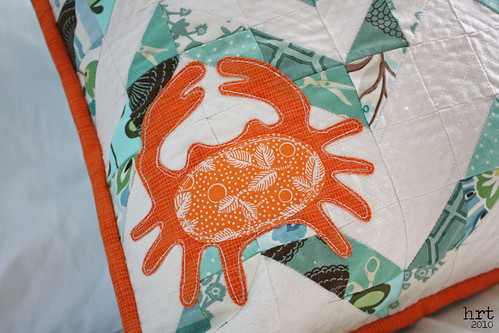
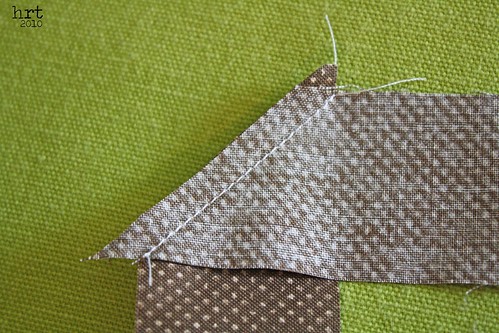
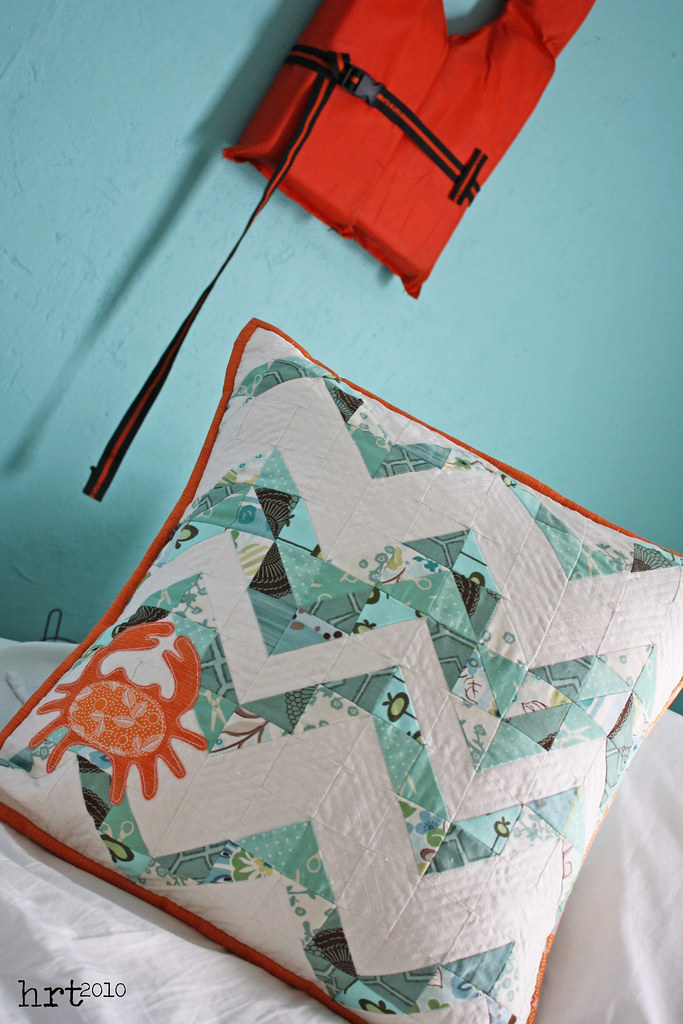 This crabby pillow is much more cuddly. I am very proud of my original design. He was a time consuming little number. I made about a billion half square triangles to make up the zig-zag wave. It was lots of fun to use up a bunch of scraps: Summer in the City, Amy Butler, Flights of Fancy, and MoMo coupled with kona in bone. Then the million lines of zig-zag quilting :)
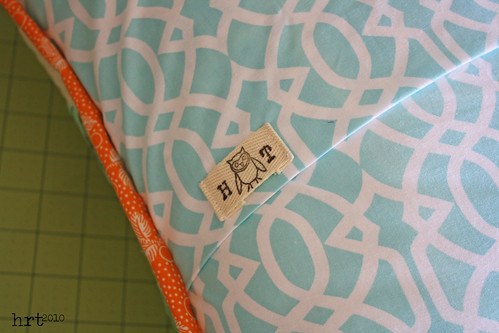 I was disappointed to have to miss out on this round of the Pillow Talk Swap... Just too many other life commitments this time of year. But if my crabby pillow has peaked your interest, and you are looking for more pillows - check out the flickr group!
If you have been following along for a little while, you know that I have been overcome by pillow fever. They are just such quick projects for the wow factor that they provide. Plus they have given me the chance to practice my machine quilting [still nowhere near ready to take on a full size quilt]. I joined the Pillow Talk Swap in round 3, which is currently wrapping up. [WHAT?! you haven't checked out the beauties in that swap? You need to click on over there right now... well finish readin' this post first maybe :]
 I didn't realize how much of a challenge this would be. The bar for quality and creativity in this swap is set very, very high. I went through no less than three pillows and zillions of design ideas, before I settled on this pillow. This isn't exactly like any of the pillows in my partners inspiration mosaic, but all of her/his faves seemed geometric and I think this fits the bill.
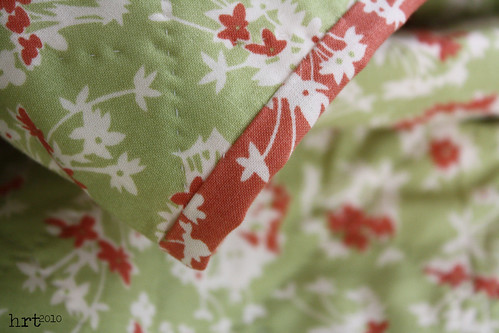
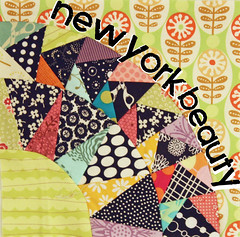
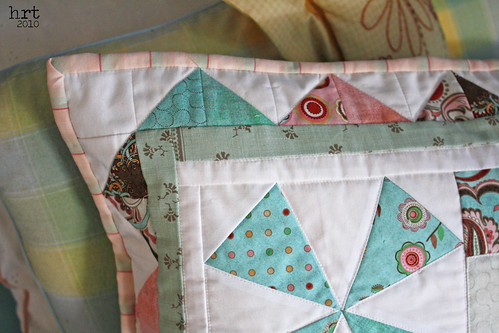 This block is a combination of different patterns: kaleidoscope [using my new ruler!], coin, and bunches of half square triangles. Fabric used is Blush by Basic Grey for Moda and a white Bella Solid - and a tiny bit of French General. The binding fabric is something from my stash, so I'm not exactly sure of the designer or line.Hope s/he likes it - I'm super nervous!
 We celebrated our first anniversary yesterday - it is hard to believe 365 days and all four seasons have gone by already! Many have asked what has been most difficult, what we have learned about one another, and what annoying habits have been discovered. I have no real answer for these questions, we dated for a very long time and knew each other pretty well before we got married. Certainly we grew together over the past year, but there have been no major hiccups or aha moments - it has been a wonderful year for us :]
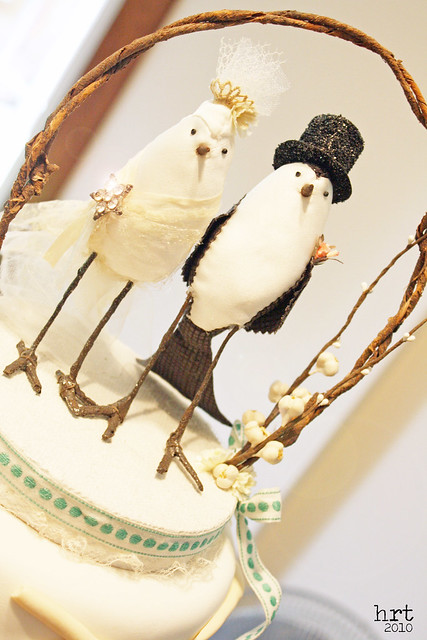
 I wanted to share some wedding cake pictures. I made the topper myself, and it turned out to be the jewel of the wedding decorations, certainly my favorite thing. Recently, I finally threw away the five or so 'test birds' that were in various stages of completion. For being only inches tall, they certainly took quite a bit of work!
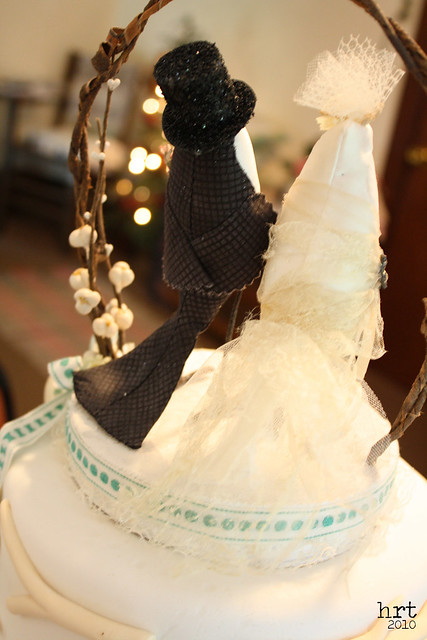 I used several pieces of vintage lace and trim that came from my grandparents attic. Nearly everything is made from scratch: the top hat from cardstock and glitter, the birds are entirely hand sewn, the legs are wire wrapped in strips of papier mache and then painted, the beaks are a sharpened dowels that have been painted... lots of work, but great results :]
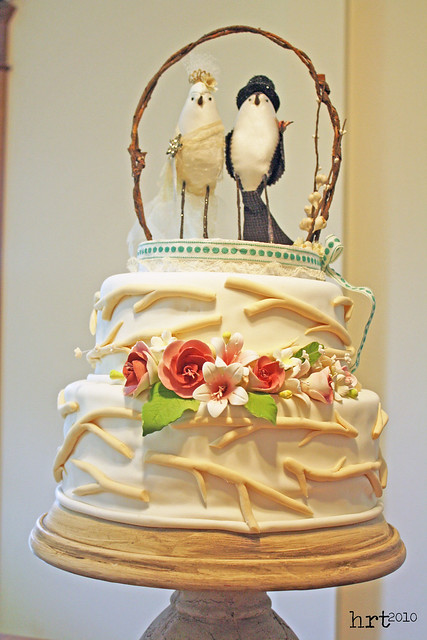
 The cake is vanilla with layers of raspberry cream, made by Camelot Cakes. She is a wonderful baker and decorator. Aren't the flowers lovely? The fondent 'branches' are great touches.
 On Sunday we unwrapped our cake topper. Layers and layers of aluminum foil and saran wrap inside and outside of a Tupperware cake saver. I'm happy to report that it was just as delicious as June 20, 2009 :]Still to come this week:* Pillow Basics #2* Pillow Talk Swap Wrap-Up


