 Feeling in a 'bakey' mood, I decided to test out my latest kitchen gadget: a popover pan! Normally I wouldn't have purchased such a one-trick-pony, but for $1 at the Hospice garage sale, I had to give it a try.
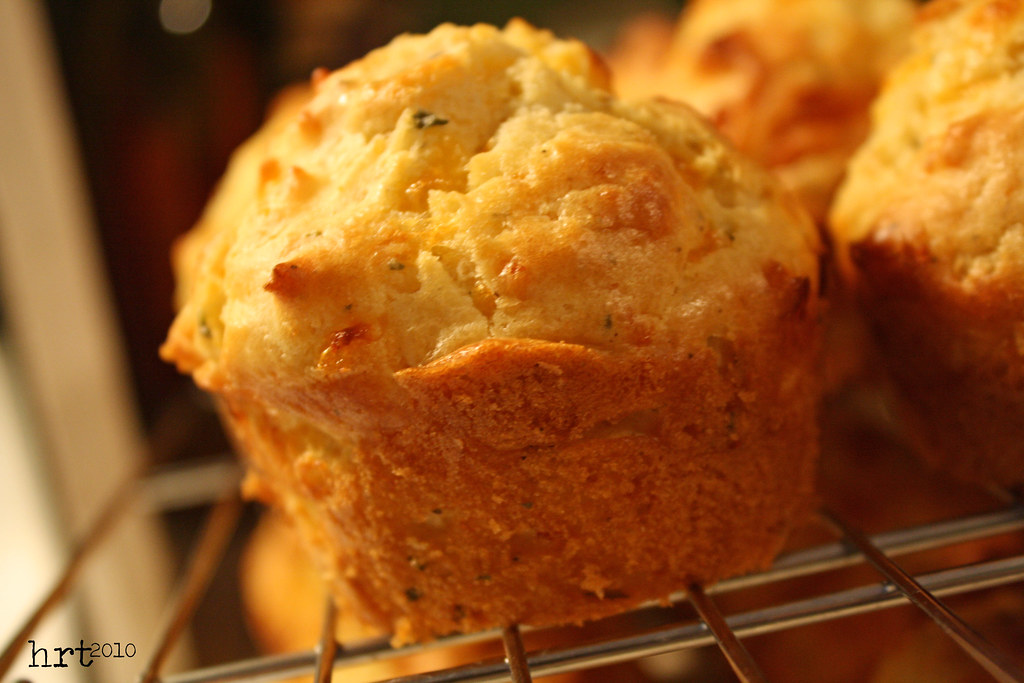
 A popover is a quick bread with no yeast and a minimal time commitment (hence the name 'quick'). As they rise in the oven to double their original size, they develop lots of air bubbles - leaving holes. Best served warm with a dollup of butter (yum). My darling hubby arrived just in time to enjoy them hot out of the oven. Perfect when you have (1) only a few ingredients on hand, (2) only a little bit of prep time, (3) don't like to do many dishes, and (4) love bread with dinner!
  :Recipe:
 -ingredients-
2 eggs
1 cup flour
1 cup milk
1/2 tsp salt
-directions-
heat oven to 450°
grease popover pans very well
beat eggs slightly beat in flour, milk, & salt - beat just until smooth, do not overbeat
fill popover pan 1/2 full bake 18 minutes
reduce oven temp to 350°
bake 8 more minutes
remove from pan
note: you can also use 6oz custard cups or experiment with muffin pans

The recipe is from
recipezaar - a great site if you haven't tried it out yet.

 I have a crush on vintage advertising and labels. The wonderful artwork, the neat fonts, the retro colors - the sense of nostalgia. When we cleared out my grandparent's home for auction a few years ago there was no shortage of ephemera. My great-grandparents built the house, and like many during the depression years, they saved everything!
 One of the carry overs of food packaging that has lasted to this day, is the inclusion of recipes. [usually the recipe calls for another product that the manufacturer makes] Some of the recipes I found were much more appetizing than others, but the artwork was lovely. I am a big fan of the old school Betty Crocker cookbooks with the 'sketchy' looking art, so I was super excited when I found these 'free with purchase' recipes.
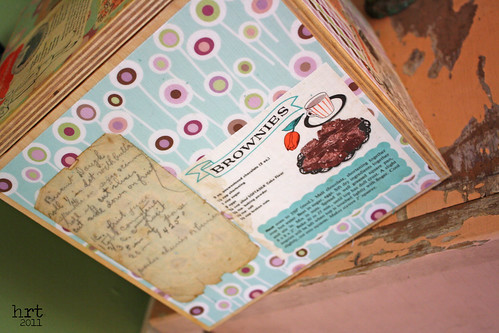 I already had the wooden box, it just needed a handle for the top. With trusty modge podge at my side, I went to work. Some scrapbook paper, vintage images, and even a few of my grandma's handwritten recipes later, I had a great place to store my little tin recipe boxes and all of the misc. recipes I have printed off from websites that were previously hanging out in my cupboard.
 The result is a little kitsch - just the way I like it. I hoping that it will encourage me to try out more new recipes and to cook at home more often [too bad I can't reach into the box and pull time out :]


