
Now I need to actually travel with a project! I always end up spending so much time packing clothes, that I lack the time to pick a project out to take with me.

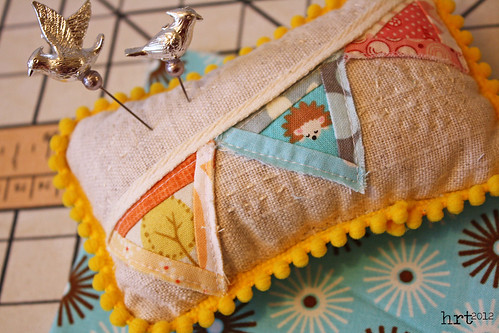
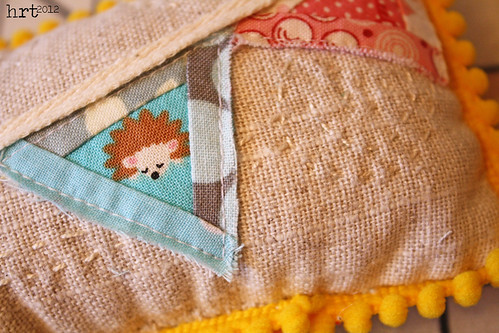
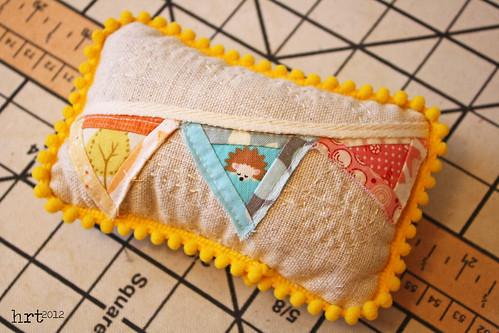


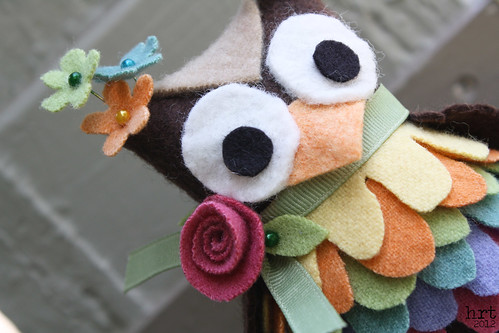
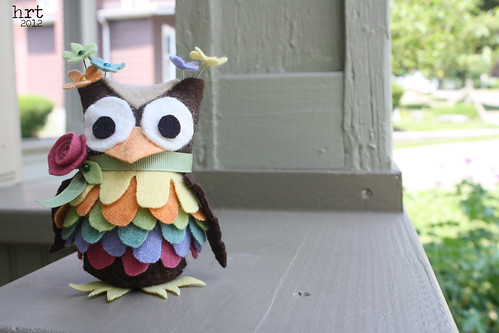


 Just a little post to prove to everyone that I am still alive! I have been traveling through one of those almost-too-busy-to-breath periods of time. Life is good, just a little overwhelming. I wanted to share some cute wrist pin cushions I made to sell a little while ago.
 Fairly simple and straight forward: They are a 2.5" strip of fabric and some batting, folded in half wst, stitched and turned. Add a circle that has been basted, stuffed, and tied shut. I used a felt circle to cover the opening after I added the thread and buttons. [also, there is a cardboard circle in the bottom of the pin cushion to prevent pinning yourself] Velcro does the job of keeping it on your wrist and offering a custom fit.
 This is a tutorial that I find pretty helpful, offering basic pincushion instructions. I do have some exciting crafty news to share with you! Check back here in the next few days :)
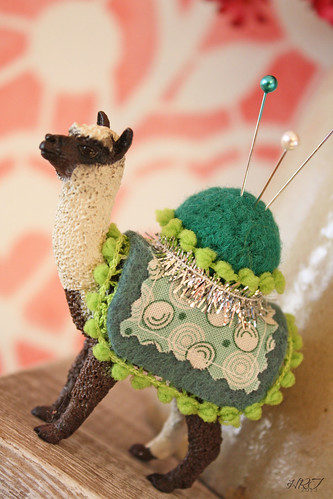
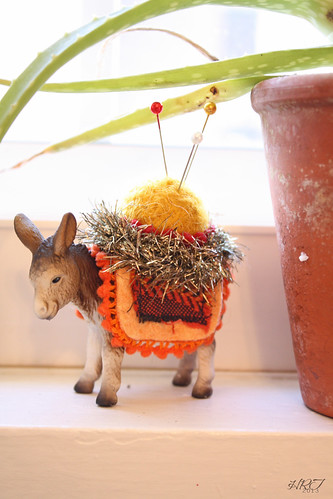
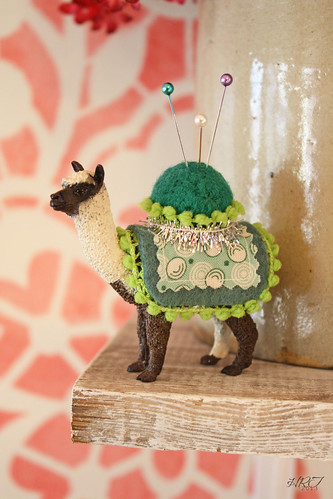
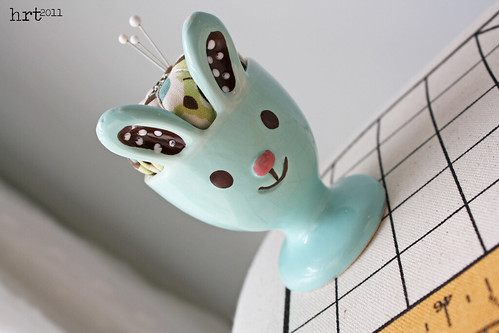 Yep, spring sprung, and sprang out of here! I feel like my poor neglected blog missed a season. My sewing crafting space, however, was certainly active place to be. A combination inspiration and the need to save some pennies led to a few creations I sold through my etsy and my lqs. Pinnies have proven quite addictive. I found these egg cups and knew just what they were destined for.
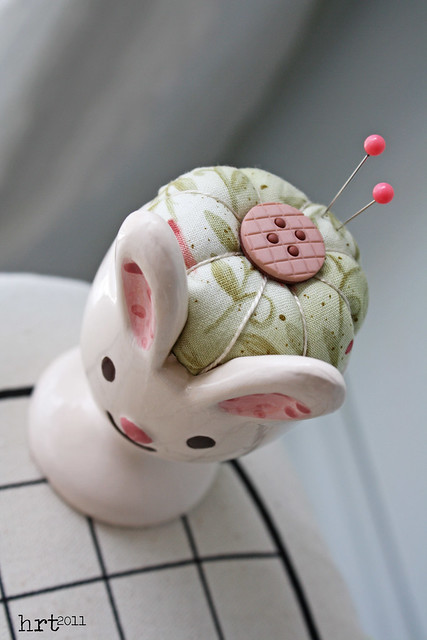
 It is always fun to dig through the scrap box and dig out the perfect little piece of leftover fabric and the button that adds a little extra.
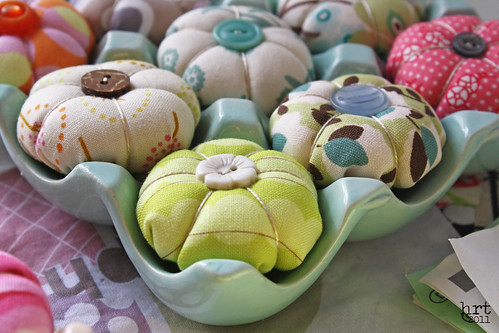 Another find was this 9 compartment egg tray, it is still under construction :)
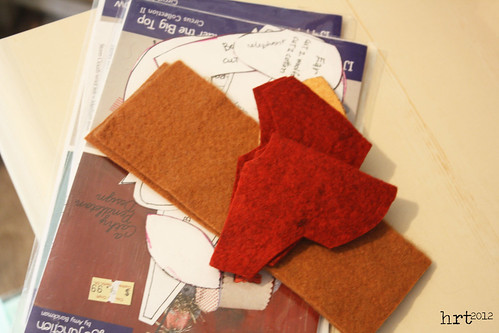
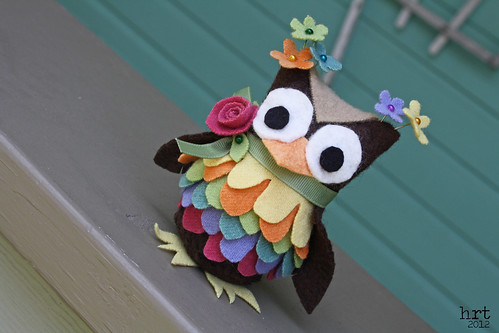
 The spring line up doesn't stop there - I was looking through some vintage homemaker magazines and found this little applique pattern. Hubby doesn't quite get pink birds, but I enjoyed mixing up the colors.
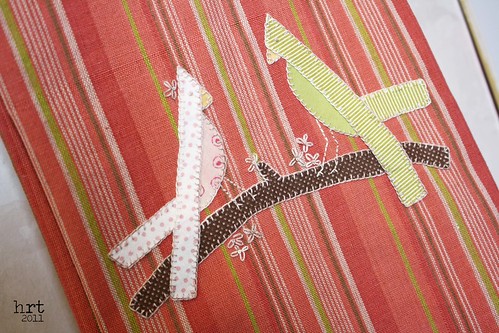
 I hope your spring was a memorable one - I have lots to show and tell!
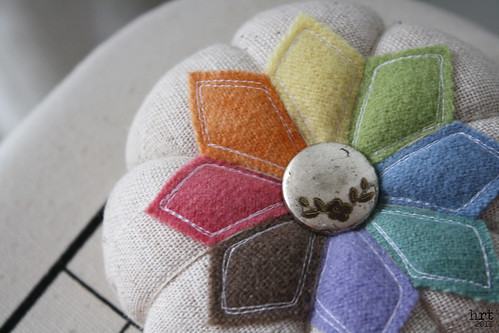 Another VERY exciting round of the Scrappy Pincushion Swap is coming to a close. All of the wonderful swaps over on flickr make me a little nervous - the standards are pretty high, and of course, you don't want to disappoint your partner. From the looks of my partners mosaic, (s)he is into color wheels, modern designers, linen, stars... which leaves loads of possibilities! I chose to run with a sort-of homage to a Dresden plate. Some lovely 100% wool bits are top stitched onto a natural colored cotton linen. [many of the wools are hand dyed, which I love!]
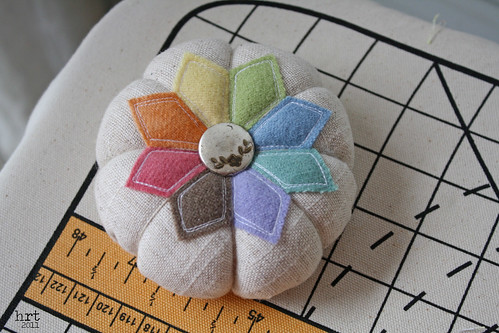 Originally I had planned to put the cushion inside of a zinc lid, but it just didn't look right. Instead I hand sewed a wool circle on the bottom to cover the stuffing opening and to give it a nice flat bottom. It was difficult to package it up and send it off, I really like how it turned out and wouldn't mind having it sit next to my sewing machine :) All there is to do now is hope that my partner likes it as much as I do!
 Enough about the pincushion I made, on to the AMAZING one I received! A current obsession is anything and everything aquatic, and my partner did not disappoint. This little octopus is practically perfect in every way. [a bit o' Mary Poppins there]
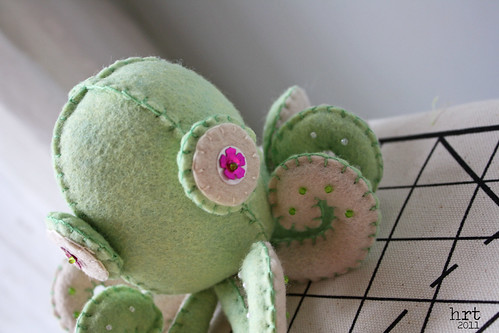 Adrienne really outdid herself on this one, she used wool felt and stuffed him with cleaned and carded wool from local sheep. The tutorial for him is over at futuregirl.com I don't know that I can stand to stab him with pins, but he will make a lovely addition to my crafty space!
 Blame it on the crazy number of snow days so far this year, or missing my online family, or the need to experiment and try out new blocks... Whatever the reason I am ready to get back into the quilt along and swap scene over on flickr and around the blogosphere. The block swap group I was in last year came to an end in December, so I was quick to find a new swap for 2011. The Nittany Block Party [and Heidi] welcomed me with open arms. Heidi took on January and sent us some beautiful Bliss fabric and Modify Tradition Magic Cross tutorial. I enjoyed this tutorial - fairly simple and great step by step instructions.
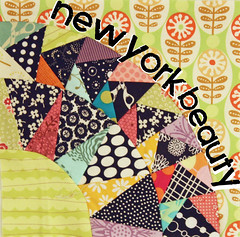
 I am also excited that the Scrappy Pincushion Swap is entering round 3! I put together this mosaic to give my partner some inspiration. Can you sense that while my feet are in snowy Ohio my head is definitely at the beach?? Summer can't come soon enough!
 Moving on to my current quilt along... I jumped on board with Quilt Dad's Bloggers' Block-A-Palooza - a 17 stop tour of some very talented bloggers. Each of the block tutorials will be completed using Sweetwater's new line Sunkissed. I, on the other hand, NEED to do some stashbusting [really, I prefer to collect and drool over fabric than actually use my beauties]. Nonetheless, I did it, I cut into my Amy Butler Lotus stash. So far I am not regretting it. The last stop on the tour is the actual quilt layout - I am thinking that I might want to set this one on point though. I think it would be fab to alternate the finished blocks with solid blocks of the tree peony fabric.
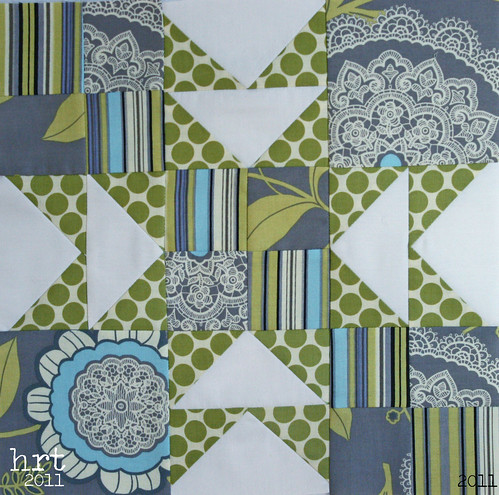 John put his creativity to work coming up with block #1. He calls it Flying Over Fields. I chose to put my flying geese together a little differently so you get a star-like design.
 Then over to the amazing Oh, Fransson blog for Elizabeth's amazing block Word Play. True to form, she had us cutting [& re-cutting] lots of little squares for this patchwork. It definitely has an interesting look.
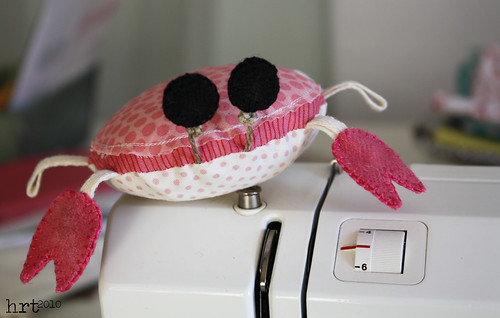 Yes, this is another post about swapping :) I'm not sure if you know Ayumi, if not then you definitely need to meet her! Maybe you just don't realize you know her, she has several projects that have been featured in the beloved Stitch magazine [which is going quarterly next year! yay!] She not only makes lovely things, she has a kind heart. I have been oohing and aahing over some Mister Donut fabric that keeps taunting me around blogland.
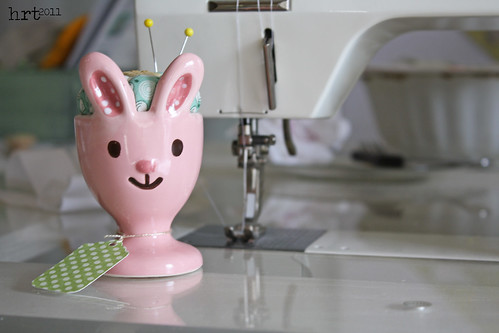
 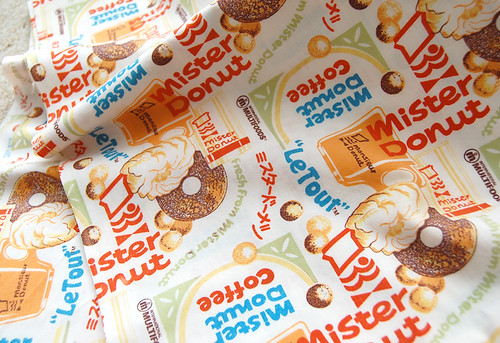 On special occasions my mom and I would go to Mister Donut before school. I always loved the twisted creamstick/glazed donut things covered in chocolate. They are special memories, the Mister Donut was replaced by a Donut Connection, and then finally a pizza shop. Many have forgotten the smell of fresh baked donuts [we don't even have a Dunkin Donuts in our area]. Anywho, I gushed over Ayumi's stash and she agreed to a swap. What did she want? A crabby pinnie of course :) So meet Miss Crabby, all decked out in pink!
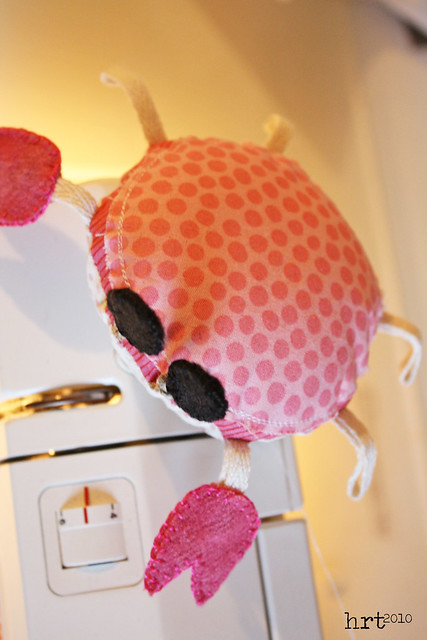 If you want to make one for yourself, my humble attempt at a tutorial can be found here. I am pleased with how she turned out and glad that she has found a happy home!
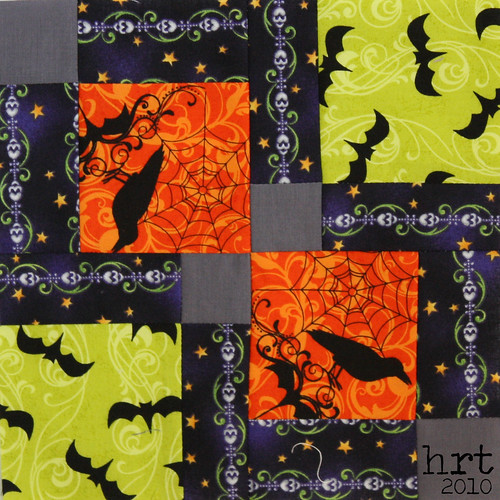 For the Block Swap 2, miss rabidchipmunks asked us for a disappearing nine patch using some funky Halloween prints. A lot of fun, even if I did cut one of the blocks wrong :)
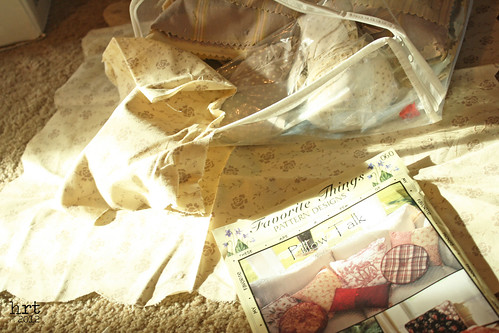
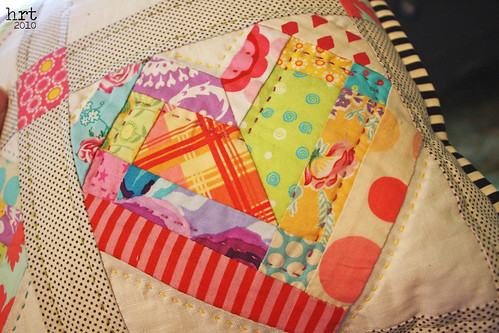 Before the great flickr incident of 2010 [where I accidentally deleted all my flickr photos], I had plans to show you the phenom pillow that I got in the Pillow Talk Swap! So without further ado, here it is:
 This pillow was made by the wonderful Louise [she has a primo blog: lululollylegs], she also included some of her own patterns - I am so excited to give them a whirl! The colors are so bright and clear and really stand out on the black and white background. I just l-o-v-e it!
 Another round of the Scrappy Pincushion swap has also come to a close, and check out the goods! I am super impressed with Michelle's crochet abilities and the blues and greens are just perfect! Swaps are so fun - I think what I enjoy most is getting in touch with people from across the country and the world! Makes our online community seem a little closer when you get a package in the mail.
 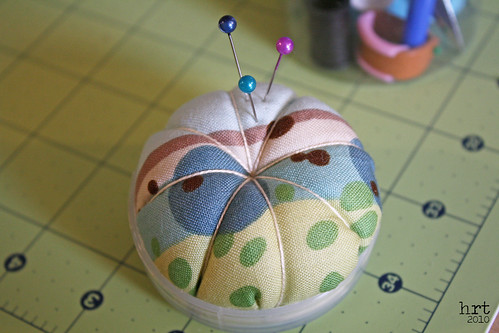 Well, my pincushion for the scrappy pincushion swap is officially on its way! As with every swap I participate in, I was overwhelmed with all the options and want to make just the right thing for my partner. I got the book Pretty Little Pincushions from the library - and it was too wonderful, ack! even more options! Recently I have been drawn to the simple 'tomato' style pincushion. They are great for showcasing pretty pins and gorgeous fabric. I focused in on making a little sewing kit!
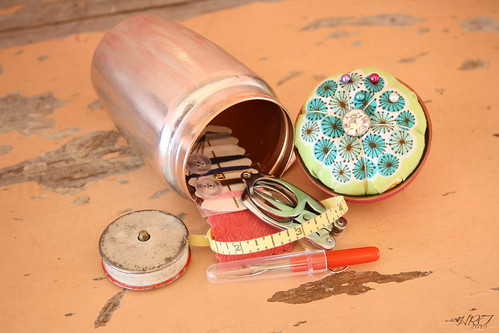
 Fro those who sew alot on the go, this little tube is perfect! The pincushion is attached to the underside of the cap.
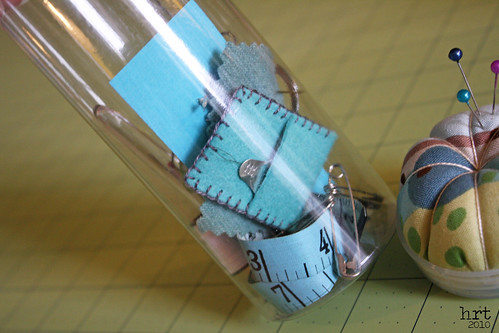 Contents: tiny fold-up metal scissors, thimble, white/black thread for repairs, a variety of safety pins, some needles in a scrap of pinked wool, a needle threader in its own little case, a tape measure, and a sampling of white buttons. I made one for myself and it is wonderful for perle cotton or a skein of embroidery floss!
 [note: I have had a couple of people have trouble accessing the tutorial on google docs. I am happy to 'share' the file with your google docs account, just choose that option after logging into your account. I have also uploaded the tutorial as a photo onto flickr.]
 I have been dreaming of a tropical vaca and it's showing up in my crafty life! I joined the Scrappy Pincushion Swap over on swap [Thanks Corey for 'forcing' me into another swap!] - it has been so fun to watch the AMAZING ideas people come up with. Today officially ended this round for me - I have both received AND sent my pinnie!
 This is crabby - I am really pleased with how he turned out. Swaps are always so much pressure for me. 'Will this be good enough?!?' I am so intimidated by the beautiful things that everyone else creates. My partner seemed to like animal/item shaped pinnies [check] and modern & bright colors [check]. Fingers crossed s/he likes it!! By the way - tutorial for crabby pinnie coming later this week :]
 This is the fantastic pinnie I received from Christy. Can you believe all of those gorgeous Heather Ross fabrics?? She also included a seam guide ruler and a couple of great buttons. I really lucked out having her for a swap partner!


