Hope to have another post soon!

 Though this post may look familiar, I assure you it is new :) I didn't expect to be chatting about this quilt again so soon, but I am excited to be participating in Amy's Online Quilt Festival. I loved looking at the quilts last year, but was new to the online seen, so I didn't jump in. I wanted to share this quilt because it was my introduction to the online quilting community. I had just started blogging and fallen head over heels for the new modern look; the brights, geometric shapes, lots of white, random/free-form piecing - I was hooked. I joined in Quilt Dad's round of the Old Red Barn Quilt Along and this quilt is my finished product! Life is better with my flickr and blog friends around, I enjoy the inspiration and community I find.
 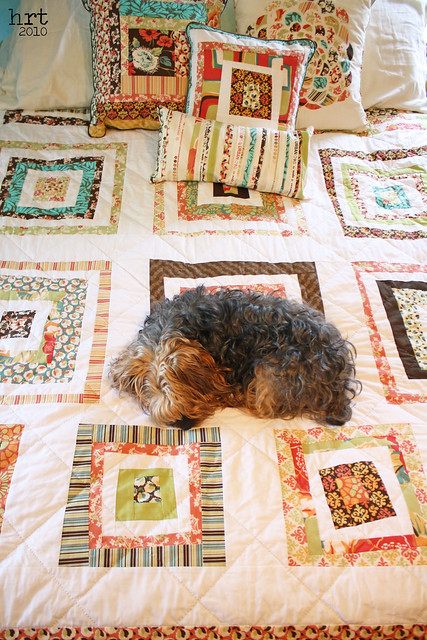 This is the first modern bed sized quilt I have finished and the first quilt I have completely finished since Derrick and I were married. Definitely a memorable quilt in many ways!
 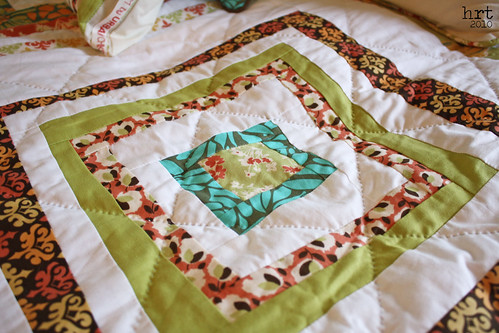 Be sure to check out the many beautiful quilts that have been entered this year! Amy does such a wonderful job of organizing the Quilt Festival!
How very international of me to have a blog post title in French :D I am so excited to FINALLY be able to share my finished wonky log cabin! All quilted up by the wonderful ladies in the quilting group at UCC. I love the finished look - clean, modern, fun, bright.
Be sure to check out the many beautiful quilts that have been entered this year! Amy does such a wonderful job of organizing the Quilt Festival!
How very international of me to have a blog post title in French :D I am so excited to FINALLY be able to share my finished wonky log cabin! All quilted up by the wonderful ladies in the quilting group at UCC. I love the finished look - clean, modern, fun, bright.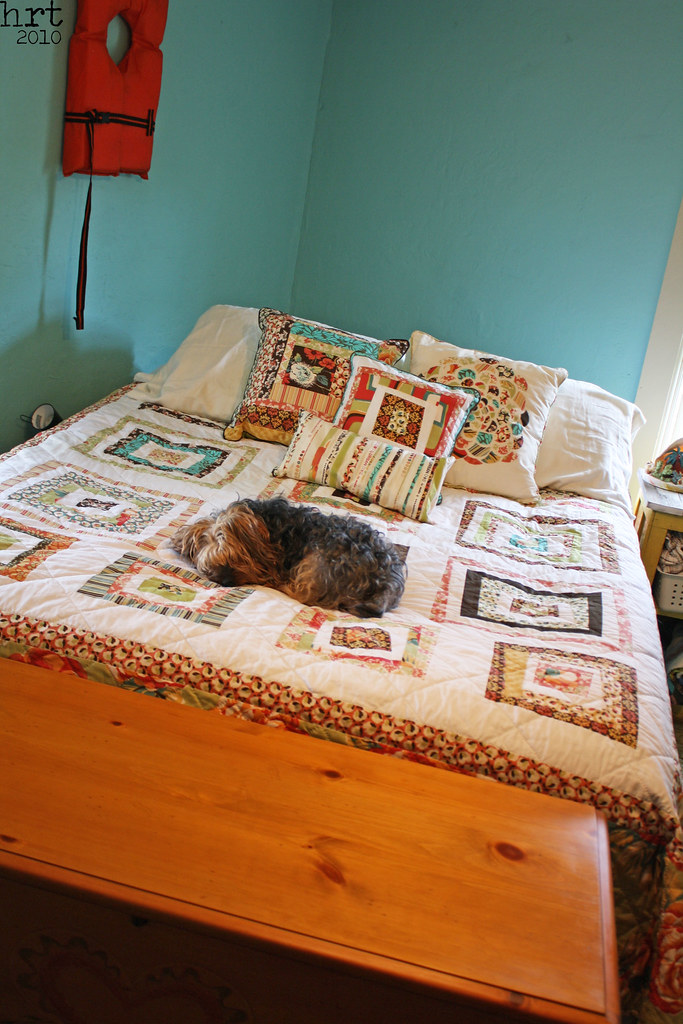
 The quilting is simple and clean - a diagonal grid. The grid on the center is slightly larger than the one used on the border. A quick job of marking with a quilting ruler!
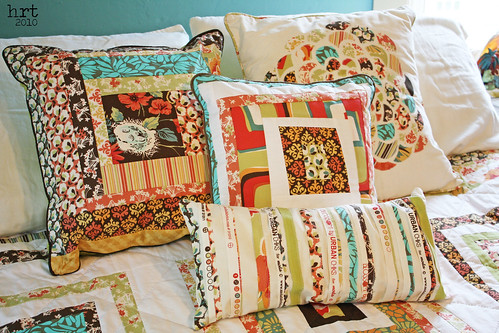 And no bed is complete without a mountain of pillows! These were some of the first pillows I made [and clearly I liked them as I haven't been able to stop making pillows since!]
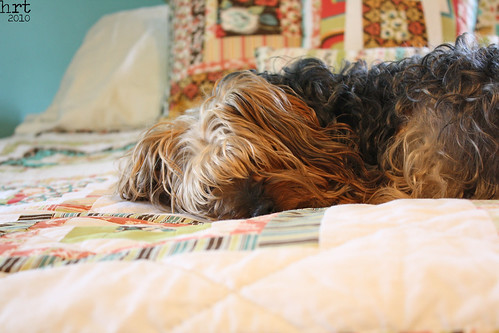 Best of all, the warm and white batting is so cozy; and that's important as the nights get colder! Sophie definitely approves :D I have to add that, even though this photo looks posed - there is no other photo I could have taken. I tried to take a pic without her in it, but she is a persistent little bug and kept jumping on the bed!
 If you've just tuned in, I have been laying out a few ground rules for making fab pillows and cushions in the Pillow Basics Series. Today will be the final installment [Hurrah!]. I typically finish my pillows with either piping or a traditional quilt binding.
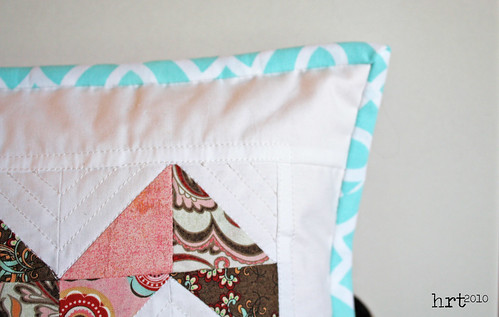 If you are binding your pillow...
 If you want to use piping...
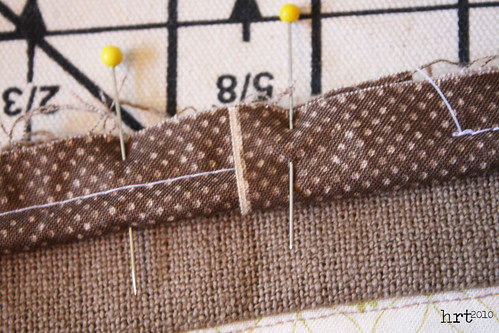
 Fold the strip in half around the cording, pin.
 I have an ab-fab foot that is made for sewing piping - it has a groove in the center that holds the cording in place. You can make piping this way with a zipper foot as well. I like to set the needle position to as far right as it will go and the stitch length as long as it will go. Begin stitching 1" from the 'start end' [rember when we talked about the selvage in lesson two?]; stitch.
 Pin the cording in place along the edge of the top of the pillow. Ease the corners by snipping into the piping. Tuck the end under the 'start end'
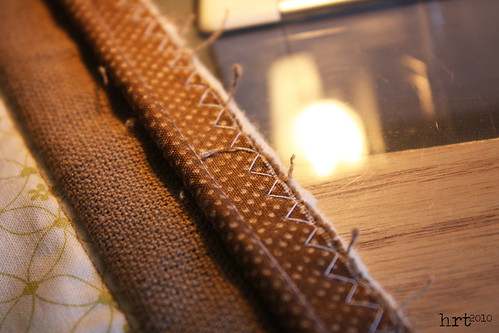 Using a wide zig-zag stitch [with the regular sewing foot], sew along the edge of the piping to secure it into place.
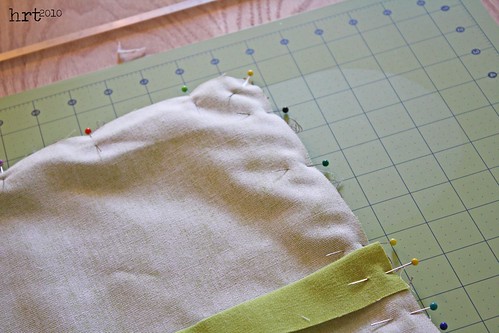 Layer the pillow back over the pillow front with right sides together, pin. With the zipper or cording foot attached, move the needle position all the way to the right and then move it back to the left one click. [This will ensure that none of those basting stitches show on your finished pillow] Stitch tightly along the edge of the piping. If you are using a thick fabric for your piping, you may want to switch to a denim needle in this step.
 Trim the corners, rounding them to match the piping. Turn. VOILA! You're pillow is finished and ready to spice up your sofa!
 This wonky star pillow is up for a new home in my shop!
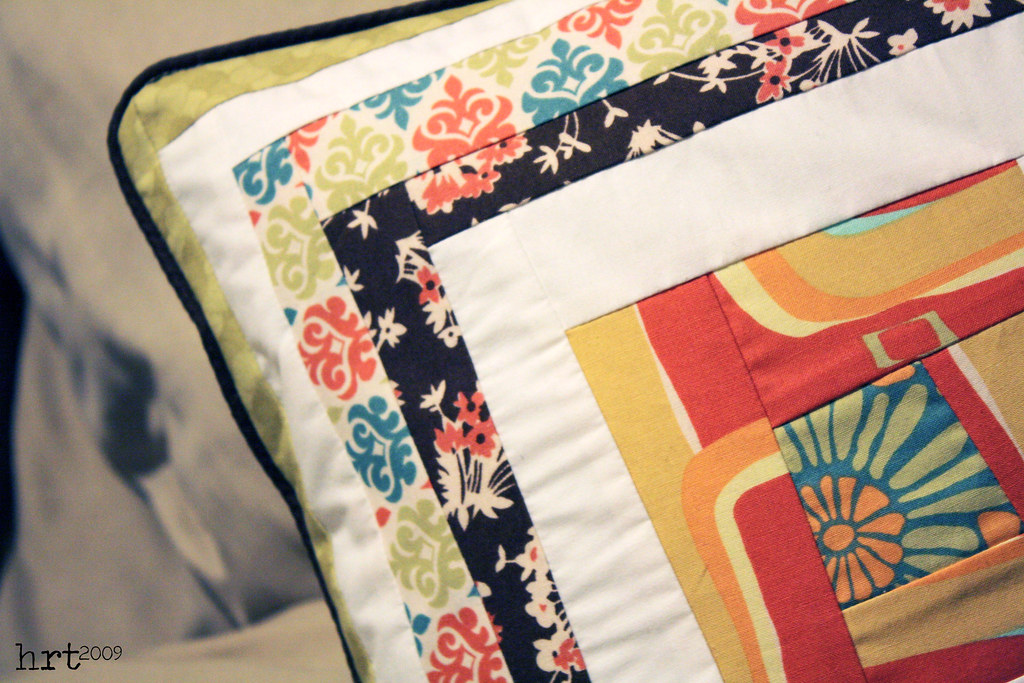 I have been considering a giveaway for a while now, and when I read about Sew, Mama, Sew's December Giveaway Day - it was fate! So, up for grabs is a wonky log cabin pillow! (it uses Urban Chiks Blossom by Moda, the same as I used in my quilt top)
  The pillow case fits a 14"x14" pillow form (INCLUDED if you win :) I used my new sewing machine foot to make the cording; the back is envelope style so that you can easily remove the case for cleaning, etc. It would be a fun addition to your bed or sofa!
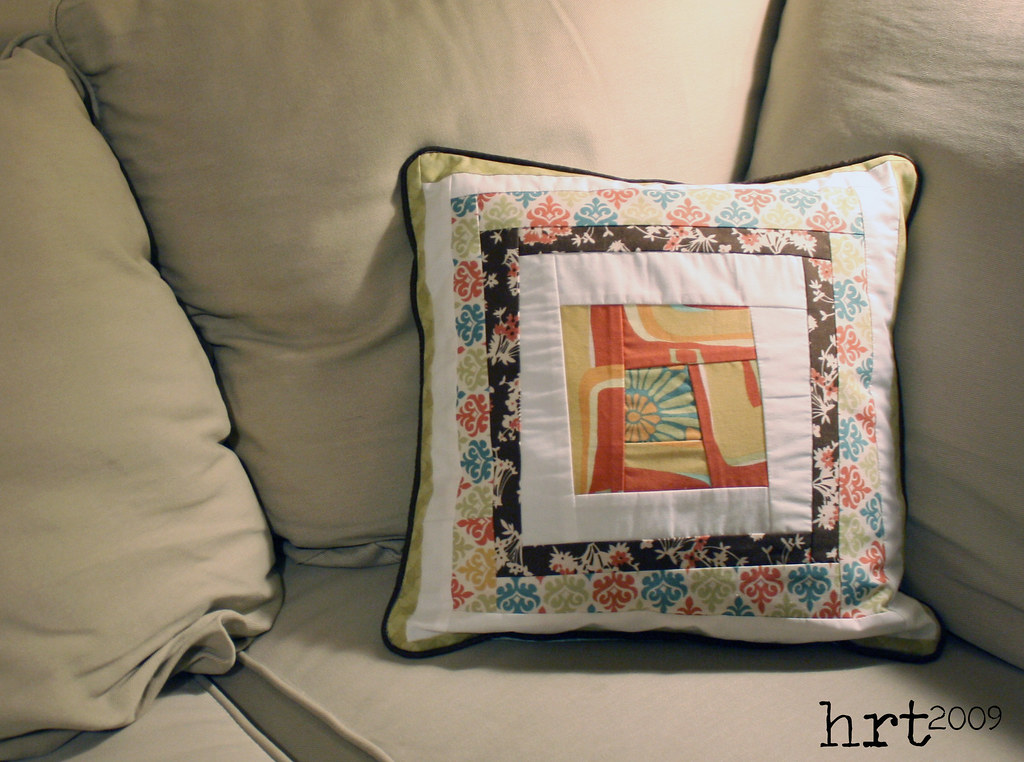 What you need to know about entering...
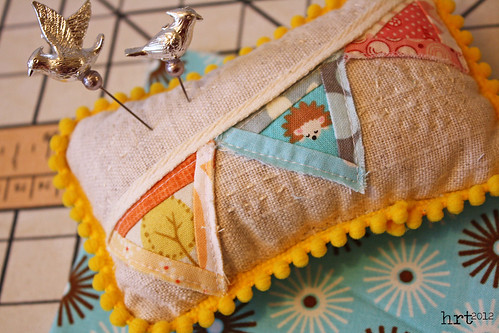
 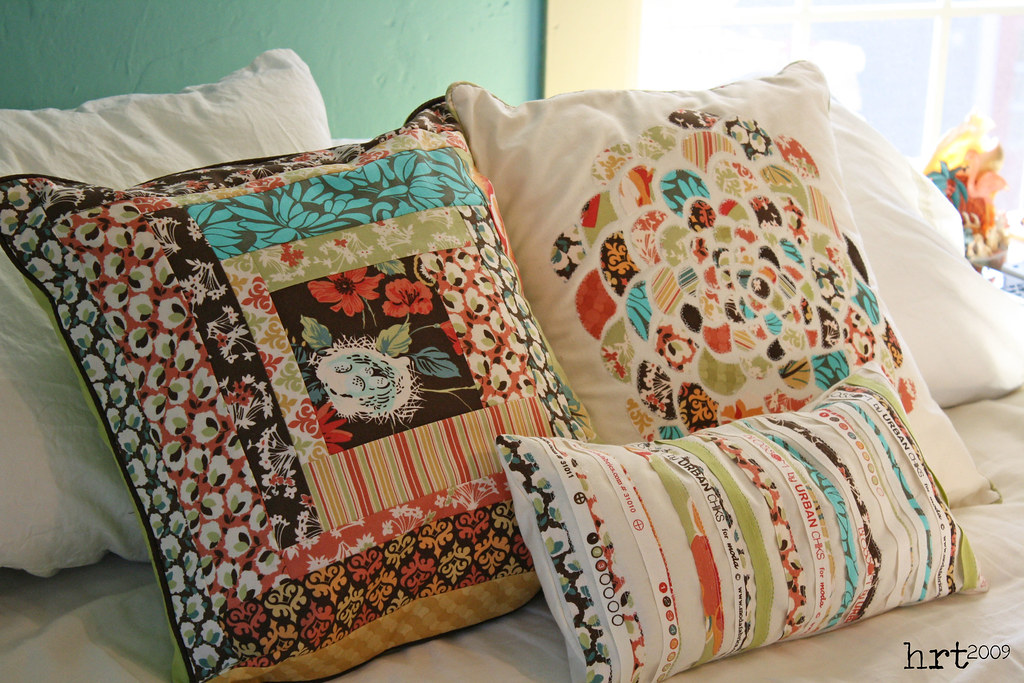 It is always exciting when I can showcase a FINISHED item in my post, and today I have three! I can hardly believe it myself, but I followed through with making coordinating pillows for my wonky log cabin. In total, I made four pillowcases and three throw pillows. I love them!
 Nope, can't take creative credit for this one either; but didn't it turn out well? (thanks cluck. cluck. sew.) I love the little nest in the center, and isn't it perfect to go with the wonky log cabin?
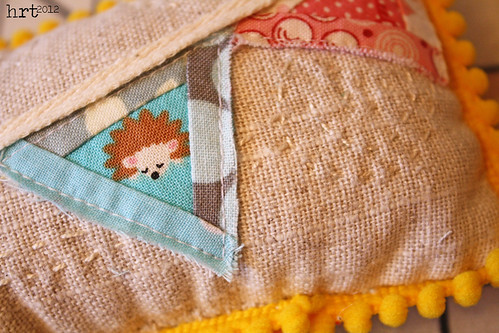
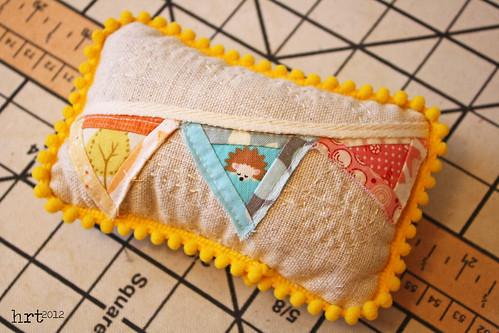
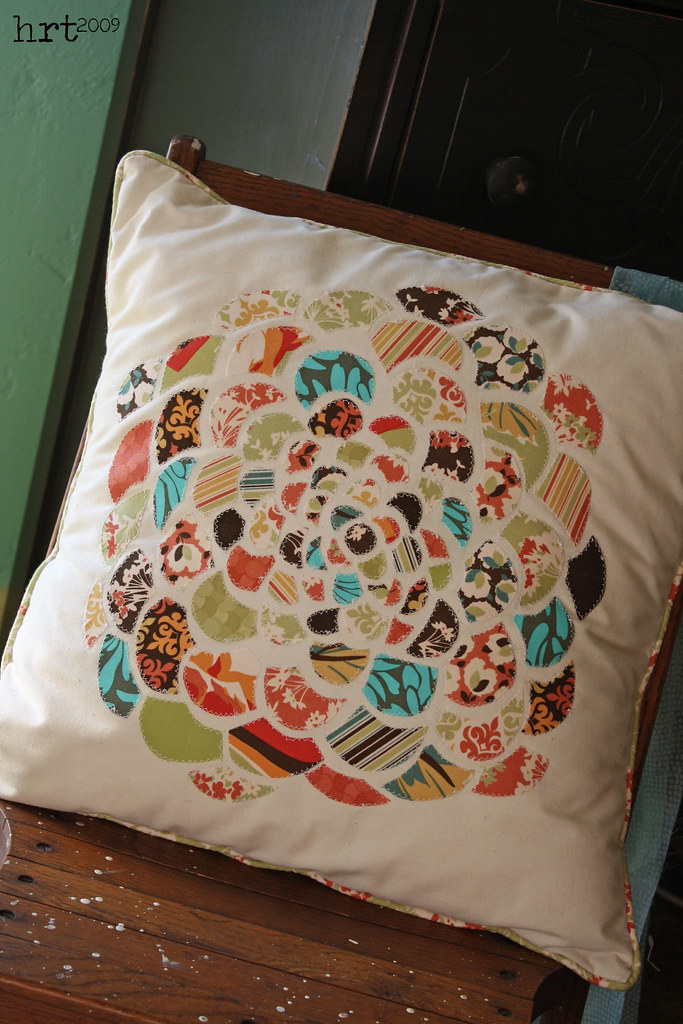 Remember this one from a post awhile ago? This one was the most time consuming - I made a template from a picture with the aid of photoshop. Then I traced the template onto wonder-under. Several hours of cutting, ironing, and zig-zag stitching later - this pillow finally emerged!
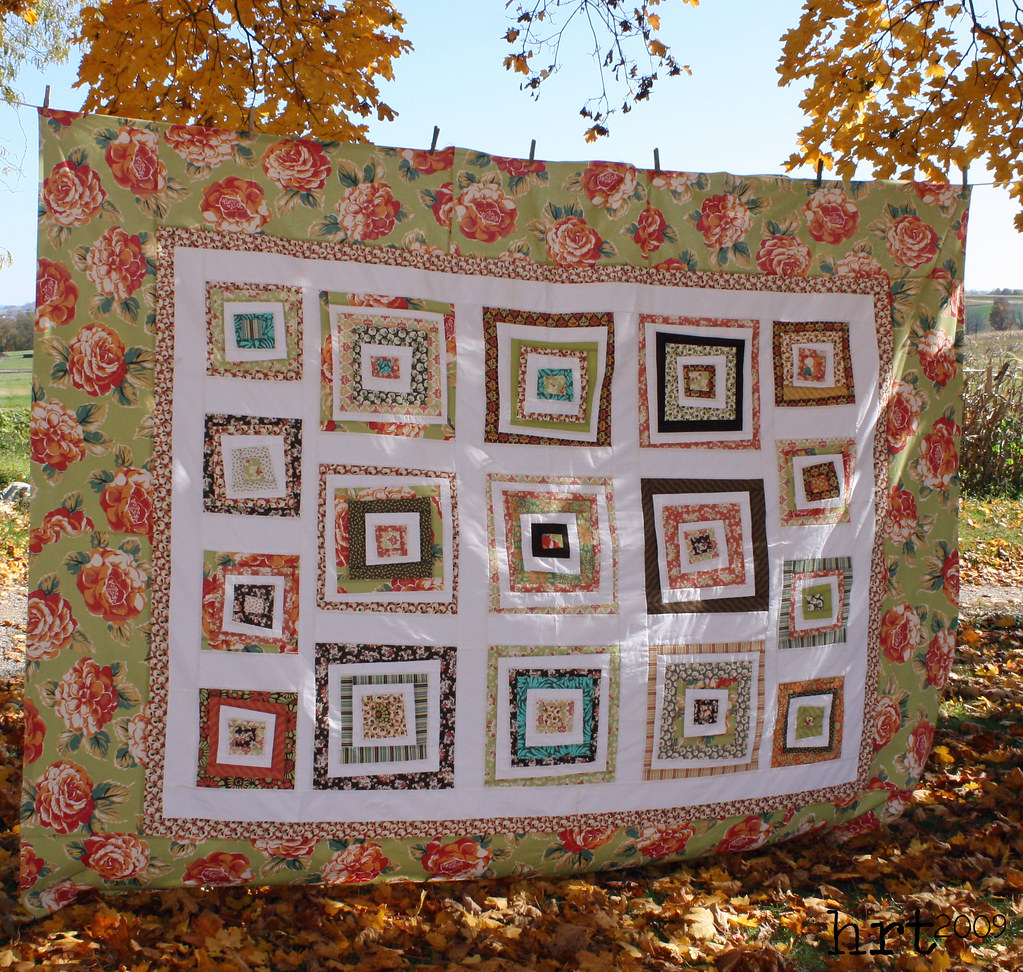
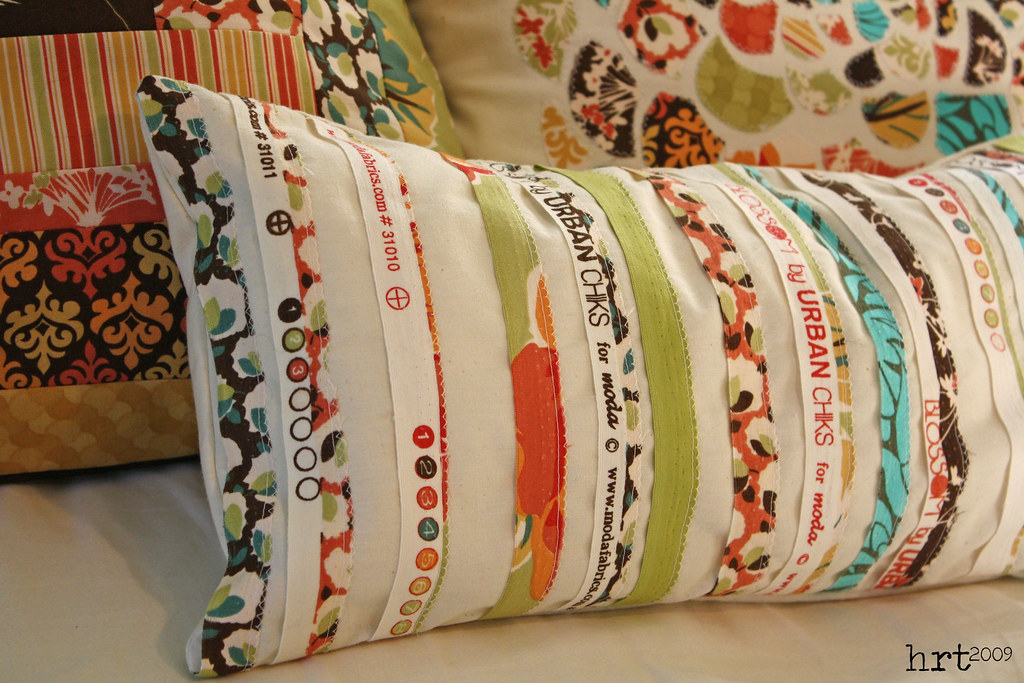 I love selveges... I didn't know that I loved them til everyone else began using them, but I do. Check out the selvege flickr group for more inspiration.So, here it is - the finished wonky log cabin; reveling in all of its glory. I must say I am a bit impressed with myself; this is the most expedient quilt project I have ever worked on! I really do love it! I finished coordinating pillowcases this weekend and plan to take on a couple of other pillow projects to complete the bedding. (namely the anthropologie pillow with the giant applique mum)
 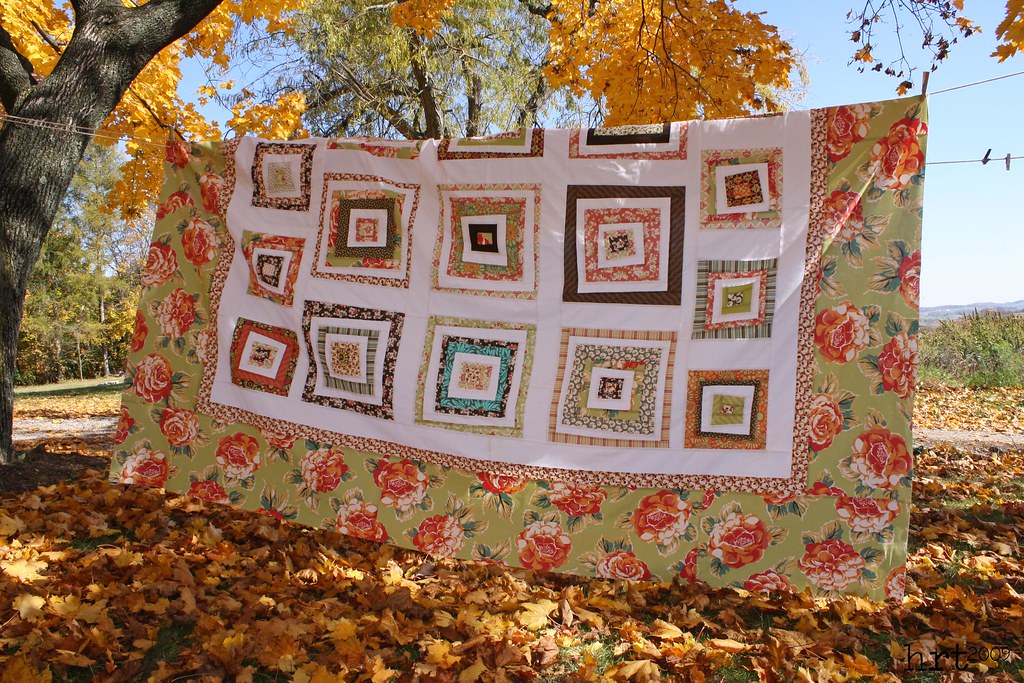 The next step is to have it quilted. I live to piece and hate to quilt, I am simply not patient enough. My thoughts are to have the center done with a diagonal grid and the outside border with a smaller diagonal grid. Should be simple enough; now to find a talented quilter who fits into the budget!
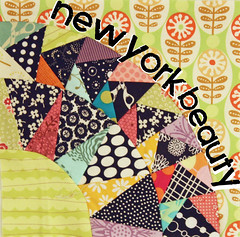
 Last weekend I did a little experimenting with wonky houses. I am playing around with the idea of making one of these house blocks the center block in my wonky log cabin quilt. I would love to hear your thoughts and opinions! This one is made from fabric scraps (not the fabrics used in my quilt).
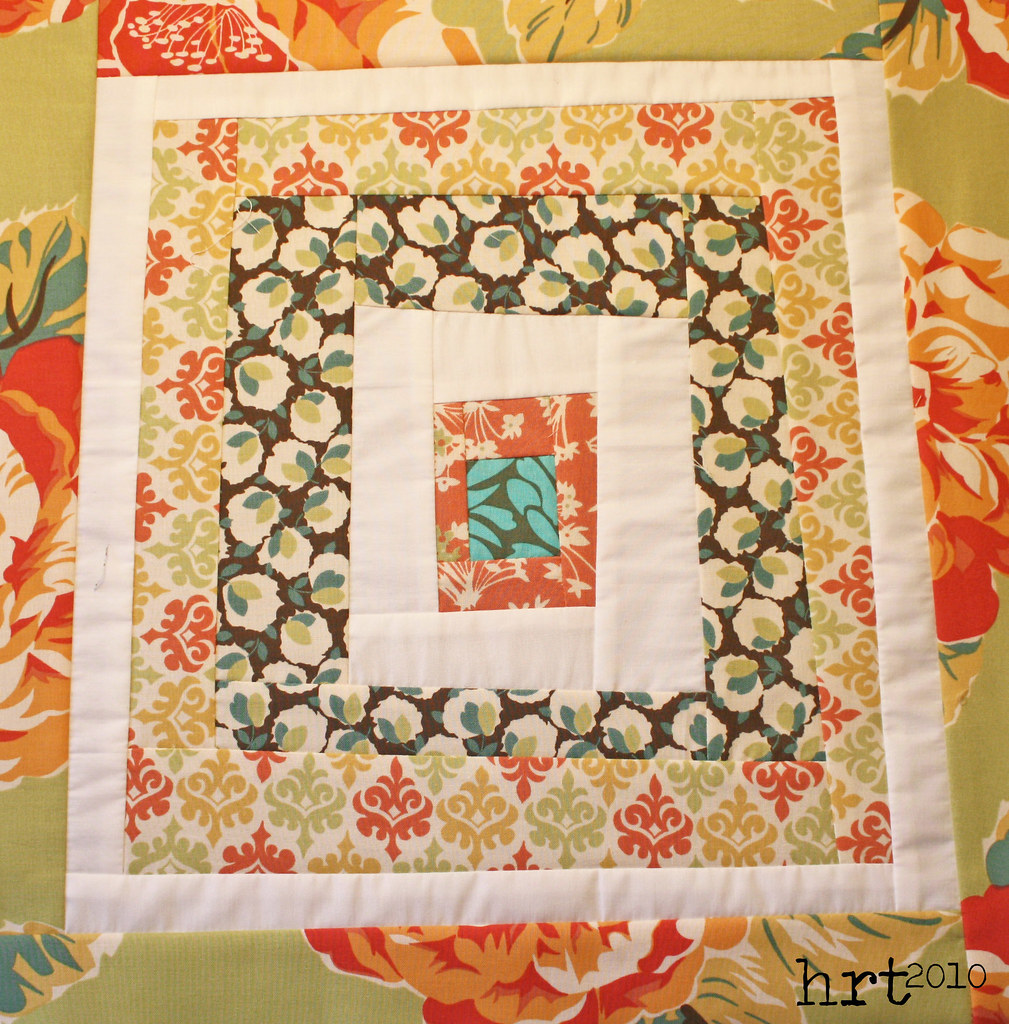 Just an update on my wonky log cabin. The quilt-along officially began August 31 - so I am just one month into it. Here is what has been accomplished: collected fabrics (check), purchased square cutting template (check), cut about a billion strips (check), completed 7 blocks (CHECK!)
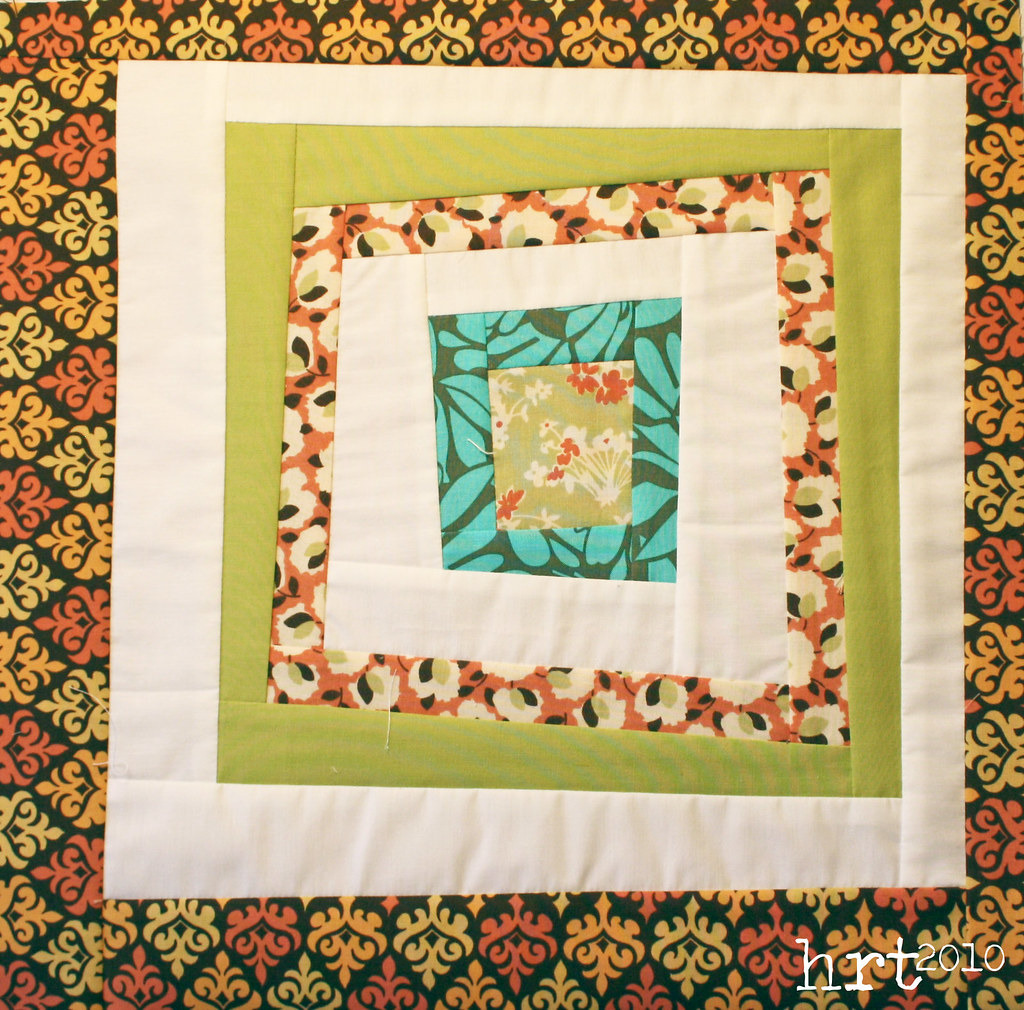
 These are just the latest that I have completed. Have a favorite? Check out all of the amazing work that is going on with others in the quilt-along.
 The quilt is now in progress! The rotary cutter and mat came out of hiding and yardage became 3", 2", & 1.5"strips.
 I am anxiously awaiting the last few Internet finds I ordered to complete this quilt. I really LOVE the flowers on green - I'm thinkin' pillowcases. (READ: Having a hard time cutting this piece up!)
 A novice to the 'wonky world,' I decided to test out a block using scraps. I enjoyed the improv style, but this will be a somewhat time consuming project. With each additional strip, the block needs to be pressed and rotary cut. Let's just say there is alot of up and down from the sewing machine. I am excited to see this quilt finished in all of it's wonky glory!


