skip to main |
skip to sidebar
Here I am - blogging; astonishing really... Between two full time jobs, a part time job, technical issues, and a variety of other things [known as life] I have sadly neglected my blog, as well as my online persona. So let's give this a try - really, I have things to blog about, heck, I even have pictures edited of things to blog about :D Let's ease back into this, a few pictures, brief descriptions, nothing fancy...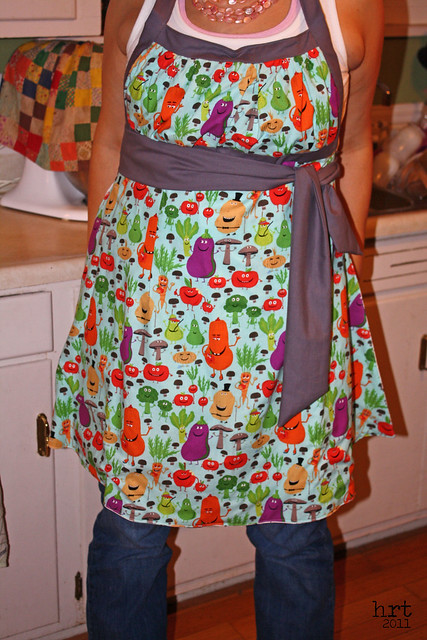 I like aprons. I like to wear them. I like to make them. I like to gift them. The folks in my FCS classroom [I am long term subbing currently] think aprons are a strange, foreign concept reserved for black and white pictures of grannies. I however, know better - they are clothes savers and even fashion statements in their own right. Above is the one I made [for myself] that I wear when we cook in class. I love those crazy veggies! The Emmeline Apron is easy, fabulous, and reversible! This one has a Sweetwater floral print on the back.
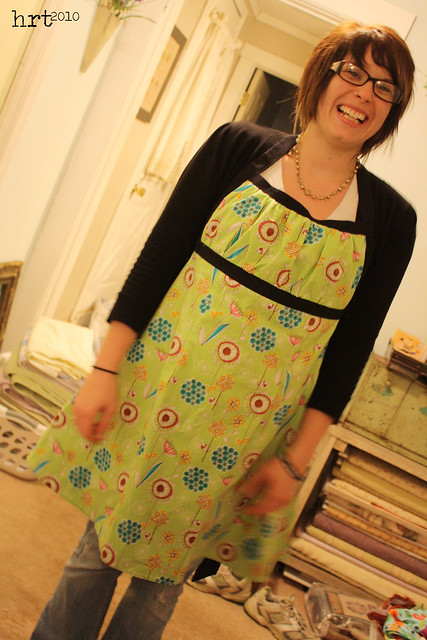 Yes, it is another Emmeline Apron [I actually made 3]. This is my best pal Jordan - she works at a coffee shop and needed an apron [though she decided she didn't want to bleach it up, so she doesn't actually wear it to work...]
 Nope, I don't know what pattern I used to make this apron for my sister's housewarming gift. I think it's super cute with a vintage vibe.Well, that wasn't so difficult - hope to be back online Friday with some more things to share! Thanks for sticking with me :D
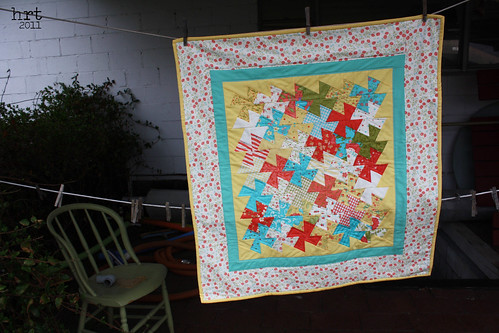
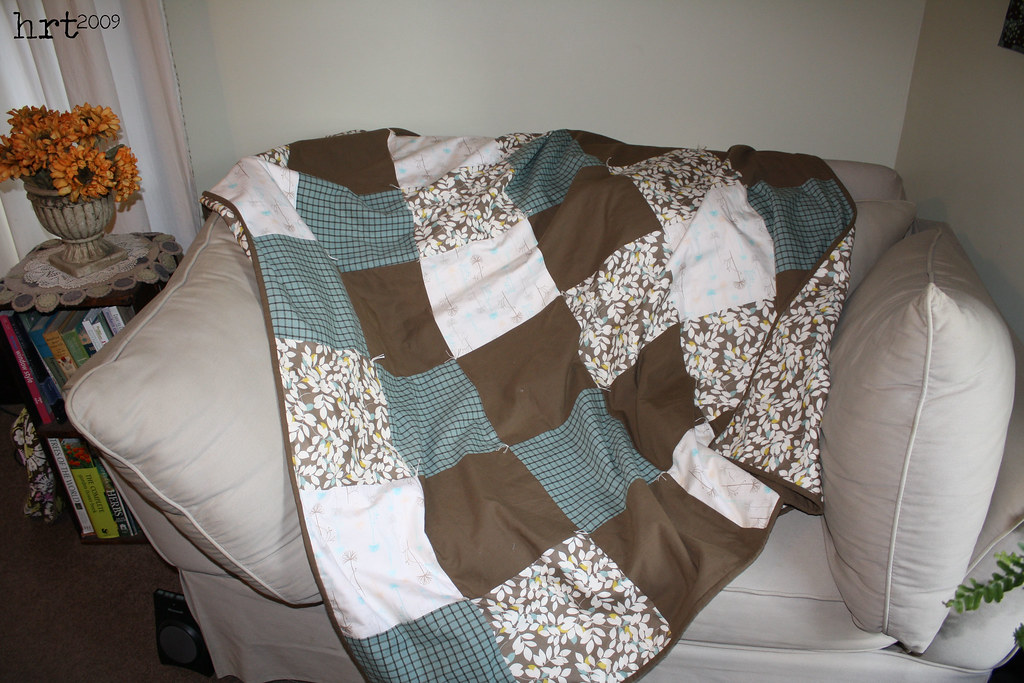 Hot off the presses, this little number has found a new home. My friend Anna is getting married in December and I whipped up this throw for her and her future hubby. Handmade is best for two reasons: (1) it is a unique gift made specifically for someone, crafted from the heart (2) being on a limited budget, I am able to gift something really nice for less than I would pay in the store (and with better quality). As mentioned previously, I don't quilt, so it's knotted, but I like the look. Though a simple project, I thought some of you out in the blogosphere might enjoy a short little tutorial with some helpful tips along the way. Without further ado, here's the recipe:
Easy-Peasy Quilt TutorialFinished Size: 60"x70" (10" Blocks)
Ingredients * 1 yard each of 4 coordinating fabrics
* 1/2 yard for binding* 3 1/2 yards for backing
* 2 yards batting (or enough to fit)
* Perle Cotton or crochet thread for knottingDirections
* Rotary cut each of your 1 yard cuts into 3 - 10.5" strips
* Cut each strip into 4 - 10.5" squares
[hint: I took some [not all] of my strips and sewed them together in pairs along the long edge. Before unfolding, I cut them into 10.5" pieces. Now when you open up the pieces you already have 2 blocks sewn together. Not sewing all of the strips together allows you more chances to vary the random pattern of the finished block layout]
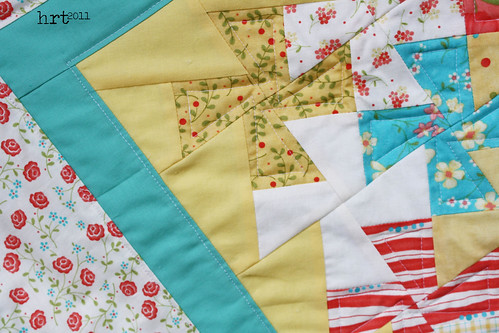
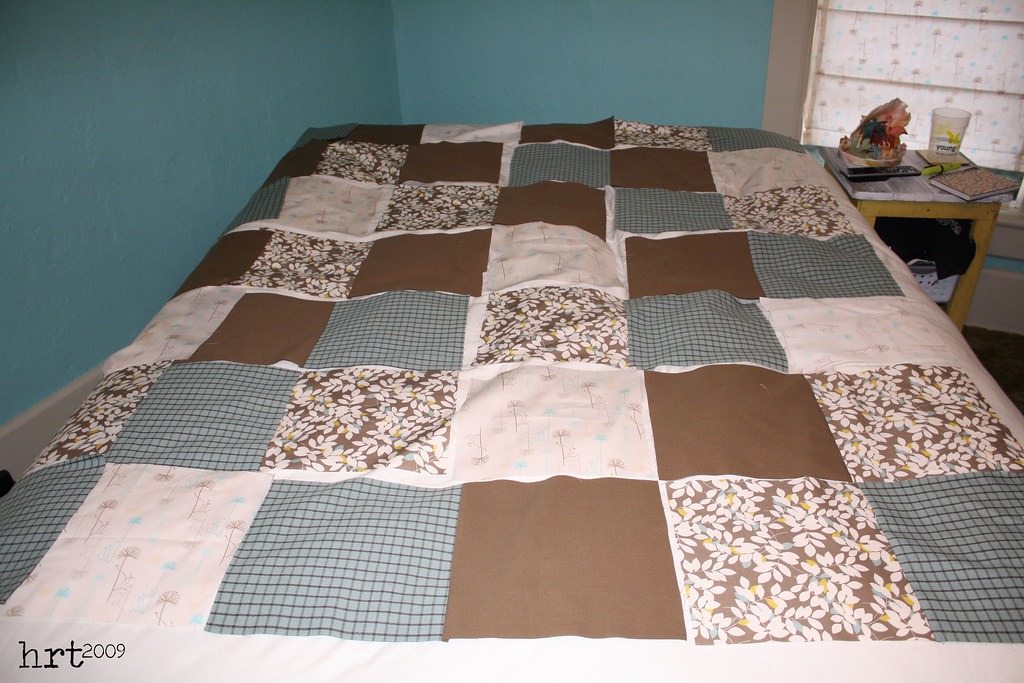 * Layout your blocks in 7 rows of 6 blocks each
[hint: take a photo of your layout, this will save alot of time when you can't remember which piece you liked where]* Sew the 6 blocks (each row) together[hint: PRESS. I used to avoid the iron for as long as possible, it seemed like such a time suck. But then I met Row... steamy, hot... wait we are talking about an iron here, no need to be alarmed. To be clear, my friend Jordan bought me a Rowenta smooth glide iron as a wedding gift and I LOVE it. Pressing during the process makes for a better outcome. After sewing a seam, press the seam without opening it up. Then open it up and press the seam to one side. Repeat this for EVERY seam]
 * Pin the rows rst (one row at a time). Make sure that your intersections line-up. Sew the seven rows together, continuing to press as you go.
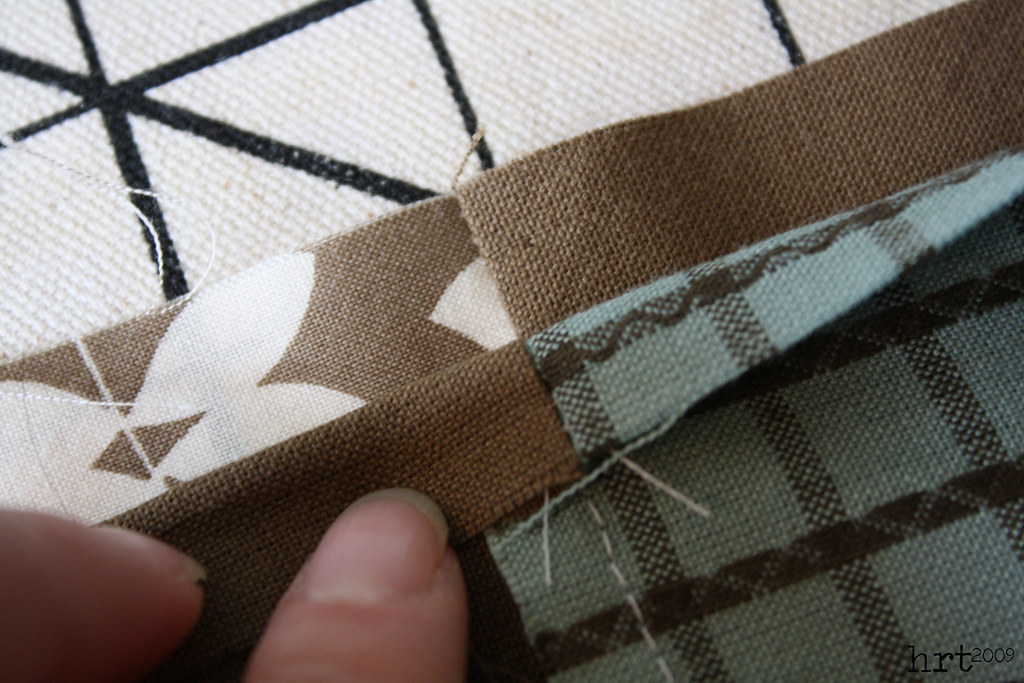
* Piece the backing: remove the selveges of your backing fabric cut a 75"x43" piece (43" is about the width of your fabric after you remove the selveges). Cut 2 - 20"x43" pieces; sew these two pieces together end to end (you now have 1 - 20"x86" strip). Sew the 20"x86" piece to the 75"x43" piece; trim the excess from the 86" piece so that it is even with the 75" piece. (you now have a 75"x63" piece)[hint: you may be asking yourself, 'self, why do I need a 75"x63" backing when my quilt is only 70"x60"?' I find it easier to trim your backing to exactly fit your quilt top once the 'quilt sandwich' is made. This is helpful because I am not a perfect cutter or sewer!]
* Make a quilt sandwich: lay out the backing wrong side up, place your batting on top of that, then your pieced top right side up. Voila! quilt sandwich. I use basting pins to hold my quilt together - starting from one end and working up, pin the basting pins where each of the blocks meets another one (where 2 or 4 points intersect)
* Trim the backing fabric and batting about 1/8" from the quilt top on all four sides
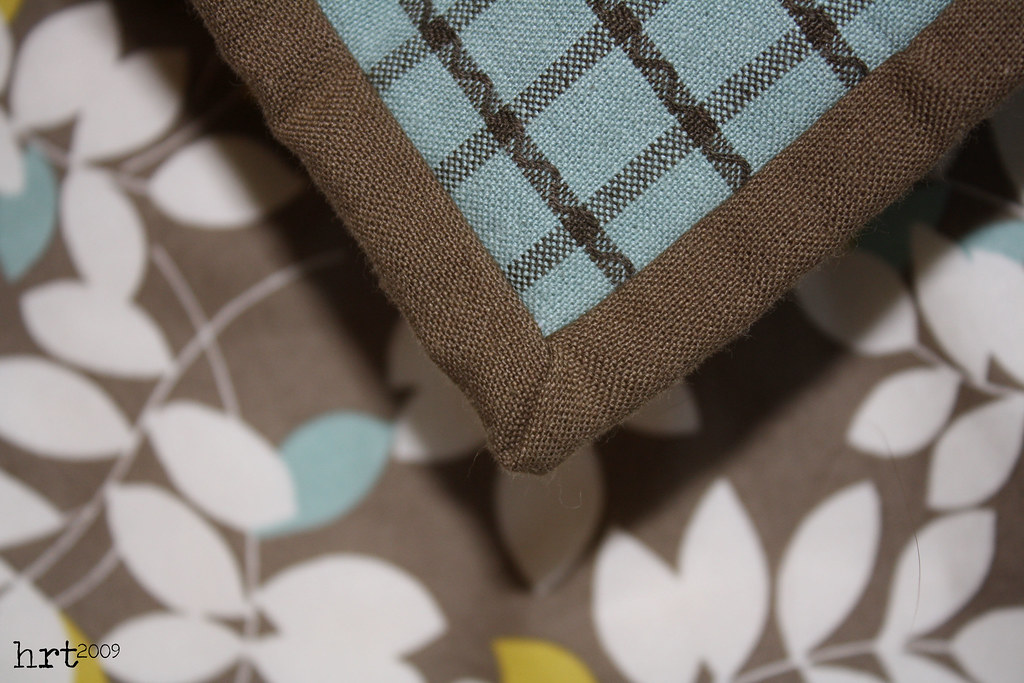
* At this point you pick your quilting option. Again, I don't quilt - so this comforter is knotted. Take the perle cotton or crochet thread and thread a needle that accommodates it. Pull the thread all the way through so that the 2 ends meet. Removing one pin at a time, knot the quilt where 4 corners intersect. A square knot is the most widely recommended knot for tying quilts. Here's a video!
* Prepare the binding strips: Cut 7-2.5" strips from the binding material. Here I will refer you to the best online tutorial I have seen on binding. Heather Bailey has great illustrations that are easy to follow along with.
 Enjoy your finished quilt!
 To celebrate Aaron's birthday, I wanted to give him his very own squid... Well, not a real squid of course, but a Squid USB cover. Since the unfortunate death of his ipod (moment of silence) he has been in need of a portable drive. I think this 4gb jump drive will be perfect. As an added bonus it sports its very own, handmade cover.
  He is constructed from teal wool-felt. I simply hand stitched his body together and then turned him rso. Then, with some scissor snips and a few tugs, I formed his tentacles. The eyes were a little bit of a challenge, I tried several iris variations, but ultimately decided that plain black eyes were best! The USB drive just slides in under the tentacles and is ready for use. I had to leave him a note: 'hope you don't get ink all over your laptop!'note: I must confess, this is NOT my original idea. There is a great artist on etsy who creates these charming guys...


