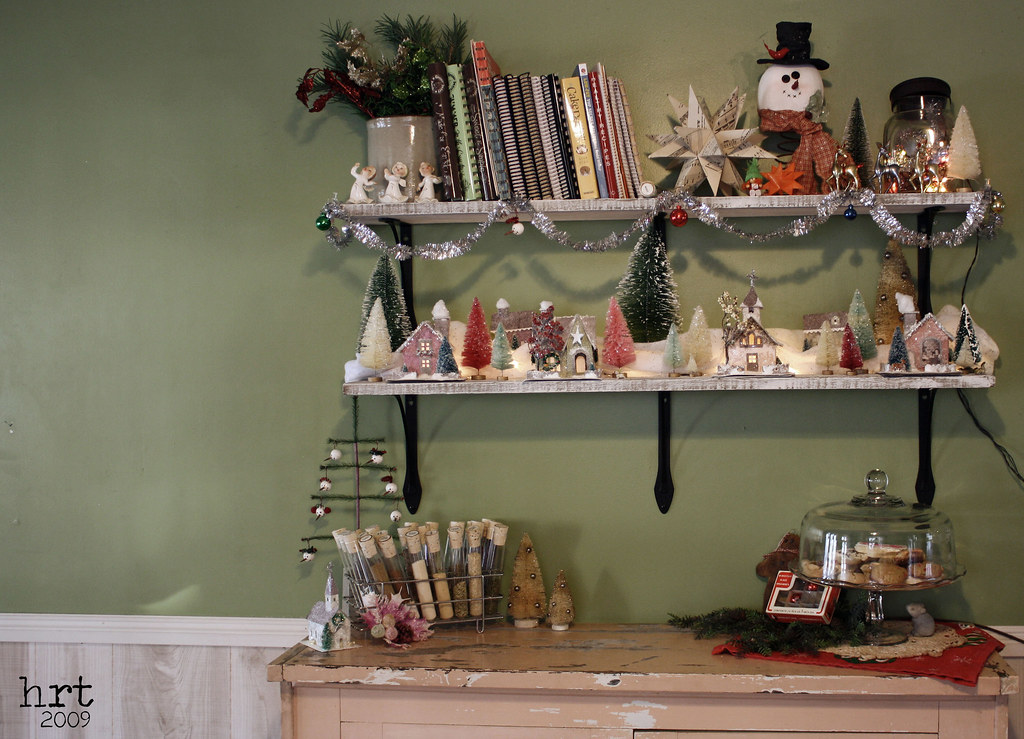
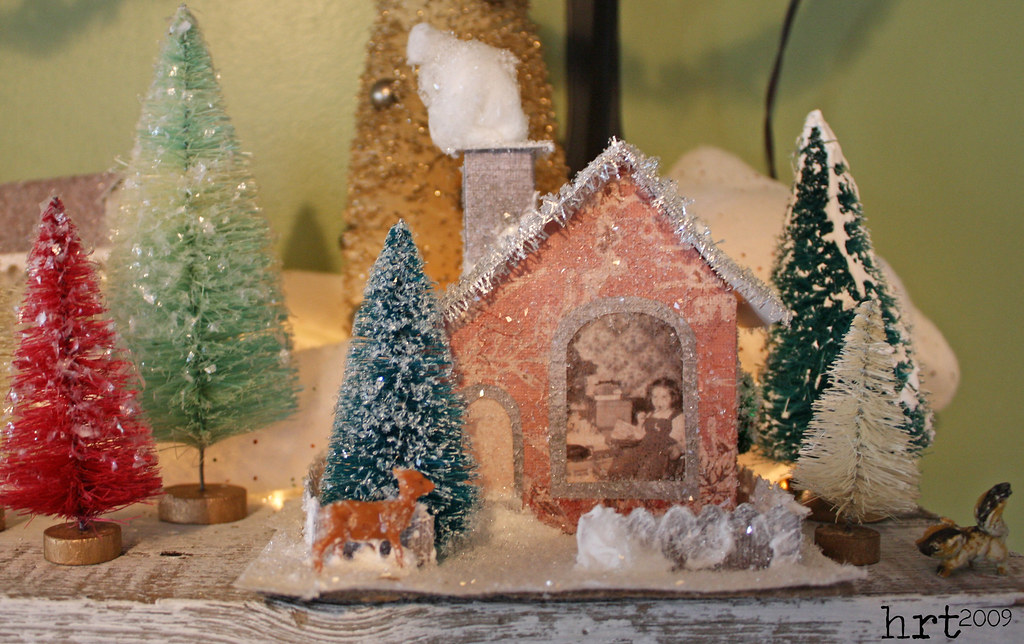
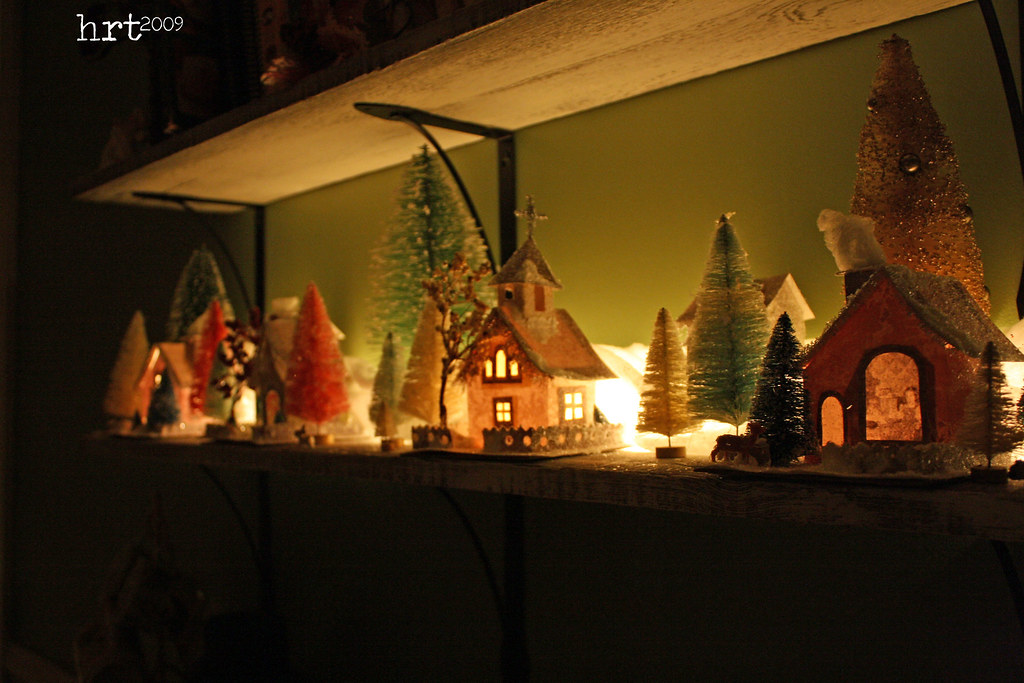
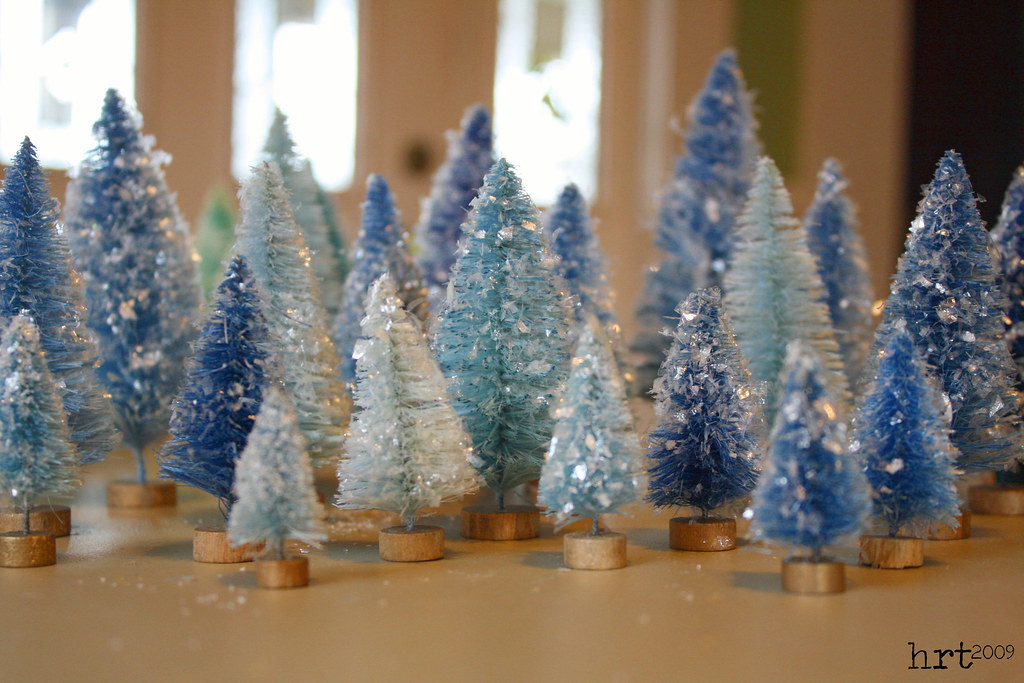
 Nothing says kitchy-vintage Christmas like a pink bottle brush tree! I recently decided to deck out the house using bunches of these little trees. A couple of thrift stores and an antique mall later, I realized that my dream of finding vintage trees was not going to come true. I looked online and favorited a few on etsy, bid on one on ebay... my thirst for little trees was not satisfied. Then it happened, I found a tutorial for dying your own trees! A quick trip to Pat Catans and I was home with nearly 75 trees of all sizes (up to 5" of course).
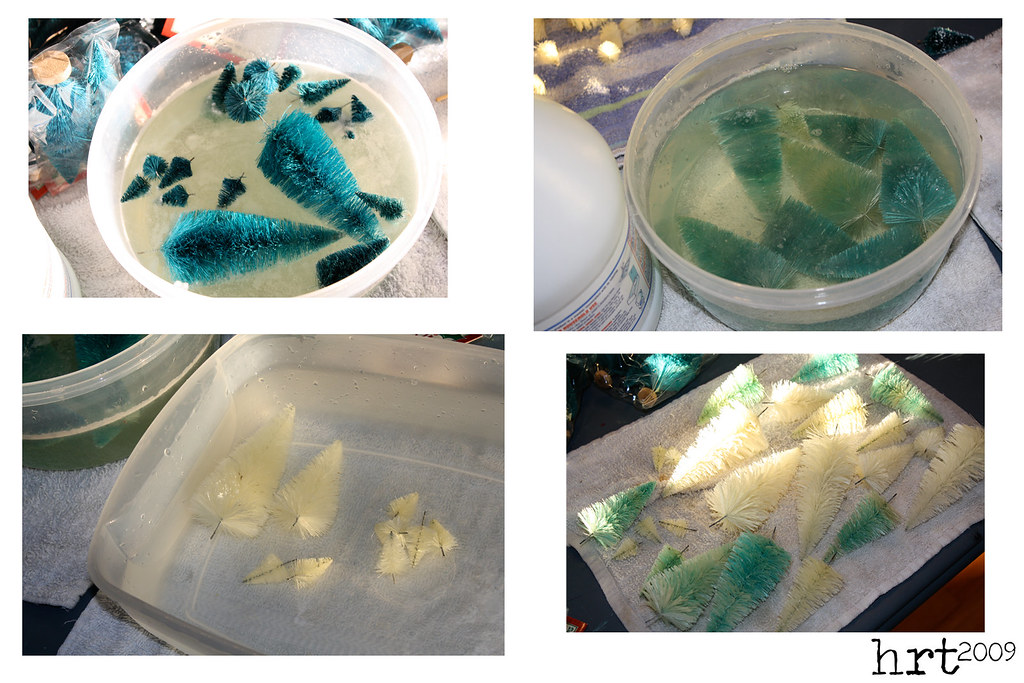 It is really a pretty easy process: remove the wooden bases from the trees, let sit in a bleach & water bath. RINSE WELL. Dip in dye (I just used Rit powder dyes - you only need a little dye and a very short dip to get LOTS of color!)

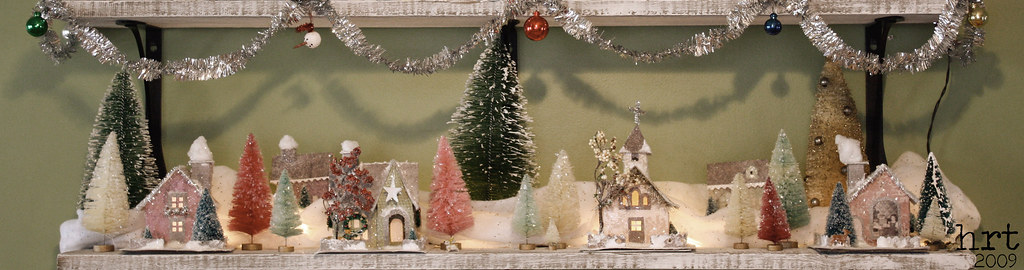
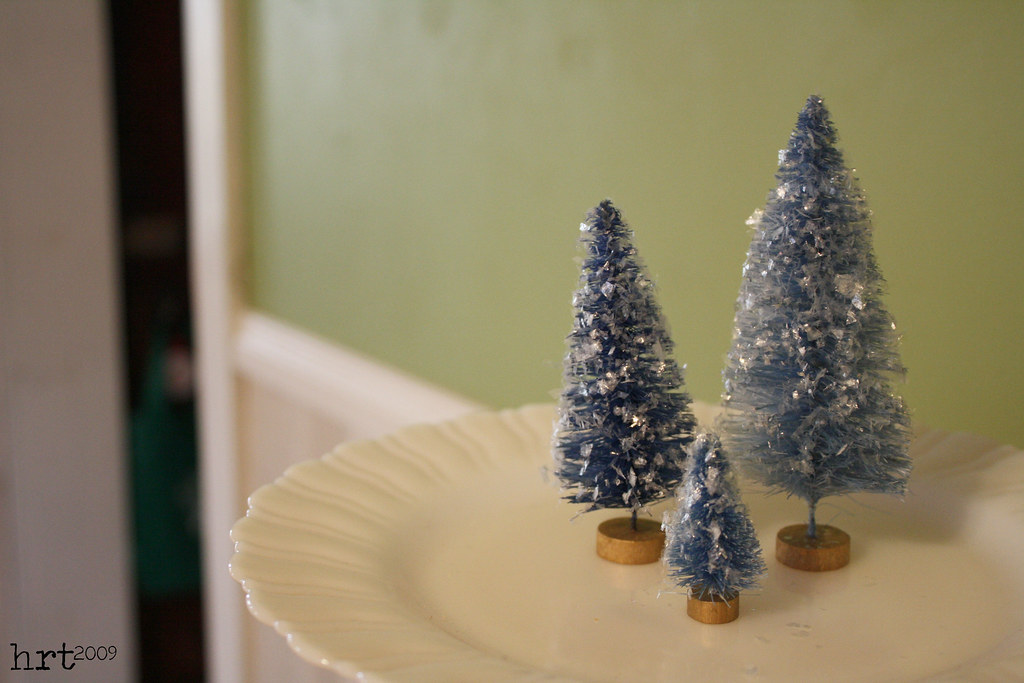
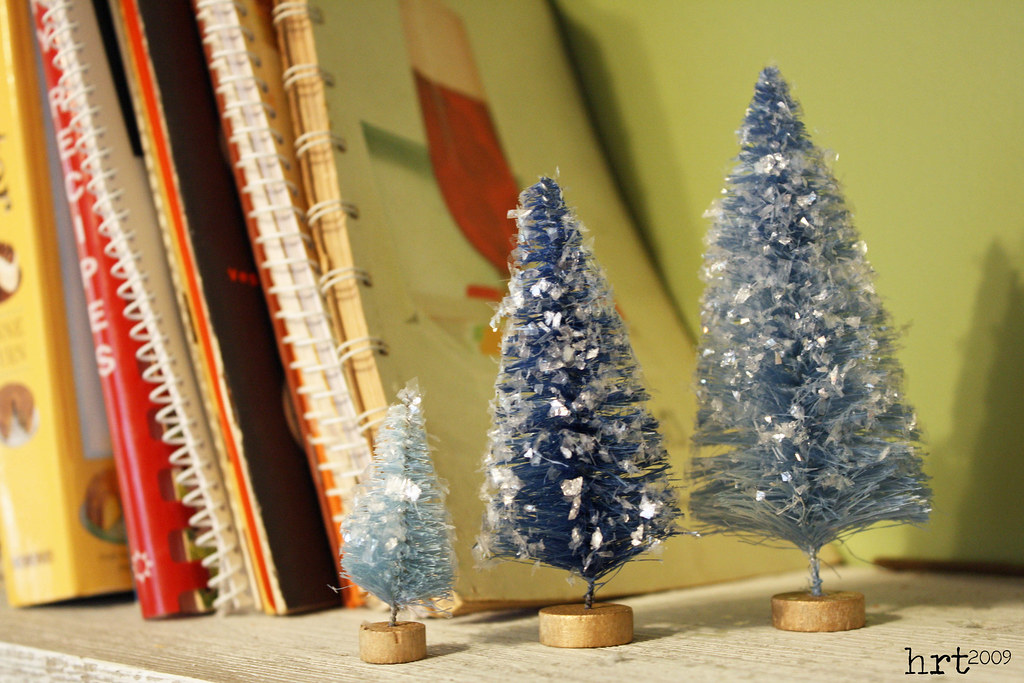
These trees are made by limiting the amount of time you leave your little green trees in the bleach bath. I think it really gives them a vintage flavor, it's as if they have been around so long they faded. It might be neat to try a bleach bath after dying.
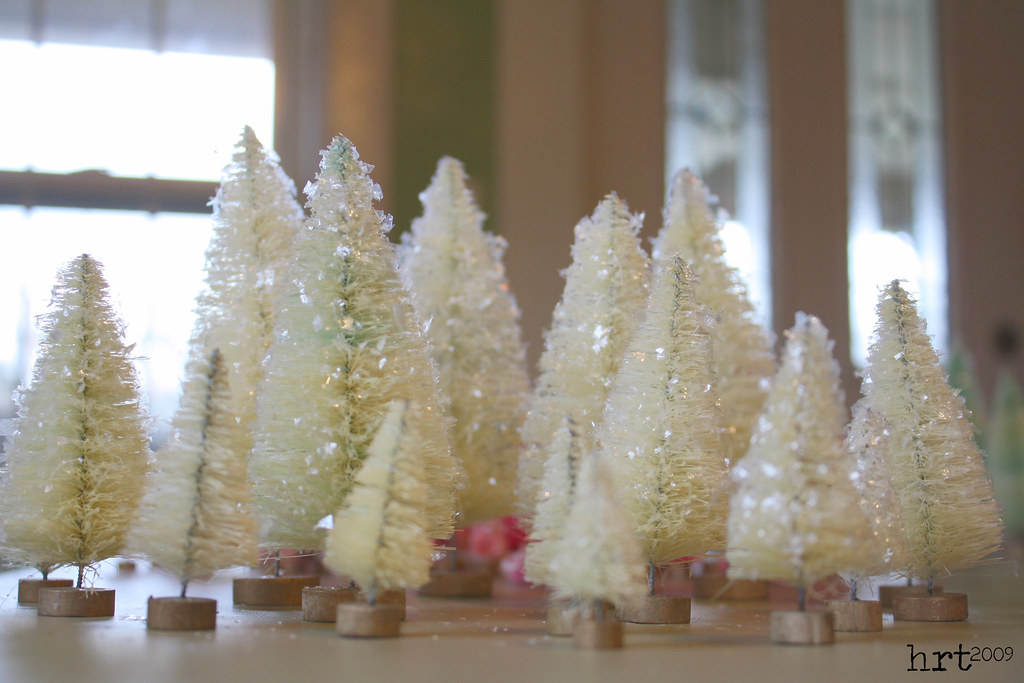
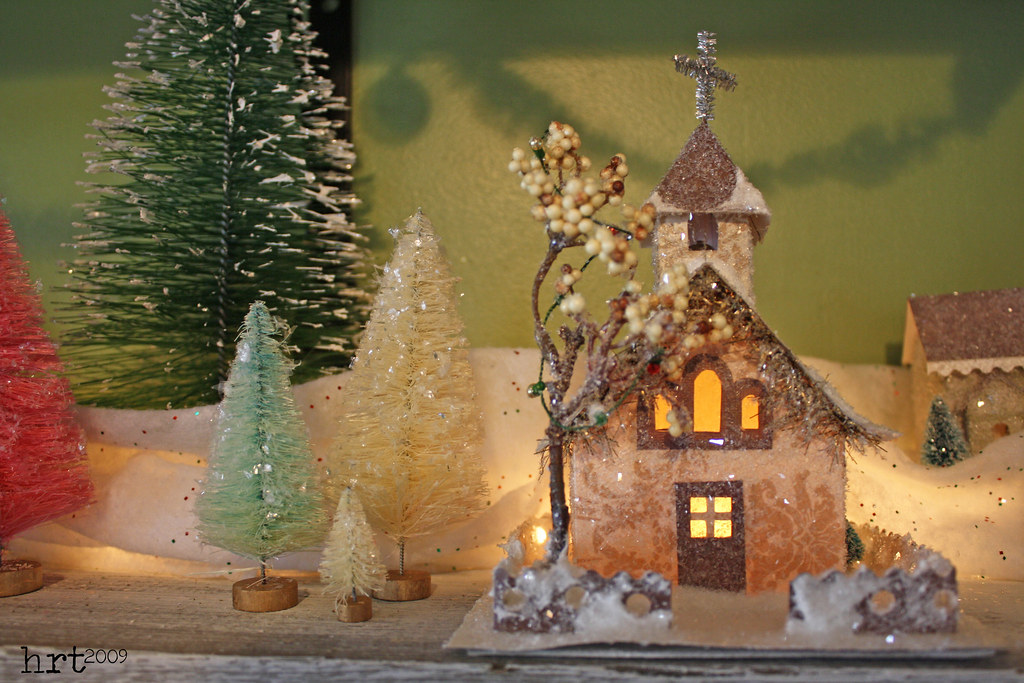
These trees are just bleached - no dye needed for some frosty white trees!

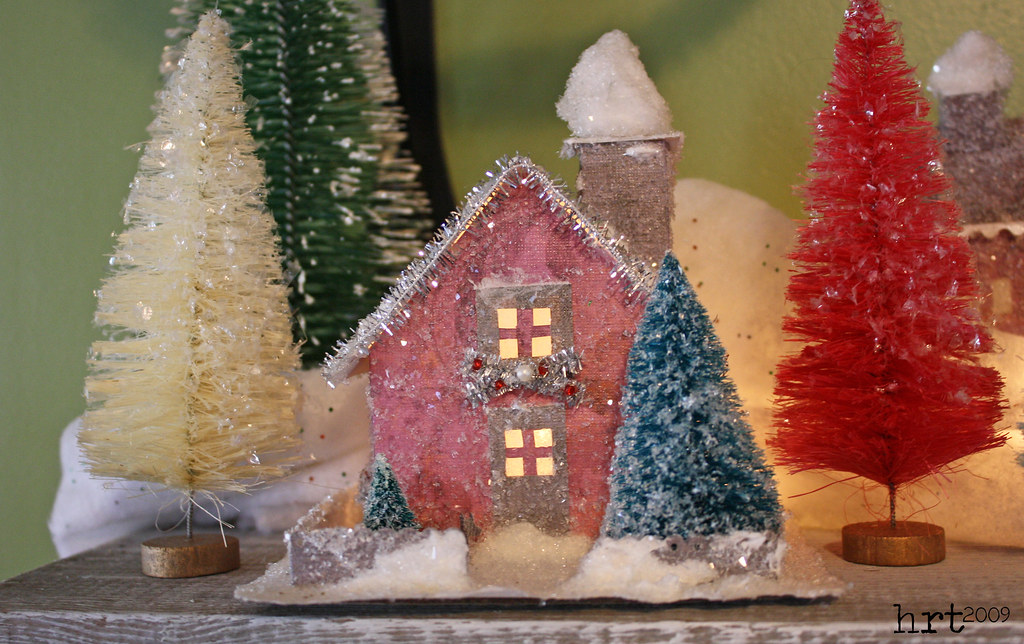
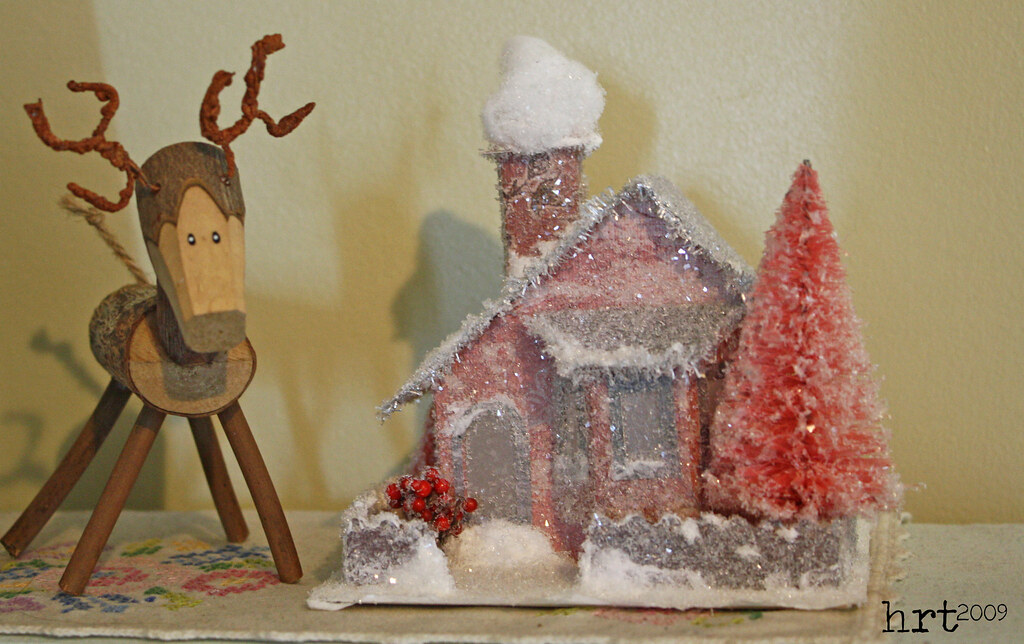
We thought that the pink ones almost looked like candy!

 We are still in full on winter mode here in Ohio. The last few days we have been dealing with ice, lots of ice. Sophie is not a fan of this weather - poor thing, her back legs slip out from under her on the sidewalk and she falls through the ice when she tries walking on the snow piles.
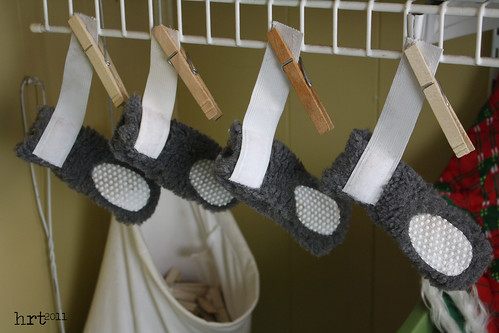 Snow, ice, and the salt used to melt said snow and ice, are bad for little puppy toes. Armed with fleece, non-skid fabric, and some elastic I put together some simple boots to soothe Sophie's frozen feet. I loosely followed the general pattern found here.
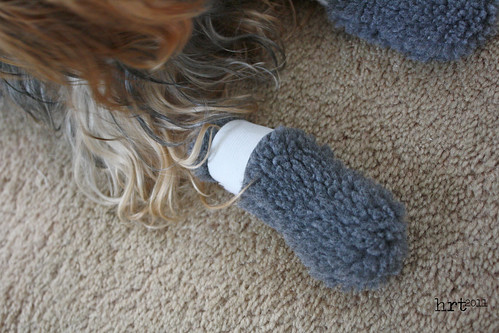 She was a little skeptical of her new footware for the first couple of days - the shoes underwent some chewing and attempts were made to lose them on our walks. Now she has settled in quite nicely, and it is great to have dry feet when we come back in [less footprints on our sofa and bed!]
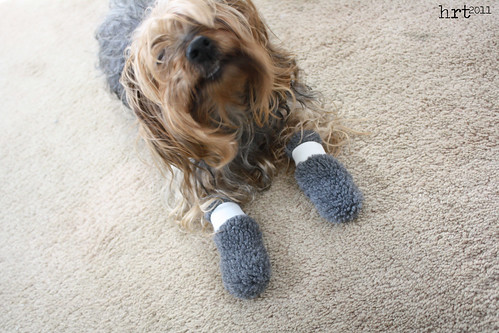 This is day three with no school. I have a love/hate relationship with being snowed in. It is nice to not be able to go anywhere, but since I can do alot of work from home it just means extra hours in front of the computer. Plus I am going a little stir crazy and running dangerously low on white thread [again!] Hopefully the winter blues will pass soon... can't wait for the sun to return!


