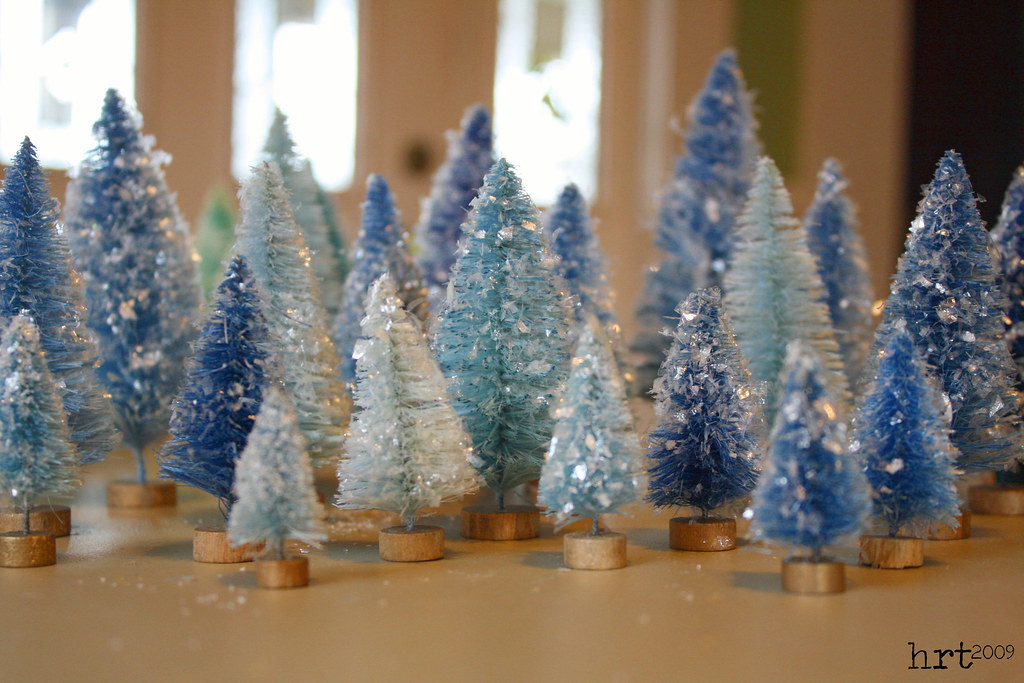
 Nothing says kitchy-vintage Christmas like a pink bottle brush tree! I recently decided to deck out the house using bunches of these little trees. A couple of thrift stores and an antique mall later, I realized that my dream of finding vintage trees was not going to come true. I looked online and favorited a few on etsy, bid on one on ebay... my thirst for little trees was not satisfied. Then it happened, I found a tutorial for dying your own trees! A quick trip to Pat Catans and I was home with nearly 75 trees of all sizes (up to 5" of course).
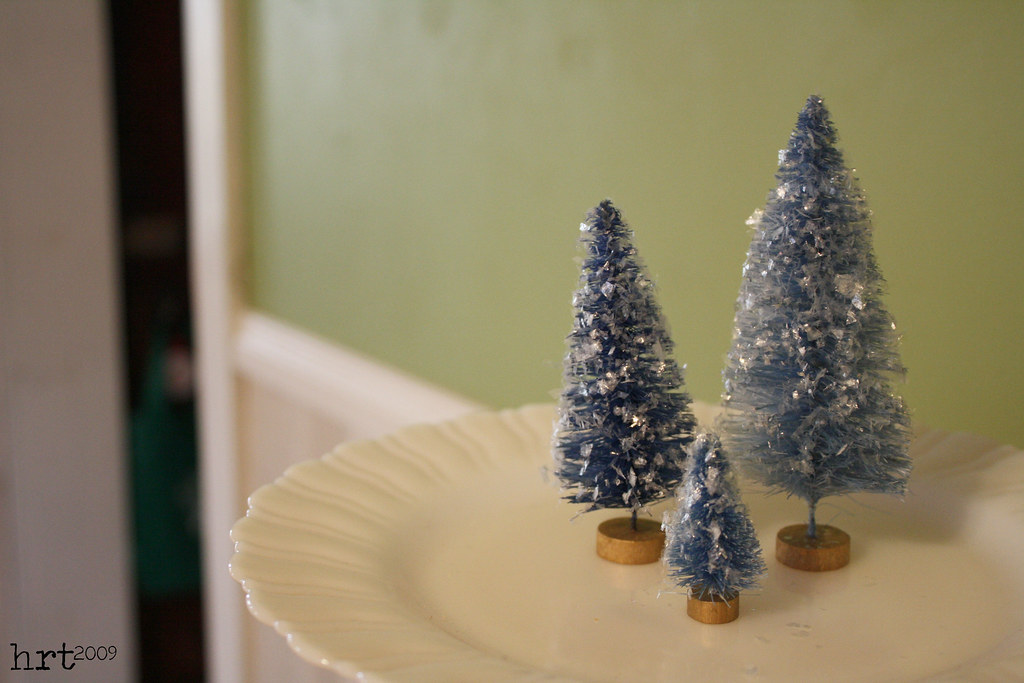
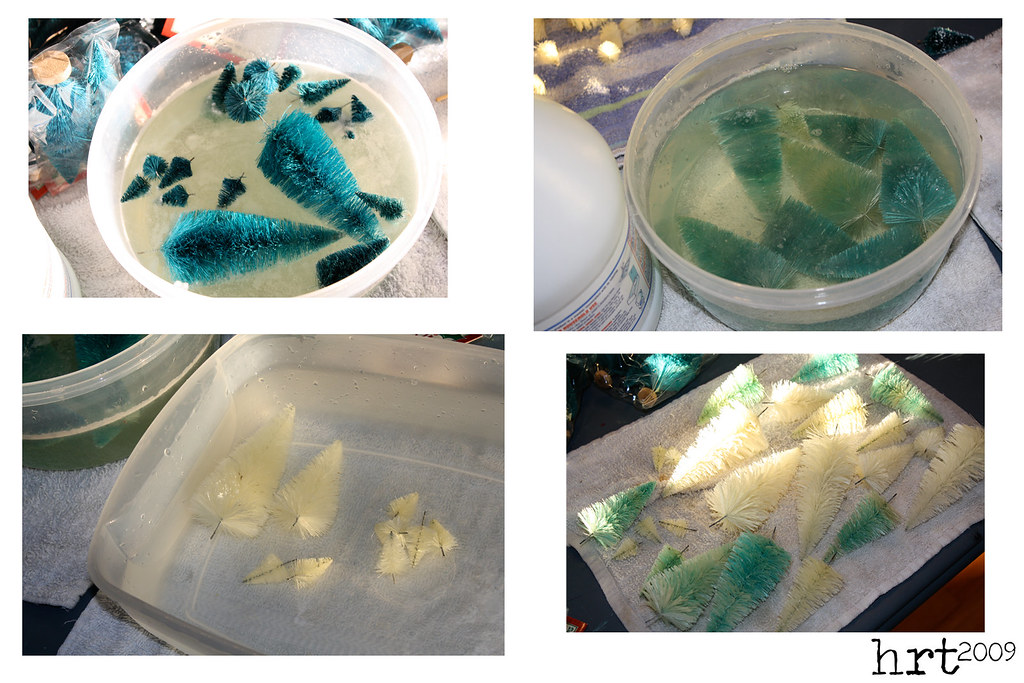 It is really a pretty easy process: remove the wooden bases from the trees, let sit in a bleach & water bath. RINSE WELL. Dip in dye (I just used Rit powder dyes - you only need a little dye and a very short dip to get LOTS of color!)

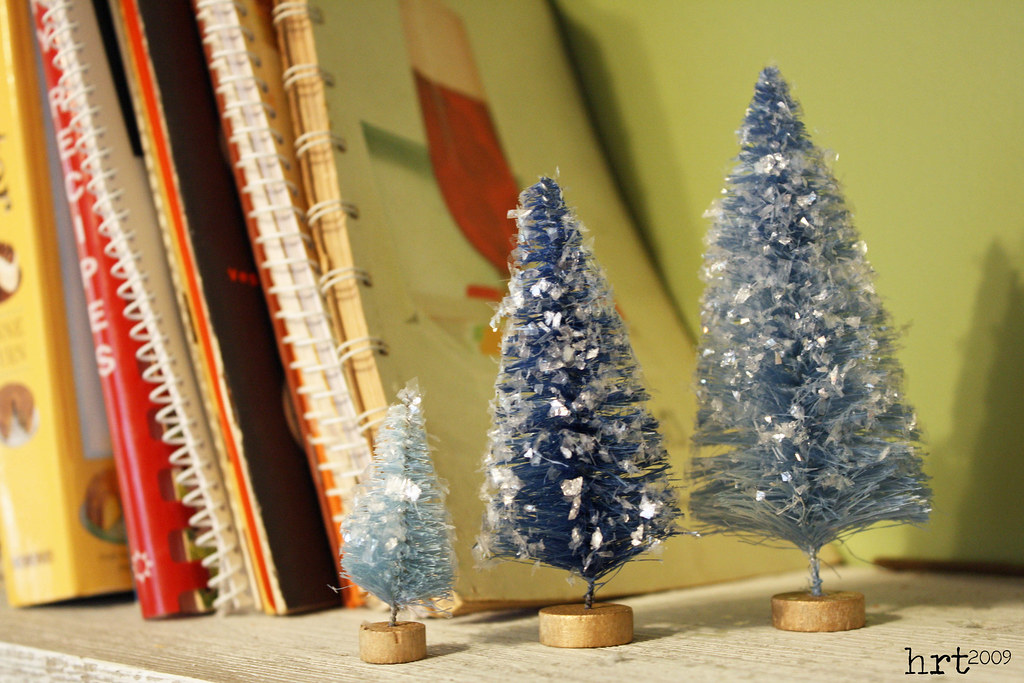
These trees are made by limiting the amount of time you leave your little green trees in the bleach bath. I think it really gives them a vintage flavor, it's as if they have been around so long they faded. It might be neat to try a bleach bath after dying.
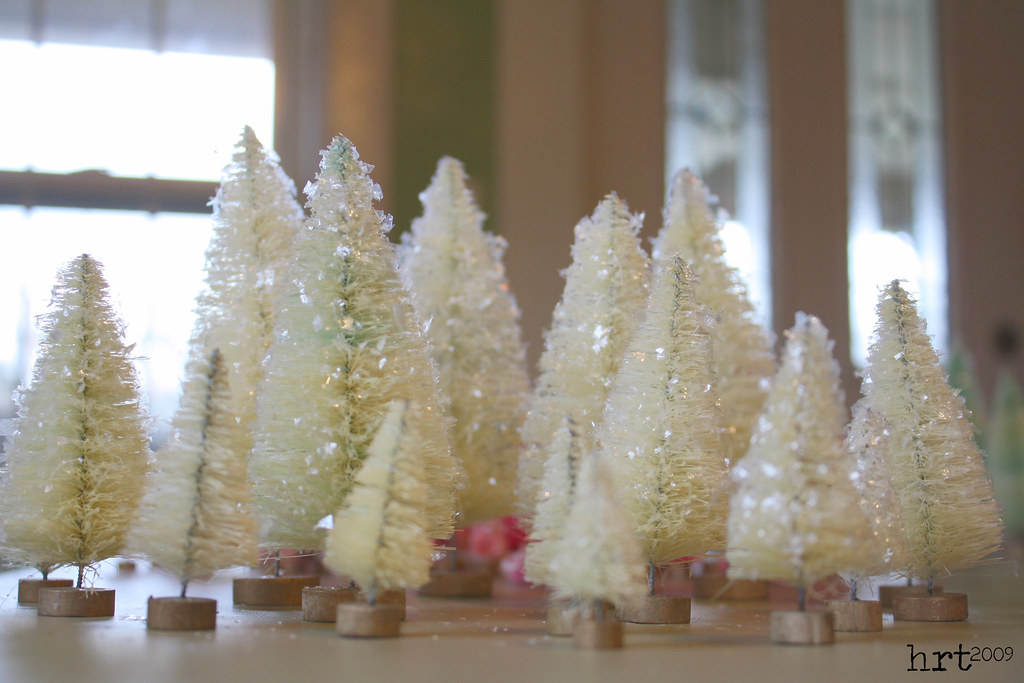
These trees are just bleached - no dye needed for some frosty white trees!

We thought that the pink ones almost looked like candy!

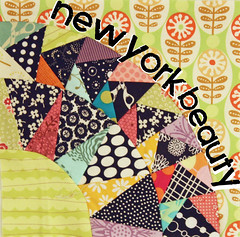
 It's official - I completed another unfinished object [ufo]! Last year I set off on a mission, a brave mission to root through my box of half-finished projects and work on those before starting any new projects.
 Happily this lasted for a while until I remembered why I had thrown these projects to the side originally - no longer my taste, ran out of fabric, too tedious, or just plain bored... Perhaps, [and these are the words of a fabric/craft addict for sure] it isn't my fault - it is the blogs, magazines, fabric designers, etc. who flood my world with way too many exciting and inticing projects that I just CAN'T pass up! I press on, though, using the box of neglected and rejected craftiness as my 'go to projects' whenever I need to grab a quick take along craft. But today, today is a good day - this post is about a finish after all :D
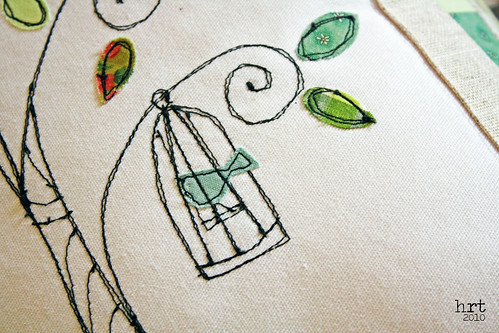
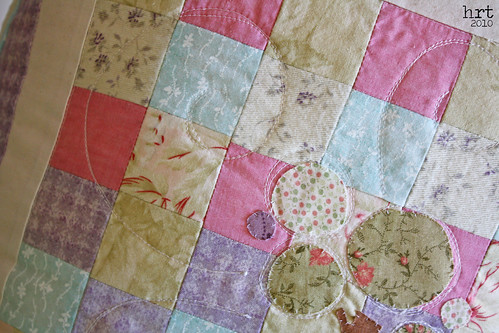 Judging by my fabric choices, I put the checkerboards and appliques together about 4 years ago. I pulled them from the ufo abyss, added borders, quilting, backing, and piping... et voila, lovely little pillows [I actually made 2 of them, so yes pillowS].
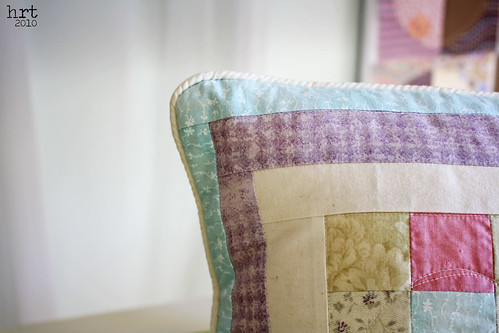 They turned out well, and I am surprised to see so many elements that are me now as a crafter: little checkerboard, somewhat bright colors, modern tree design. My house is beginning to overflow with pillows, so this little number is in my etsy. [I think my new motto is: a chicken in every pot and a pillow on every chair. Thanks HH :D]


