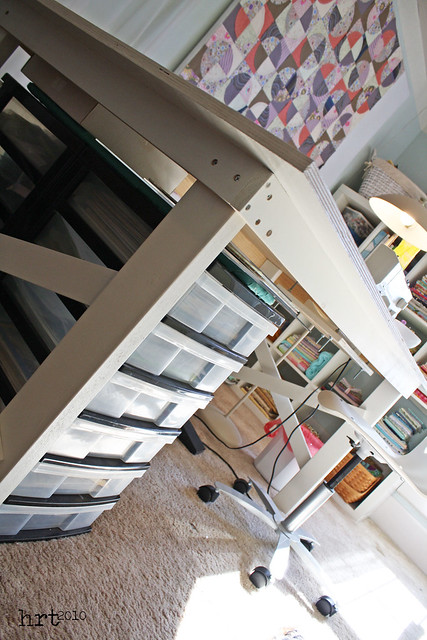
With my craft space all decked out, Berni [my Bernina 1008] has a new home sitting flush with the my sewing table. This means that the
on-the-go cover that I made is now too long. What can a girl do but stitch up a fab new cover?
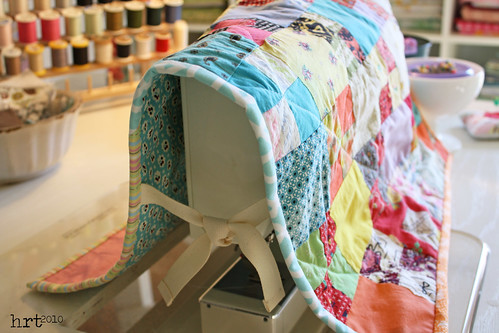
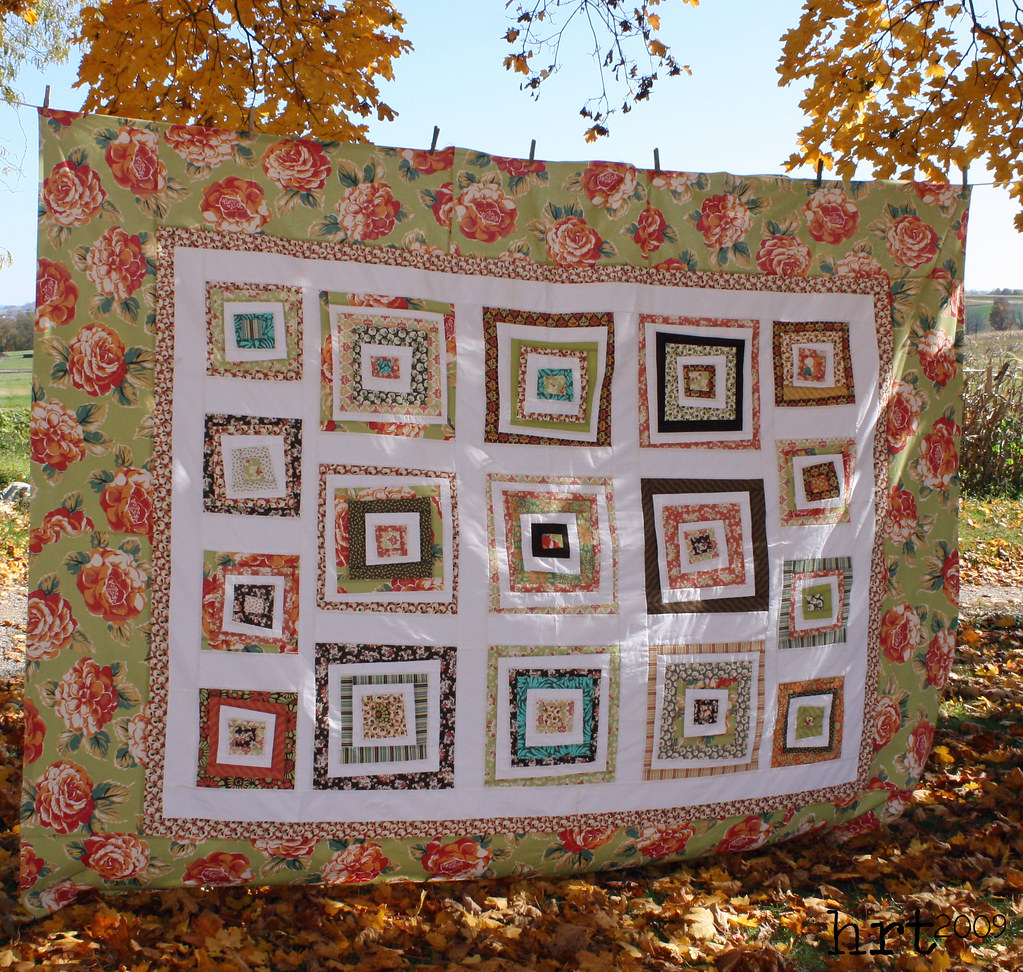
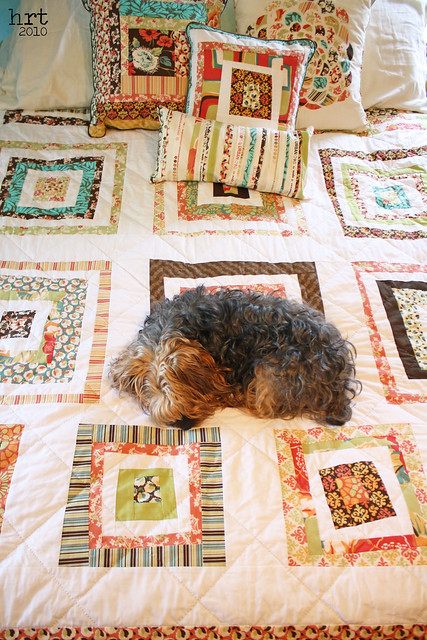
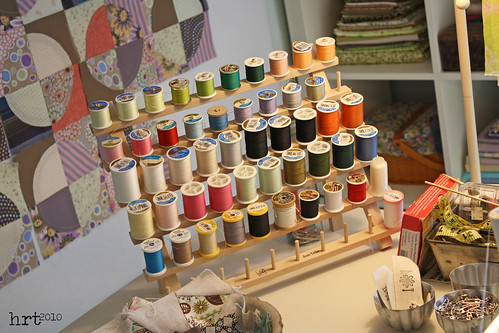
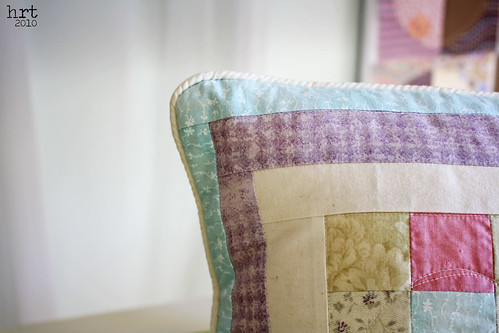
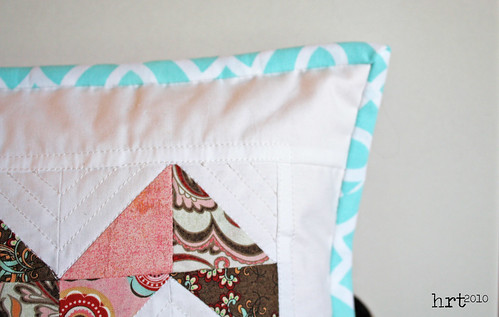
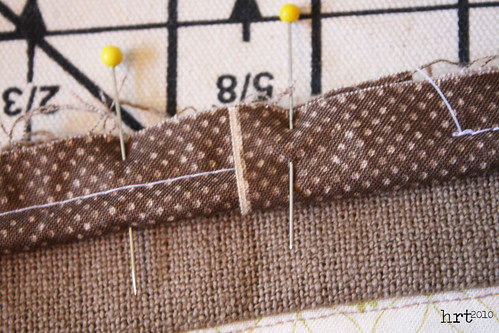
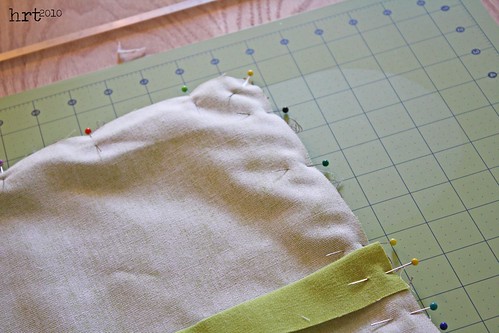
This one is kind of special. The patchwork is actually a little quilt top that was rescued from the trash before my grandma's farm was auctioned. I just added a few more strips of fabric to make it the appropriate length. It is so fun to look at some of the colors and patterns and see how modern they look. I layered it with a warm and natural scrap and a fun repro print, quilted it, then bound it and used some twill tape/rug binding to make ties.

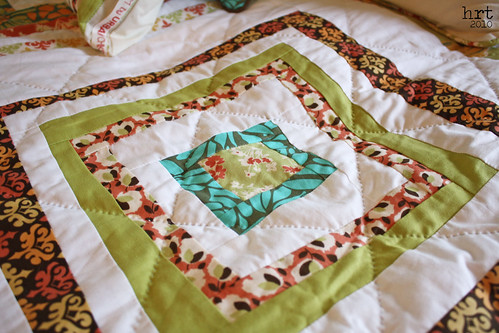
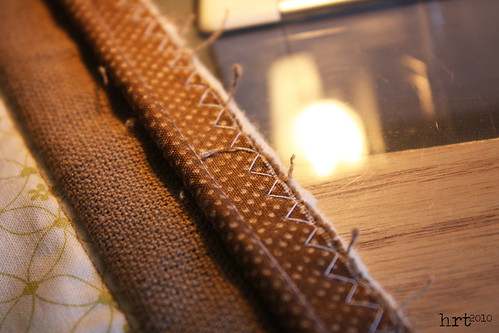
Don't look too close, this is my first time using a walking foot - I felt like this should be soooo simple, but tackling the walking foot is a bit of a challenge to me. Some stitches are super tight while others are really long. A skill in process for sure!
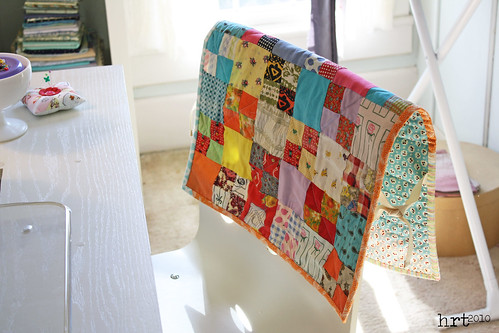
One of the great things about it is it fits over the back of my chair when I am working in there. Handy - one less thing on my sewing table is ALWAYS a good thing :)
I woke up to a white lawn this morning! Last night I did some baking and couldn't resist putting on some Christmas music; there must have been something in the air!
btw: I am still in need of a couple of pattern testers for
Berni's New Digs sewing pattern... Let me know if you are interested and I will send you the pattern!

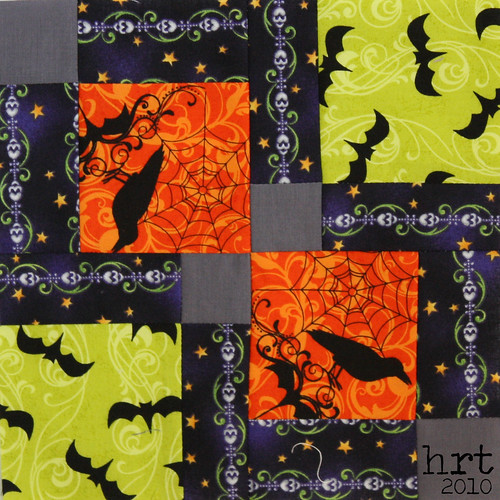
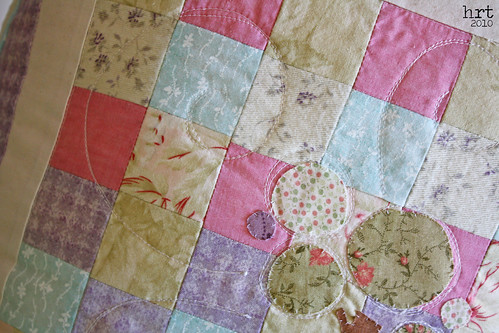
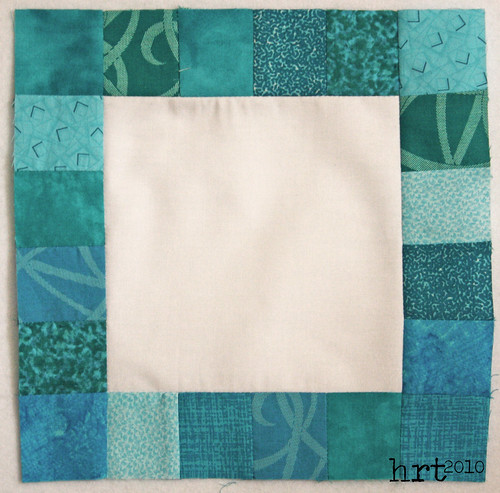
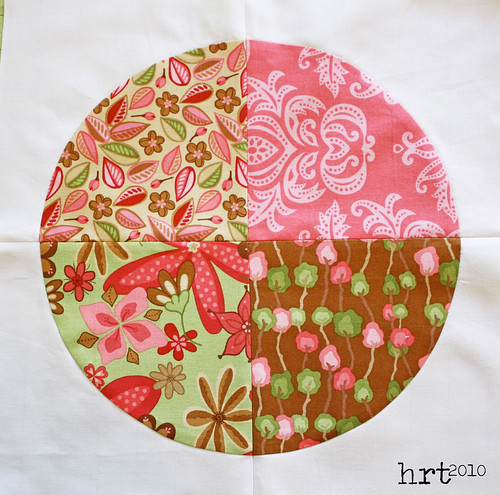
 I added another one to the needs-quilted pile! I started this quilt months ago, but lost a little momentum along the way. Following this tutorial over on cluck cluck sew, I used my handy dandy circle ruler with my rotary cutter.
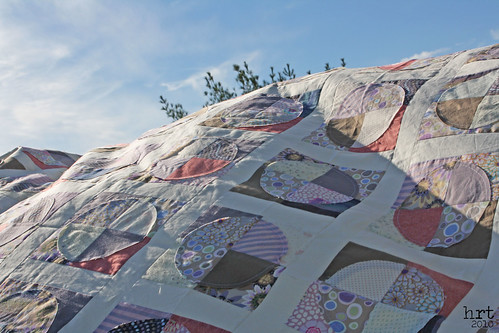 This block goes together pretty quickly - there is alot of waste left over from trimming the excess fabric off the back of the quadrants. I'm not sure what to do with a million or so [not uniform] triangles.
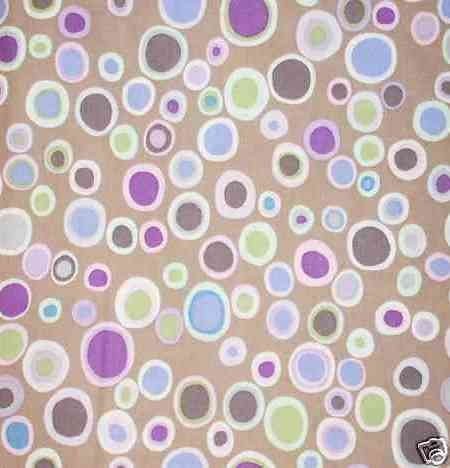
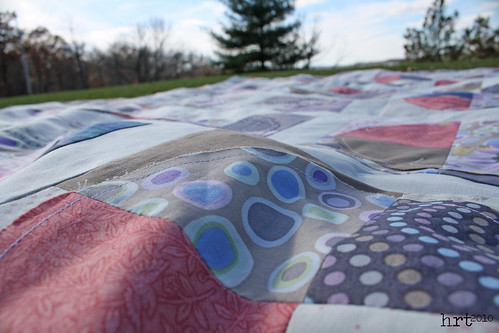 I used up nearly all of my coveted bubbles in gray by Kaffe Fassett. I wanted to add on a border but couldn't find any additional yardage [that wasn't $20+/yard].
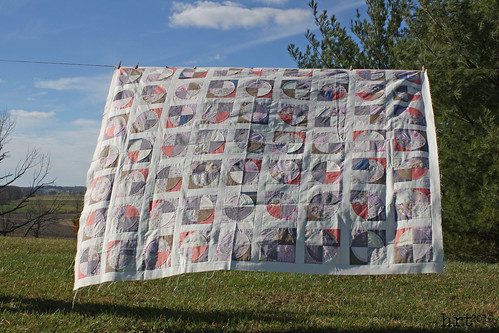 When I finished the individual blocks I was just not thrilled with the way they looked right next to one another. I am not sure if it was the fabrics I chose or what, it just looked too dark. Then a serendipitous moment, when I layed the blocks out on my sewing table I loved the off-white of the table separating the blocks. Enter Kona in bone... Sashing proved to be the perfect solution.
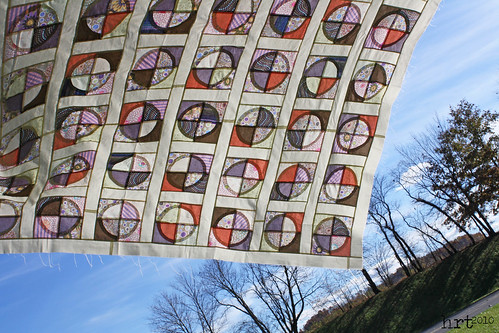 I would love to have it quilted with swirls in the circles and some kind of grid quilting or pebbles in the sashing. I have still not had any luck finding a machine quilter. Many of the quilters I have contacted don't do the free hand work and some I have emailed haven't responded at all! Do you have any recommendations for a quality quilter at a reasonable price??