Hope to have another post soon!


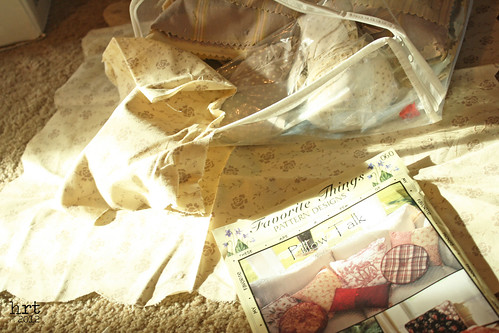


 I am off to a quick start with all of my finish-a-long projects for this quarter! Do you have any of those projects that can only be described as 'a long time in the making'? My flying geese quilt that I have dubbed 'the flock' is the very first full size quilt top I completed [it's a queen size], and probably one of the first big sewing projects I worked on. As I look through my stash I am reminded about my 'urgency' when it comes to buying things, especially fabric. I found this pattern in a quilt magazine in 2001, determined to make it, I bought all the fabric necessary along with ample fabric for pillows, pillowcases, even enough green solid to make a flat sheet. How ambitious, yes the quilt is FINALLY finished, but the pillow and bedding fabric remains folded or on bolts :)
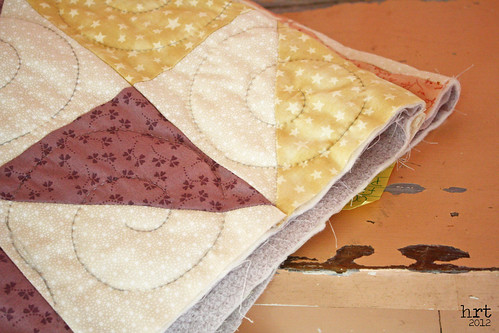
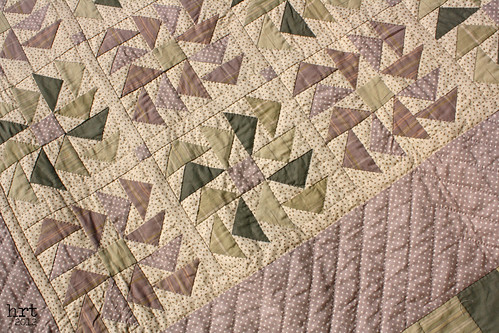
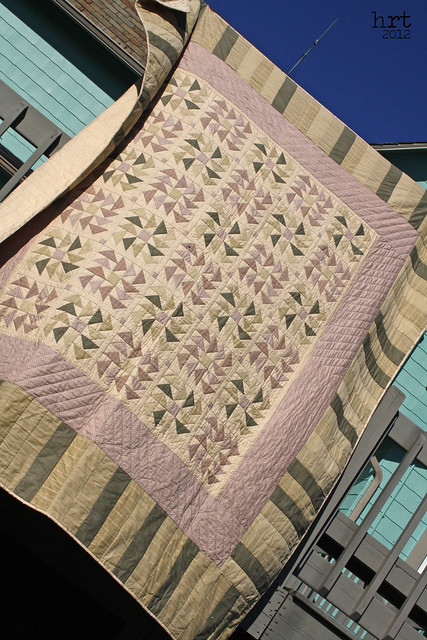 This was before my 'modern' phase, so the colors are a little darker and distressed. It was also before I really knew what I was doing, so there are quite a few squished beaks on the geese.
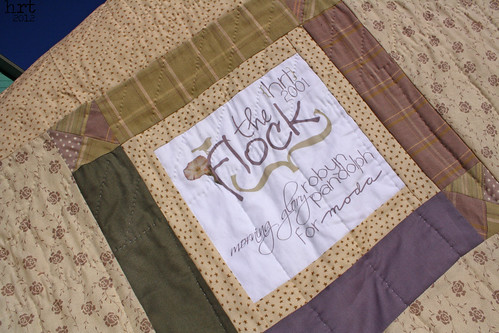 LABELS: If you don't do this, you need to! I have quilts that my grandma and great grandma made - I think. There is no label, no information, no remembrance of when or for who. It is kind of sad to know that every quilt has a story, but it can't be known or told. This is a little big, but I like it all the same :) I used printable fabric; for more ideas on labels, check out this post.
 Robyn Pandolph [who still designs, though not for Moda] designed this grouping called Morning Glory. The line included prints and homespuns [woven plaids] - which makes for an awesome assortment of textures. Still creating wonderful floral prints, you can pick up some of her newer RJR fabrics over at the fat quarter shop.
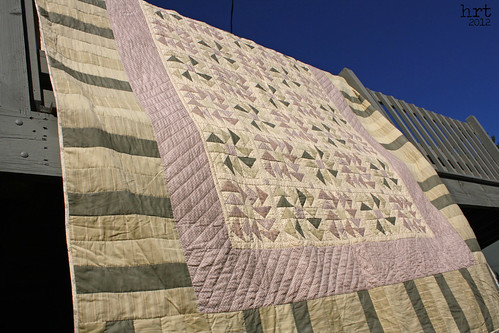 Quilt Started: 2001 / Binding Finished: 2012
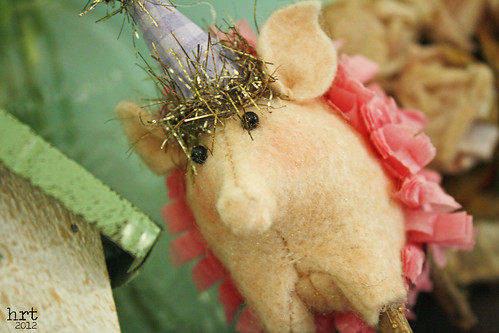 My name is Heidi and I love vintage kitsch. There is my confession. I enjoy my small, but lovingly currated, collection of vintage pyrex. When we cleared out my grandparent's farm before auction, I picked the items no one else wanted {furniture with "character", bits of old fabric, christmas ornaments in disrepair, rusty bits and bobs}. When I saw the Indygo Junction patterns for these little circus performers, I knew my shelves needed them!
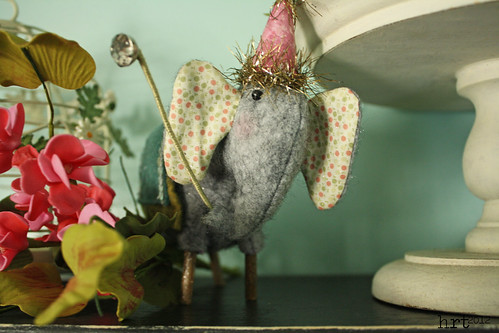 The elephant came first... I think he is adorable with his little stick legs. That sparkly bauble is a button salvaged from my grandma's house.
 This little piggy went to the circus. The elephant and piggy are similar in construction. I really enjoy the decorating and detail work on them - choosing that perfect trim or paper for their hats.
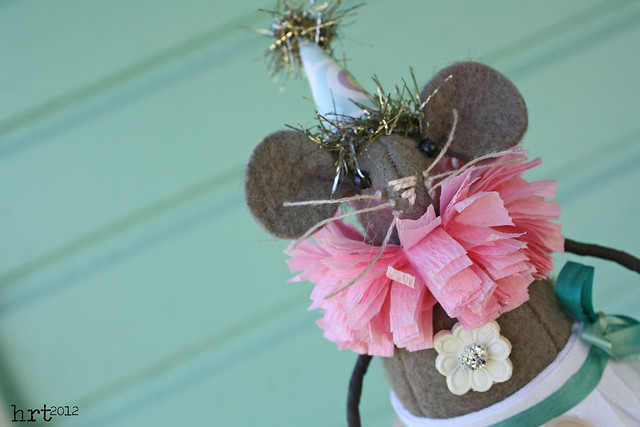 Mouse in the house. She is just adorable. What's cropped out in this picture is a little pink balloon made out of paperclay. Paperclay is a wonderful air-dry clay that is easy to work with and acrylic paint friendly. If anyone has some great suggestions on how to store paperclay long term, I would love to hear them. I don't use it often enough and it seems I am always throwing some dried-out bits away no matter how many ziploc bags I use.
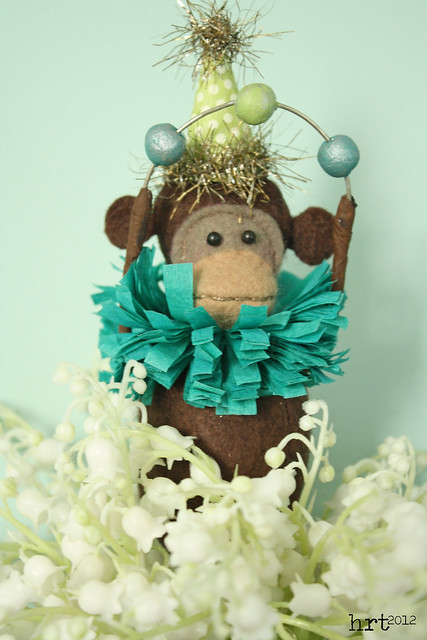 Monkey see monkey do. I love this little juggler - again with the help of paperclay! In case you wondered what the rest of the monkey {& mouse} look like, here is a full photo. The legs are pipecleaners wrapped with floral tape and then painted - a new technique for me!
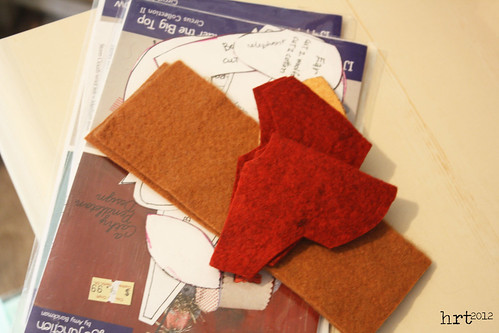
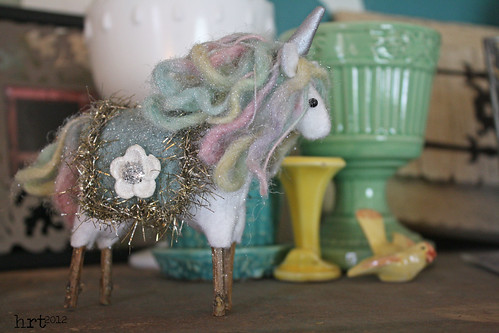
 This post is two-fold: I wanted to show off my circus folks, but also share with you the Finish-A-Long happening over at Quilter in the Gap. I have long talked about my box of unfinished objects {UFOs}. Each quarter you share what you plan to finish, link up to her site, then add links to your finished projects at the end of 3 months. I'm excited to get to work + there are great prizes at the end of each round! Worst case scenario, I get some work done! So my first hope-to-finish is the last 2 circus animals that I want to make - a lion and a horse {possibly a unicorn}. I have all of the supplies out to make them - even little legs and arms all painted up for Mr. Lion. But these little guys are pretty time consuming with all their details.
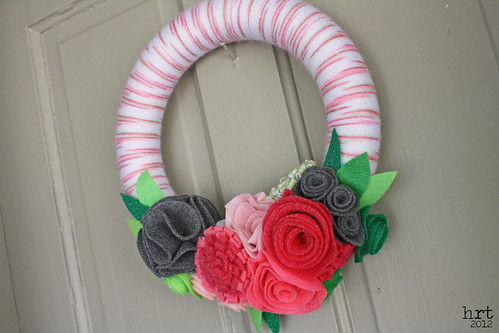
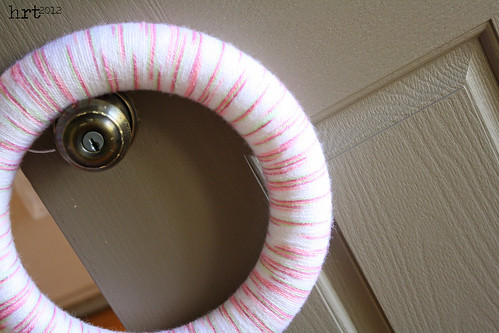 Next up is this wreath. I had grand plans to get it finished in February for valentine's day. I want to make a variety of felt flowers just like I did for the Christmas wreath I made.
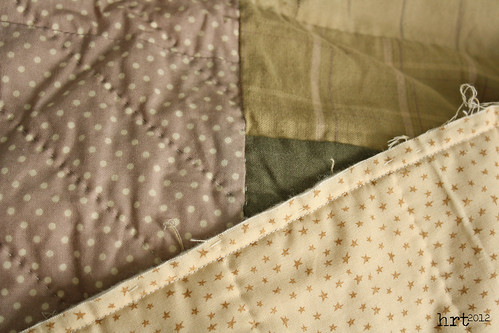 My last hope-to-finish is the binding on this queen sized quilt. I don't want to reveal too much until I am completely finished.
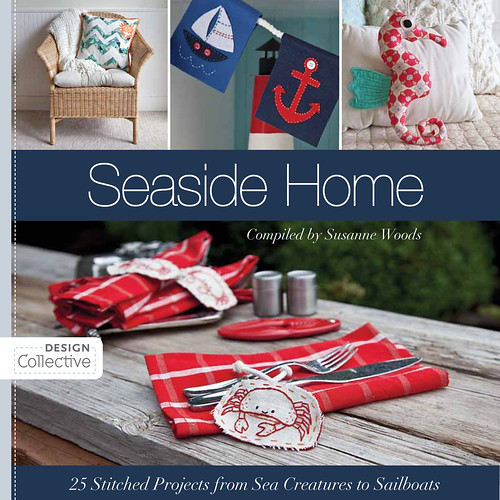 In the last two weeks...
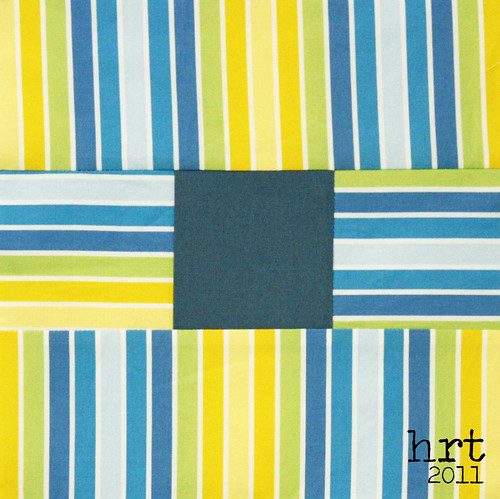 {note: 1 more day - today - to enter into the drawing to win a copy of Seaside Home! Just leave a comment on this post.}
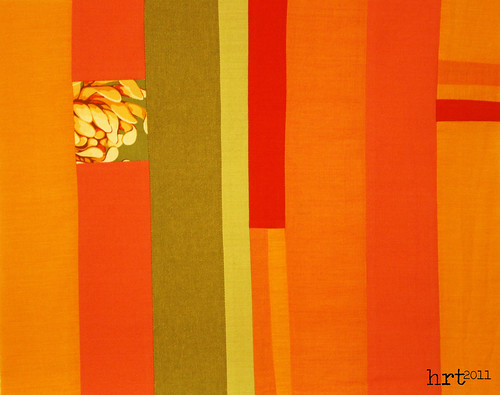 September: Kelly was going for more of a modern look. It was fun to have boundaries but still be allowed some artistic control. I am sure this will look amazing when she finishes with it!
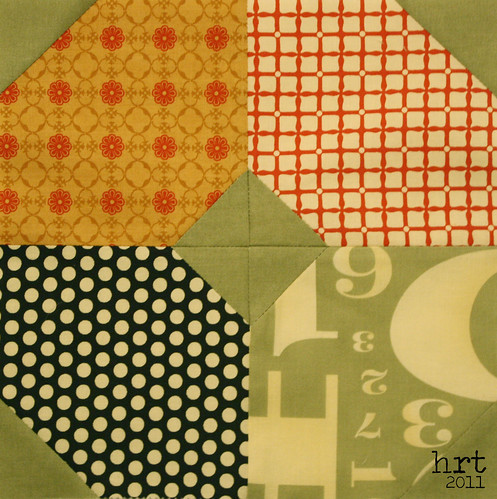
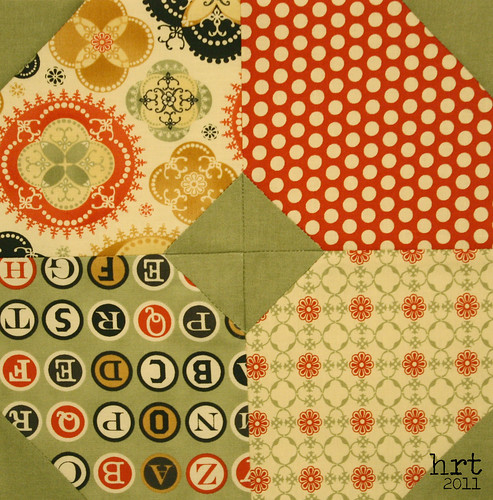 October: Tammy wanted a Moda Bake Shoppe pattern. The fabrics are GREAT; I really like the secondary pattern that forms when you put these blocks together.
 November: Shari is into upcycling men's shirts right now. I am a huge Kaffe Fasset fan, so the finished look is right up my ally. Some of them are still a slight bit wonky despite my best pressing and cutting efforts. Cannot wait to see all those shapes come to life in a finished quilt!
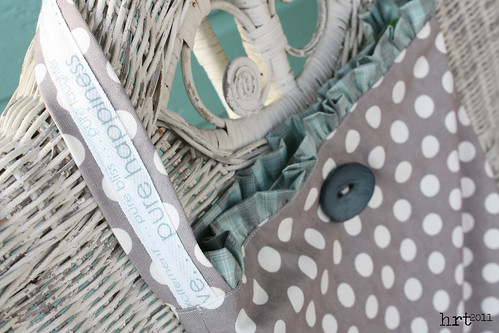 **note: there is still time to enter in the giveaway for new Seaside Home book! Comment on this post! I will announce a winner on the 15th :)
 Sweet and simple, I put together a little tutorial - here is a link to the pdf.I am pretty darn pleased to announce that my little crabby pillow has made its way into a book!! The soon to be released book Seaside Home will contain one of my very own original patterns. I can't hardly believe it :D
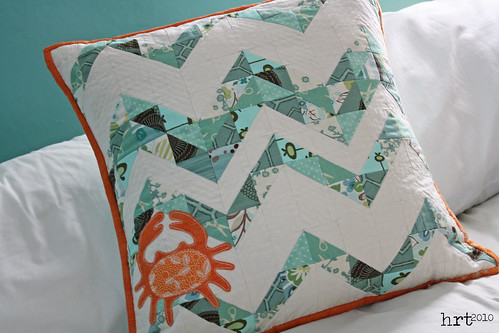 Did you see my crabby cover girl in the upper left hand corner? Here is a bigger picture I took in case you missed it.
 There are so many wonderful sea-inspired projects - don't you love that little beach house?! To roll out the red fabric for the book, I would love to giveaway a copy of the book. Just leave me a comment on this post to enter. There is also a blog tour in the planning stages. More details to follow; I will draw a winner on March 14.
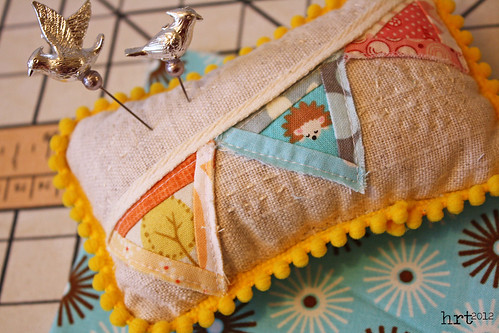
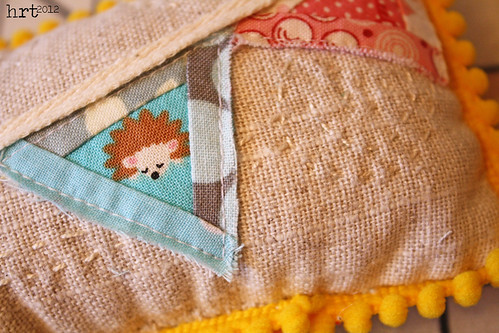
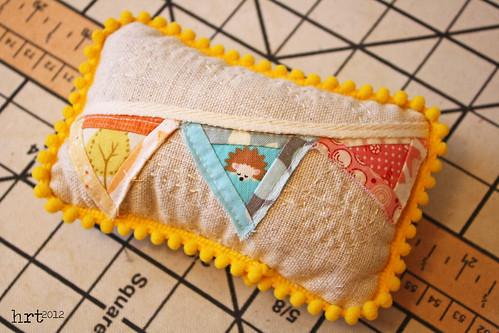
 Just a little post to prove to everyone that I am still alive! I have been traveling through one of those almost-too-busy-to-breath periods of time. Life is good, just a little overwhelming. I wanted to share some cute wrist pin cushions I made to sell a little while ago.
 Fairly simple and straight forward: They are a 2.5" strip of fabric and some batting, folded in half wst, stitched and turned. Add a circle that has been basted, stuffed, and tied shut. I used a felt circle to cover the opening after I added the thread and buttons. [also, there is a cardboard circle in the bottom of the pin cushion to prevent pinning yourself] Velcro does the job of keeping it on your wrist and offering a custom fit.
 This is a tutorial that I find pretty helpful, offering basic pincushion instructions. I do have some exciting crafty news to share with you! Check back here in the next few days :)