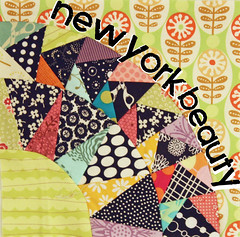
[can you hear the Grease music?] summer swappin' had me a blast, summer swappin' happened so fast... Those of us in the Block Swap 2 are headed into the final stretch, the bee started in January and will end in December. I have really enjoyed tackling new challenges and learning loads of new techniques! My month was August and I fell in love with the New York Beauty blocks that Jennie was making! [check her beauties out here! The tutorials are here] [more details on my blocks when I receive them all]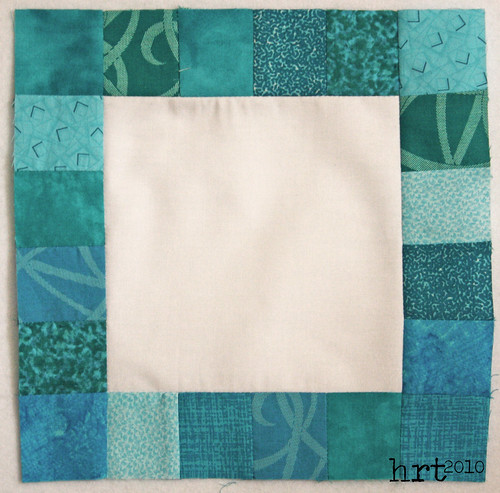 For July, Cindy wanted to make a color wheel quilt using the Pieced Scrap Border Quilt tutorial
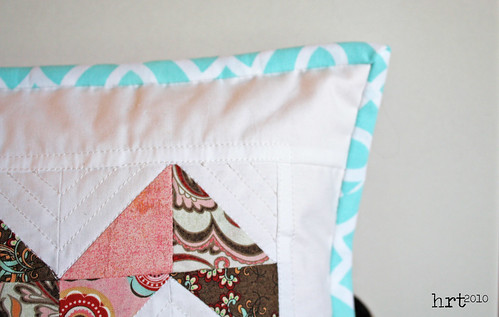
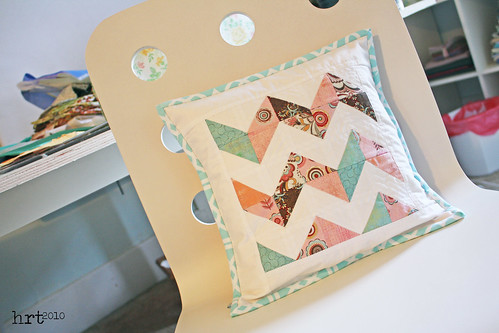
 over on Red Pepper Quilts. It went together really easy and I love the final look - this will be great once the rainbow of colors is set together!
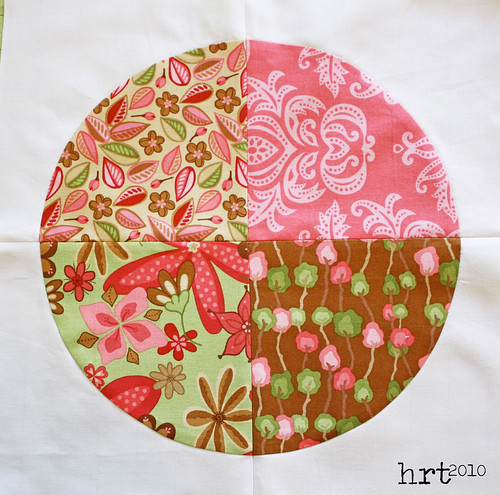
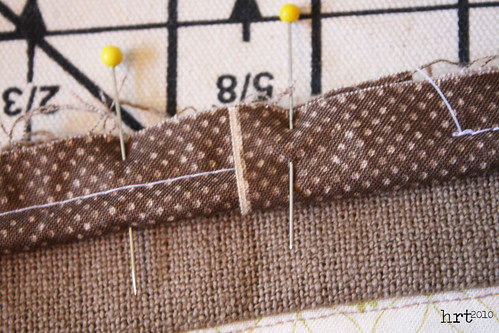
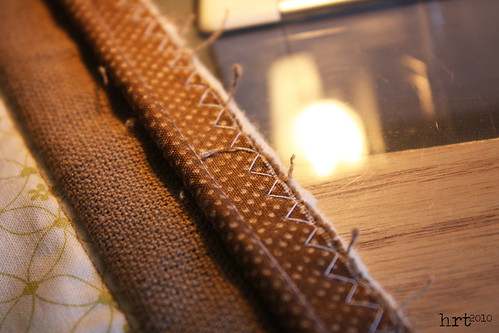
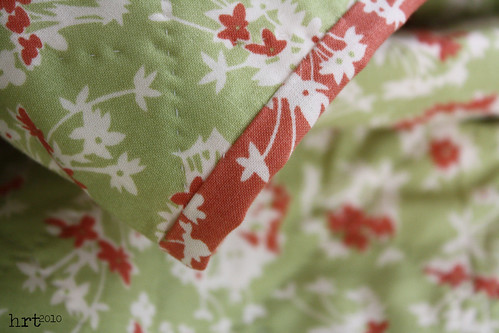
 In September, I got to refine my curved piecing skills with a drunkards path block for Frieda. She sent us over to the Sometimes Crafter tutorial and all the pictures made it super easy to follow.I love stalking all of the wonderful swaps over on flickr, but am hesitant to commit to 'one more thing' - what swaps do you just love?

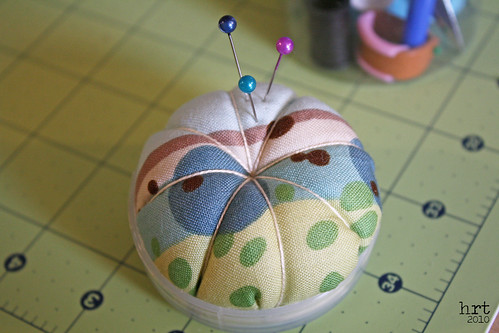 Well, my pincushion for the scrappy pincushion swap is officially on its way! As with every swap I participate in, I was overwhelmed with all the options and want to make just the right thing for my partner. I got the book Pretty Little Pincushions from the library - and it was too wonderful, ack! even more options! Recently I have been drawn to the simple 'tomato' style pincushion. They are great for showcasing pretty pins and gorgeous fabric. I focused in on making a little sewing kit!
 Fro those who sew alot on the go, this little tube is perfect! The pincushion is attached to the underside of the cap.
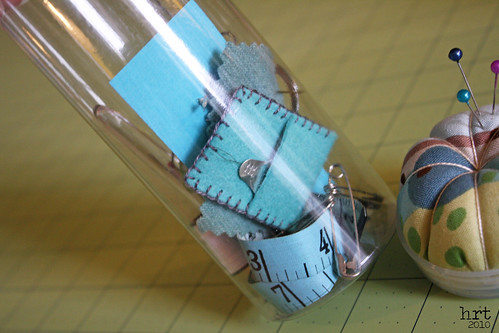 Contents: tiny fold-up metal scissors, thimble, white/black thread for repairs, a variety of safety pins, some needles in a scrap of pinked wool, a needle threader in its own little case, a tape measure, and a sampling of white buttons. I made one for myself and it is wonderful for perle cotton or a skein of embroidery floss!