
 If you've just tuned in, I have been laying out a few ground rules for making fab pillows and cushions in the Pillow Basics Series. Today will be the final installment [Hurrah!]. I typically finish my pillows with either piping or a traditional quilt binding.
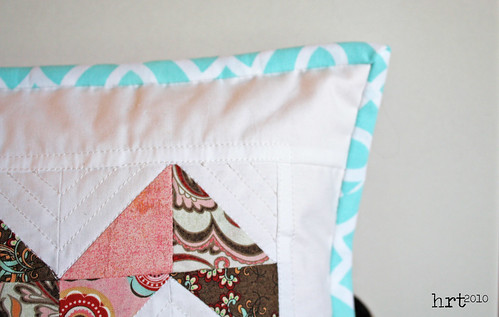 If you are binding your pillow...
Take your 2.5" strips and press it in half so that you have a long 1.25" strip. Layer your pillow with wrong sides together and the binding on top of the front. Sew the strip around the edge of the pillow using a 1/4" seam allowance. [Here is a great tutorial for mitered corners] flip the folded edge of the binding over to the back of the pillow and handstitch in place - yes, handstitching does take a while, but you have a very pro looking end result!
 If you want to use piping...
First we are going to make our own piping using the 1.5" strips you cut. I generally use 3/8" cording from JoAnns, but you can choose the thickness you like best. Lay the cording in the center of your fabric strip.
 Fold the strip in half around the cording, pin.
 I have an ab-fab foot that is made for sewing piping - it has a groove in the center that holds the cording in place. You can make piping this way with a zipper foot as well. I like to set the needle position to as far right as it will go and the stitch length as long as it will go. Begin stitching 1" from the 'start end' [rember when we talked about the selvage in lesson two?]; stitch.
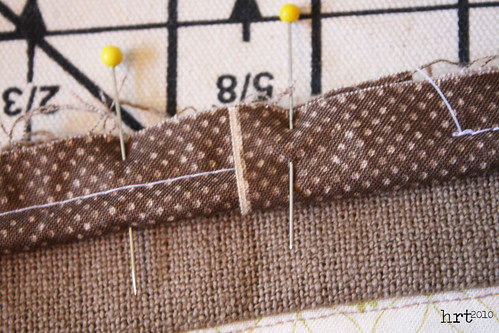 Pin the cording in place along the edge of the top of the pillow. Ease the corners by snipping into the piping. Tuck the end under the 'start end'
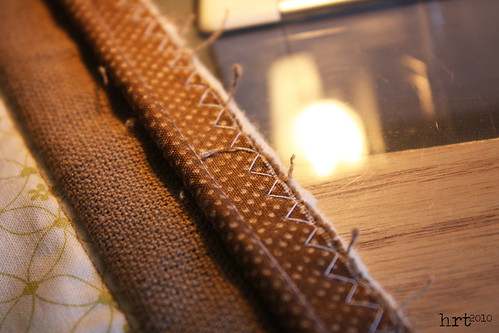 Using a wide zig-zag stitch [with the regular sewing foot], sew along the edge of the piping to secure it into place.
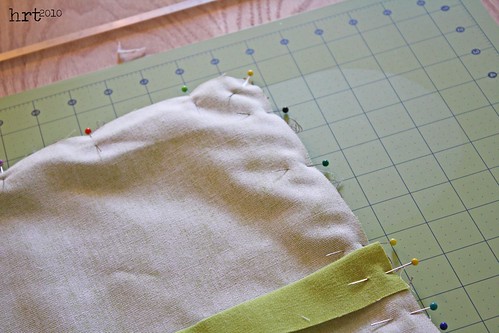 Layer the pillow back over the pillow front with right sides together, pin. With the zipper or cording foot attached, move the needle position all the way to the right and then move it back to the left one click. [This will ensure that none of those basting stitches show on your finished pillow] Stitch tightly along the edge of the piping. If you are using a thick fabric for your piping, you may want to switch to a denim needle in this step.
 Trim the corners, rounding them to match the piping. Turn. VOILA! You're pillow is finished and ready to spice up your sofa!
 This wonky star pillow is up for a new home in my shop!
THERE'S STILL TIME! Don't forget to sign up for the pillow giveaway!! Comment on this post...
ps: If you are enjoying these tutorials, feel free to add my button to your blog :]


No comments:
Post a Comment