Wednesday, September 8, 2010

crabby pinnie {the tutorial}...

[note: I have had a couple of people have trouble accessing the tutorial on google docs. I am happy to 'share' the file with your google docs account, just choose that option after logging into your account. I have also uploaded the tutorial as a photo onto flickr.]

Scrappy. Pincushion. Swap. My new favorite
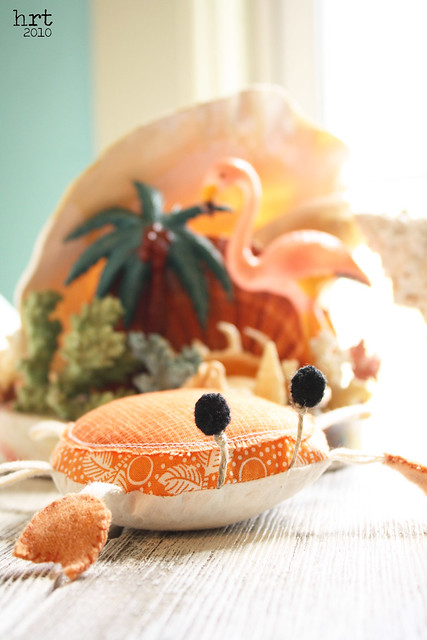
swap! I really enjoyed round 1 so I have signed up for round 2 - I think the hardest part is deciding what to make. Last round I made 3 or 4 different pinnies before ending up with crabby {who I think turned out quite nicely}. He is happily living in his new home across the pond. Perhaps you would like a crabby to call your own? Here is a link to his tutorial {I put the pdf up on google docs - PLEASE let me know if you have any trouble accessing it!}.

I would love to see a picture if you make one :D
enjoy.

Thursday, September 2, 2010

ties that bind...

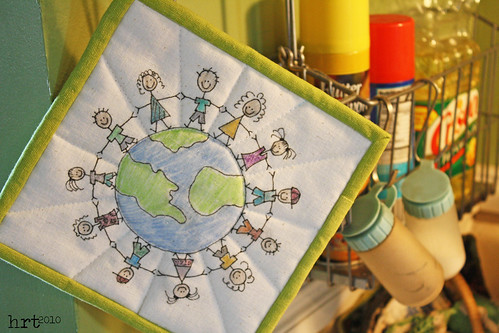
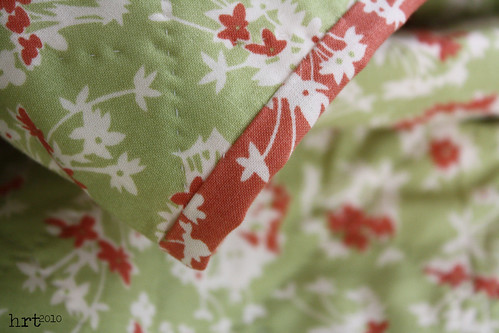
This handy little potholder is just one of the many things I have been binding lately! This was a fun little foray into the world of potholders [I have been seeing them everywhere and had to try my hand at it]. The main panel is a piece of osnaburg that I drew on with a pigma pen, colored with crayons, and then heat set. This has been hanging around the UFO bin for no less than 7 years [yikes!] I actually liked working with the InsulBright batting - I am always a little scared to sew through something that appears to contain metal, but the needle cruised through it! I backed it with a scrap of Arcadia and added a handy little hanger on to the back. [Does anyone how to make the binding loops like on the store bought potholders?]


So lots of binding going on around here - which means lots of finished projects to show you soon! And I haven't forgotten about my promised giveaway - it will be a handmade little number and it is ready for finishing as well!

Sunday, August 29, 2010

pleased as punch...


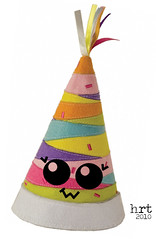
I am officially back - just 88 posts and 158 re-edited and re-uploaded photos later! What better way to celebrate than a welcome back party! I thought we could start with some punch - so here is a little [quick & easy] recipe for you that I slightly adapted from one I found in Kraft Food and Family magazine. Be on the lookout for more additions to the party this week - including some gifts :D

[click on the picture for a bigger view]

Like the felt party hats? They are available from
Modern Lola in stripes & polka dots! The kawaii faces are by iKyr over on deviant art.

PS: this post had to be on the 'picture light' side as I am currently at 99% of my flickr capacity for this month...

Wednesday, July 28, 2010

Flickr help needed...

[8/26] ANOTHER UPDATE: Only 3 more posts to bring back to life!! Then some new posts, and a giveaway to celebrate!

UPDATE: My blog is coming back to life [slowly]! I am re-uploading my pictures and working from my oldest posts to my newest. So I hope to be up and running very soon :]


HELP! I accidentally deleted my flickr account :[ I don't think there is much hope for me, but if anyone has any suggestions I'll take them! I tried to change my primary email address and it told me that another flickr user already had that email address - meaning I had 2 flickr accounts, 1 I used and 1 I didn't. Long story, short - I deleted the wrong one!

So sad, now entering a period of mourning...

Wednesday, July 14, 2010

crabby pinnie...

I have been dreaming of a tropical vaca and it's showing up in my crafty life! I joined the Scrappy Pincushion Swap over on swap [Thanks Corey for 'forcing' me into another swap!] - it has been so fun to watch the AMAZING ideas people come up with. Today officially ended this round for me - I have both received AND sent my pinnie!

This is crabby - I am really pleased with how he turned out. Swaps are always so much pressure for me. 'Will this be good enough?!?' I am so intimidated by the beautiful things that everyone else creates. My partner seemed to like animal/item shaped pinnies [check] and modern & bright colors [check]. Fingers crossed s/he likes it!! By the way - tutorial for crabby pinnie coming later this week :]

This is the fantastic pinnie I received from Christy. Can you believe all of those gorgeous Heather Ross fabrics?? She also included a seam guide ruler and a couple of great buttons. I really lucked out having her for a swap partner!

Saturday, July 10, 2010

gadgets & gizmos...

I'm a huge Alton Brown fanatic - I'm a little bit of a food science geek :] My degree is in Family and Consumer Science Ed [that is the new name for Home Ec - the curriculum really has changed alot from the '50s, so a name change is somewhat warranted]. In college I loved learning why things cooked, froze, turned into ice cream, caught on fire, etc., etc. Anywho, Alton has a motto when it comes to buying gadgets and gizmos for your kitchen: no one trick ponies. i.e. no avocado slicers or corn butterers, you know those 'must have' kitchen tools that only perform one task. I kinda forget his valuable advice when it comes to crafting tools - and I'm kinda regretting it with this next tool... Anyhow here's a review:

Problem: Making piping that has a perfect quilter's 1/4" seam allowance. I noticed that I was cutting off the points of some of my pillow tops because my piping seam allowance was too large. So I thought, 'Gee, if I could only make a ruler that would have an indent for the piping bump - then I could trim the piping down...'


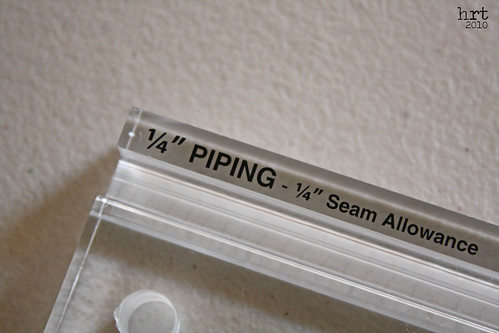
Gizmo: Simplicity Studio Simpli-EZ Piping Wizard

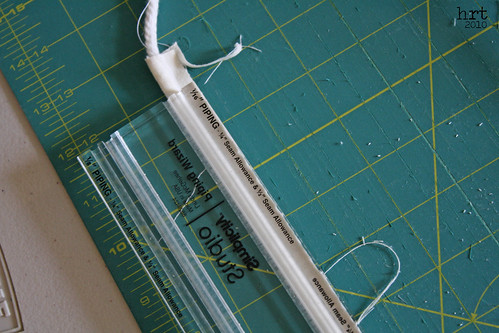
How it works: Cut a wide strip from your piping fabric [I cut mine 1.5" for 1/4" piping]. Fold the fabric strip over your purchased cording. Using a zipper or cording foot, machine baste the piping. [see the first photo above].

Find the measurement on the ruler that coordinates to the size piping you have. Place the ruler over your piping, cut with your rotary cutter. Slide the ruler as you go.

Bottom line: Great idea, poor design. The piping doesn't fit tightly into the grooves. I ended up with a varied seam allowance anyways because it moved back and forth while I was cutting.

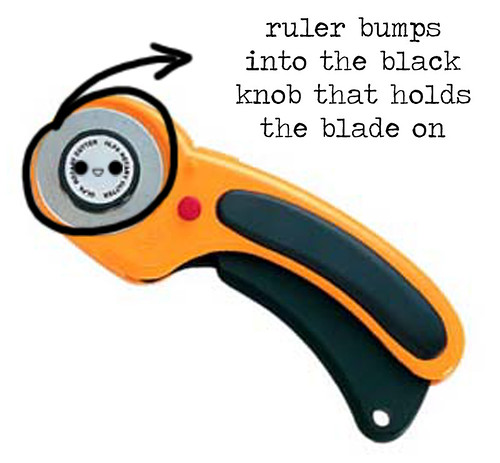
The bigger problem is that because the ruler is so thick, my rotary cutter can't be flush against the side of the plexi-glass. This resulted in several cuts into the ruler - you know those annoying nicks that dull your blade and make the ruler inaccurate.

I wouldn't recommend this product - at this point I am just glad I had a 50% off coupon when I bought it! Have you used this? Do you have a swell 'perfect cording' trick? Do tell...

Friday, July 9, 2010

life in the real world...

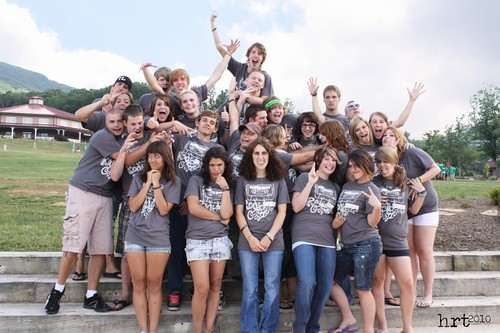
I had to step away from my crafty/online/blogging life to be with a bunch of high school folks I love in my real life! We just got back from an amazing week of Young Life camp - the best week ever if you ask most of our kids. This year we were in Virginia at Rockbridge Alum Springs. Look for crafty posts soon, but for now I am still recovering :]

note: click on the links to learn more about Young Life or Rockbridge