
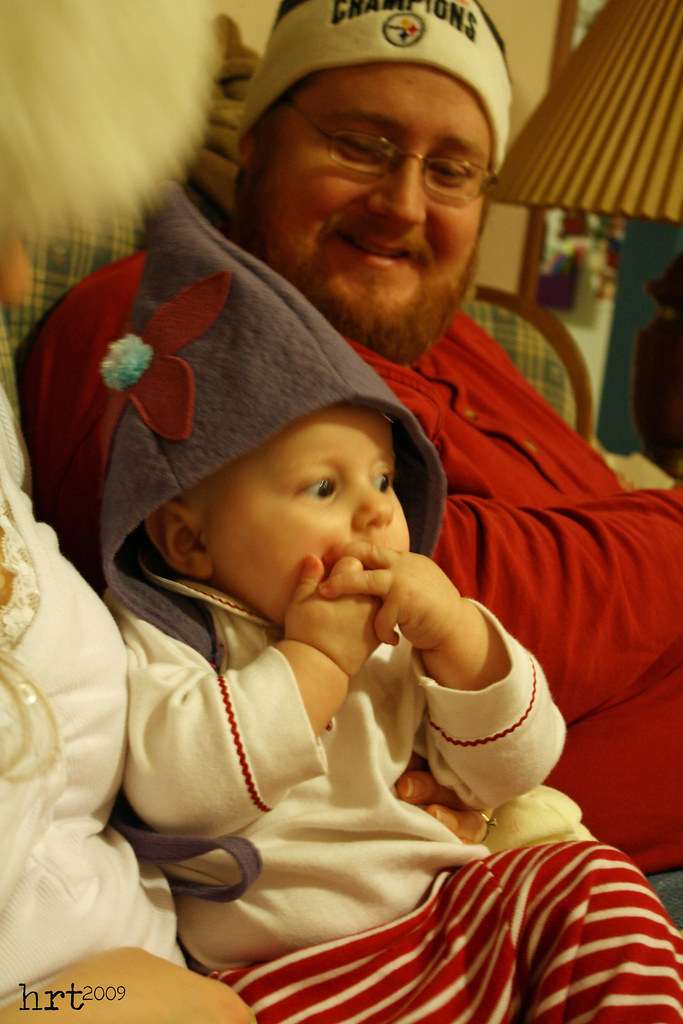
 Here she is - the newest woodland elf: Serenity! I loved making this little hat for her - I think it's the bees knees. The hat is from the book bend-the-rules Sewing - it combines some of my favorite elements: quick, easy, and so darn cute.
 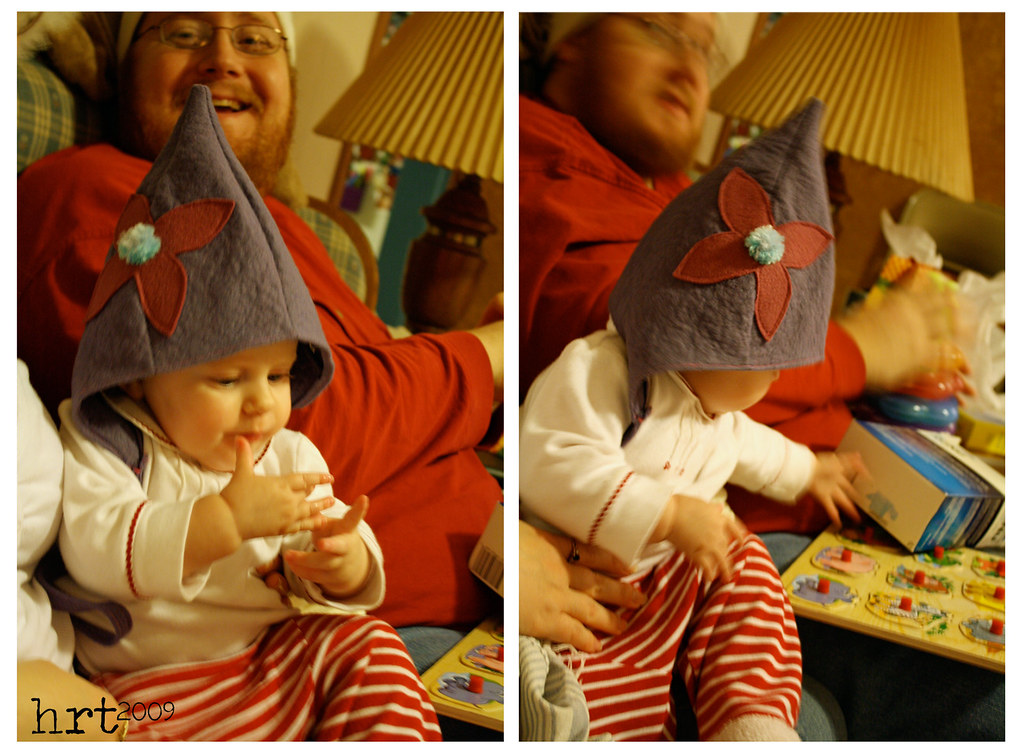 Initially, as a 100% wool purest, I had my doubts about wool felt. While I still won't be making any heirloom pieces with it, I have grown quite fond of the material. It's great when you need something sturdy without the aid of a stabilizer or interfacing. I was excited about how well the flower turned out. It's one of my few attempts at machine applique (I'm a hand stitcher) and I made the wee pom-pom in the center.
 ahem... yesss... it is a little big for miss Serenity's head - but hey, the only model I had was Sophie :) She looks pretty swell in it too!
You'll have to excuse all of the camera shake. I really don't like to use the flash (it just looks too harsh even with some photoshop help).


