skip to main |
skip to sidebar
 This post is dedicated to my two beloved friends, Berni and Row. Berni and I have been friends since 2001, while Row and I just met in June. Row is a slick piece of quilting and crafting necessity. I truly enjoy ironing now that my Dollar General-$10-Proctor/Silex-goo encrusted-leaky iron has been kicked to the curb. Lovely Jordan was SO kind to gift Row to me as a wedding present.
 Berni and I have whipped up more than a few projects together. Recently she got a new foot - 12c to be exact. Now [hopefully] I can make pretty pillow cordings with ease! I never can sew close enough to the cord when I use my zipper foot. Incidentally, when I was paying for the foot at Chestnut Ridge Sewing, I thought to ask the kind sales lady if they did cleanings for the machines. As the words, 'There is really nothing wrong with it, but I have had it for about 10 years' slipped out of my mouth, she cringed, 'You've not had it cleaned?' I told her of my diligent use of the tiny brush that came with my machine, but that was not sufficient. Apparently one should have their sewing machine cleaned once a year as opposed to once a decade. Berni recently got back from a day at the spa and is good as new :]
For a while now I have been experimenting with labels for quilts and other sewing projects. When I was in college, I was priveleged to hear from a quilt historian. She came with boxes filled with quilts and each of those quilts had a story to tell. Some of them were silent - little was known about who made them or when. I think it is important to make your mark, to think of each project [especially quilts] as a potential heirloom.
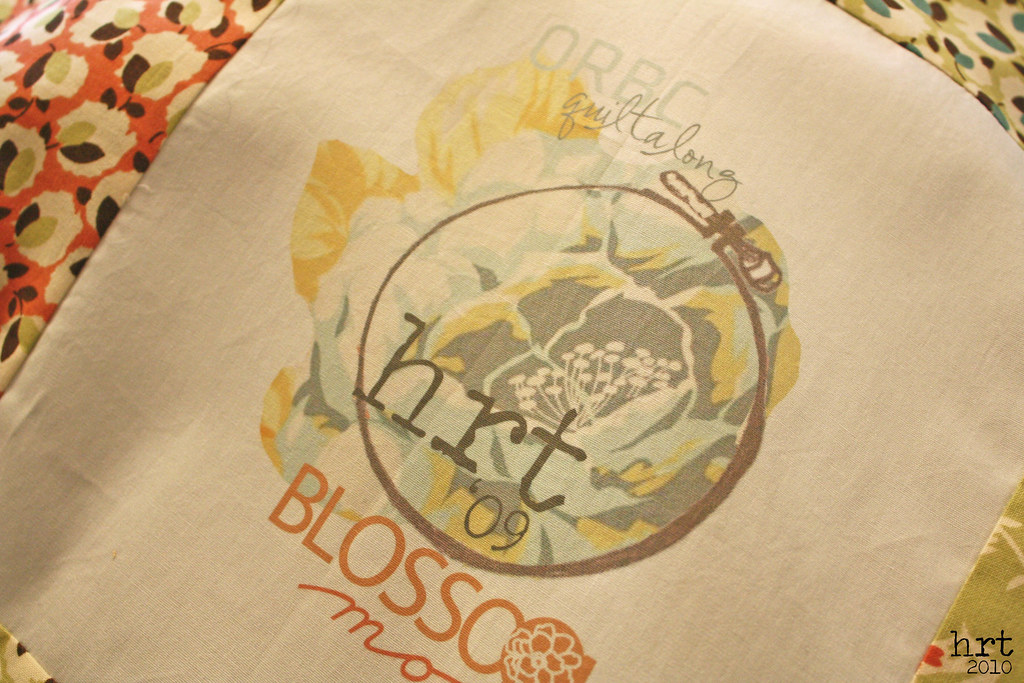
There are ALOT of ideas out there on how to make labels or where to buy labels [I'll add a few links at the end of this post]. The web is getting way too crafty :] Here are a few samples I came up with recently along with brief how-to's for each one:Label #1: inkjet fabric This label is for my ORBC quilt back. I love the way it turned out. I am an unabashed photoshop fan - this project was no exception.
1. To make the label, I went online and got the fabric card [pdf file with all of the fabrics] for the Moda Blossom line.
2. I opened the pdf file in photoshop and copied and pasted the design elements that I liked in the fabric card into a new document. I have a tablet and that made it super easy to 'cut out' the flower and such.3. I added my initials, the date, and other info to the label.
4. Print onto inkjet fabric. [I got a roll of it at JoAnn Fabrics; it's great, you can cut it to any size you want! The link is to the product I used, couldn't find it on JoAnn's site]
5. Follow the fabric instructions: for mine, that meant letting the ink set for 15 minutes, removing the paper, and then rinse with cool water.
Voila, you're a fabric designer! I did a sample and put it through the washer and dryer, the color stayed with no noticeable fading.
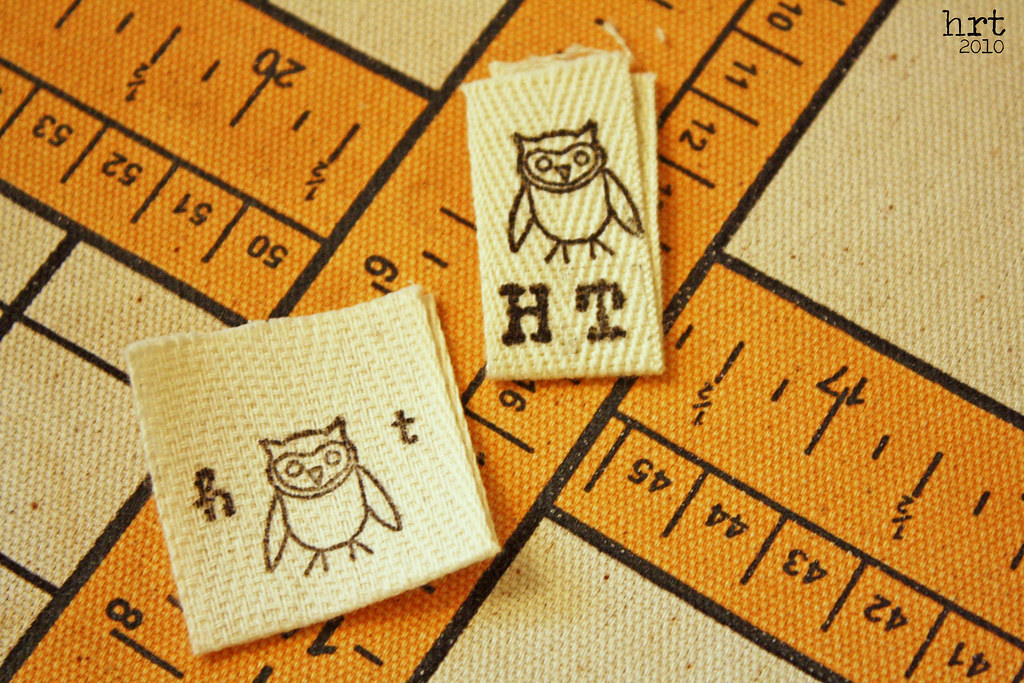
Label #2: twill tape tags
 Super simple to make: I bought a couple of sizes of twill tape [or rug binding], picked out some stamps, and, most importantly, purchased a fabric stamp pad.
1. Cut twill tape to desired length; fold in half.
2. Stamp, stamp, stamp
3. Heat set on high [I used steam]
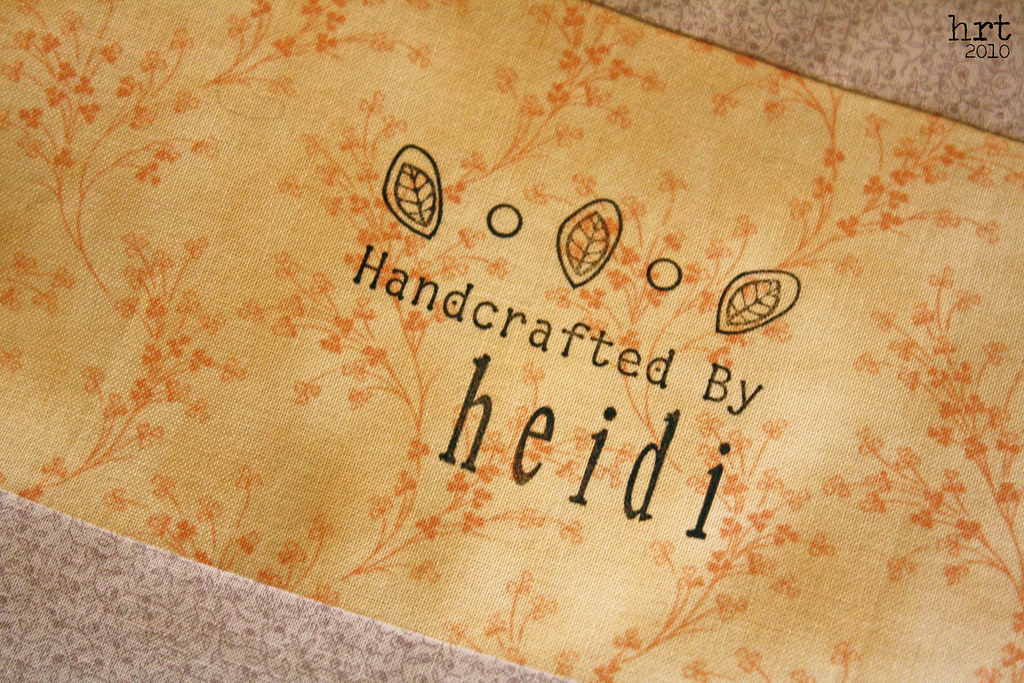
Label #3: stamped fabric
 Okay, enough with the steps: stamp on your fabric using the fabric ink, heat set.
Here are some other resources for labeling your quilts:
Iron-On Transfer Tags
Custom Manufactured Labels
Fabric Paint Stamp Pad [note: this is a great method for larger stamps, not so great for stamps with small, fine details]
Do you label your projects? How do you do it?
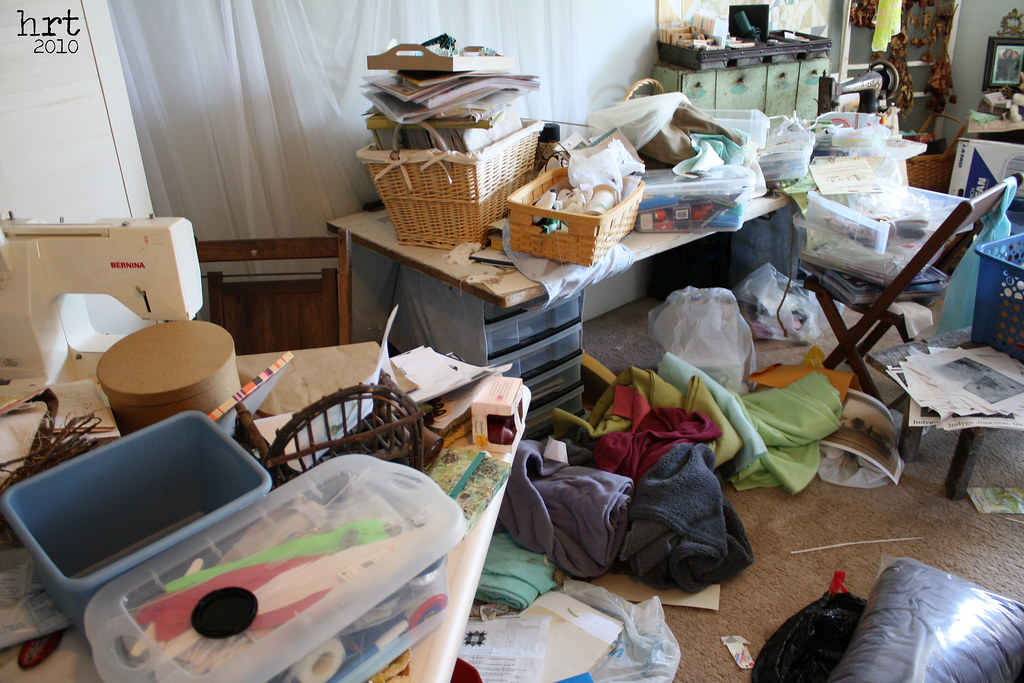
 Can someone come over and dig me out? Even Sophie looks frightened! It's a sad, sad thing when a good room goes bad... I have made some progress since this photo was taken, but am in desperate need of a craft room overhaul. I L-O-V-E to work in a clean and tidy room, it just doesn't stay that way very long. I am a saver, a clutterbug, I like to keep things for the 'what ifs' in life. This predisposition doesn't mix well in a room with little storage space [or maybe too many crafting supplies]. I have one closet which is helpful, but shelving is at a premium, and because the walls are plaster, putting shelving up that can hold any weight is nearly impossible. It seems like everyone around me is remodeling, and I am jealous ;] I want something sleeker and more streamlined - and something very budget friendly. I am liking the idea of a long table in the middle of the room [kinda classroom style]. My dreams are not of Fabio riding a horse on the beach, but of sewing a quilt together without knocking everything off my table. And of course said table would be customized so that my sewing machine could sit down in, level with the table top.
What do your crafty rooms look like? Have you seen one on the web you love? Any suggestions 150% appreciated!
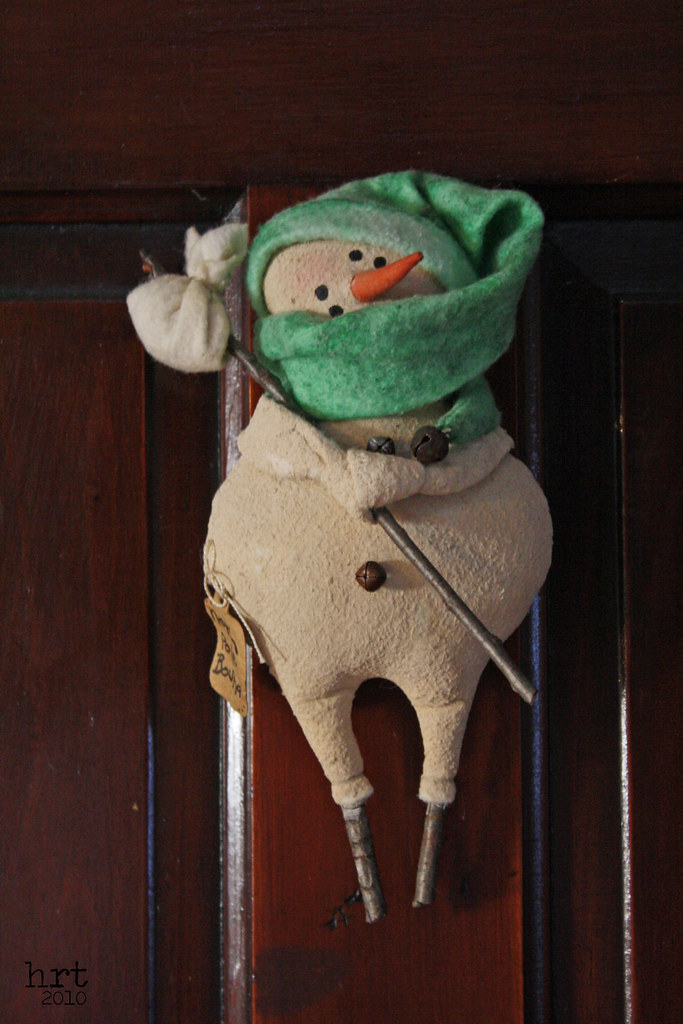
 This little guy is one of my favorite winter creations. I made him using a pattern from Sassafras Hill Primitives. He is made out of warm and natural batting, then stuffed, then painted. A pretty easy-peasy project, just a little time consuming [and I'm a mess when it comes to painting anything].He looks alot happier than the muddy melting snow outside my window. From what I hear, though, winter is far from over [snow is predicted in the near future]...
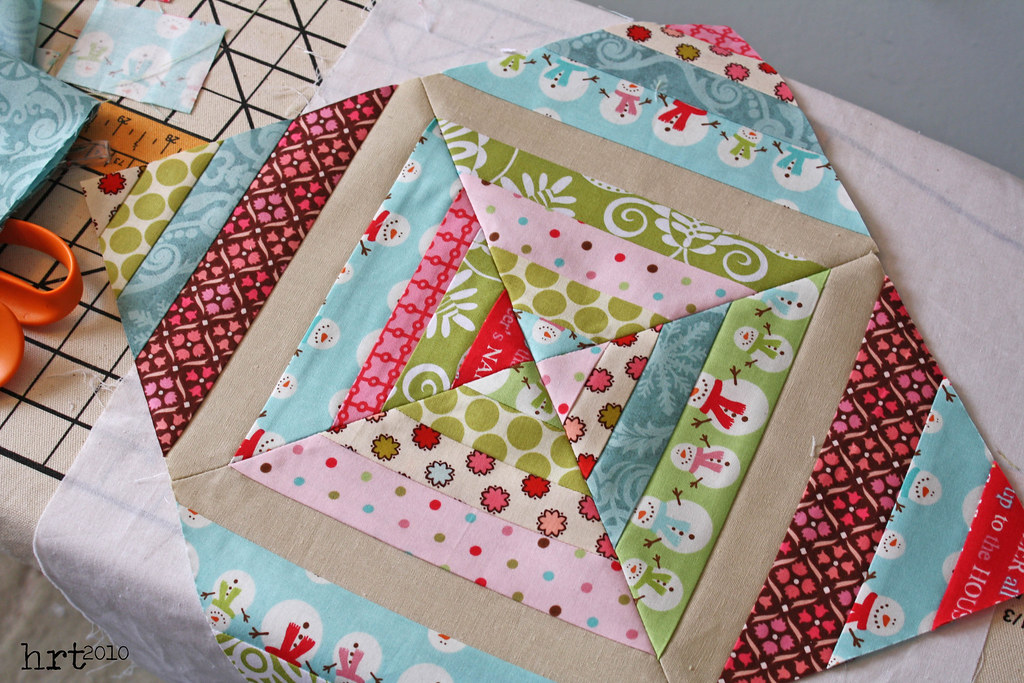
 This is my first official contribution to a block swap! I was persuaded [it didn't take much] to join in the fun of a swap - and so far, one month in, it has been great. This month's block was for Hope from Going Sew Crazy, she sent some lovely strips of fabric, many from the Be Merry line by Riley Blake and a coordinating linen. I hadn't made a string block before, but it went together like a charm. [I used the Film in the Fridge tutorial] I hope she enjoys it; can't wait for February!
note: i'm not sure I could have fit more links in this short post :)
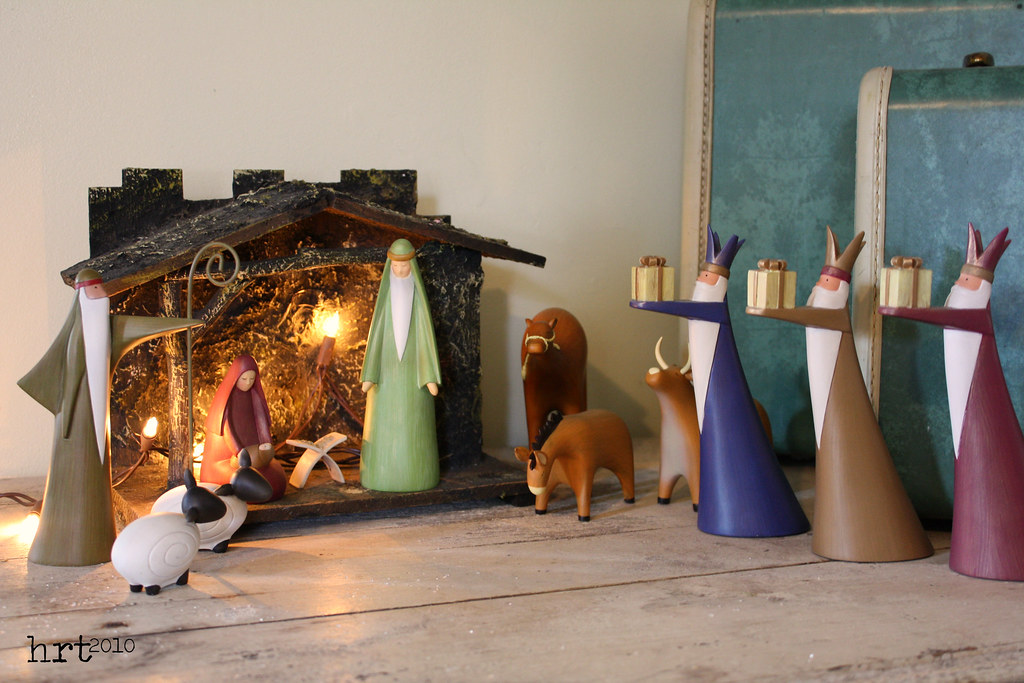
 Did you know that the wise men finally arrived? January 6th [twelve days after Christmas] is considered old Christmas or Epiphany. Biblically the wise men didn't make it to Bethlehem for some time after Jesus birthday. Old Christmas marks this occasion. I thought that this week would be a time to show off my sweet nativity set. Love it...
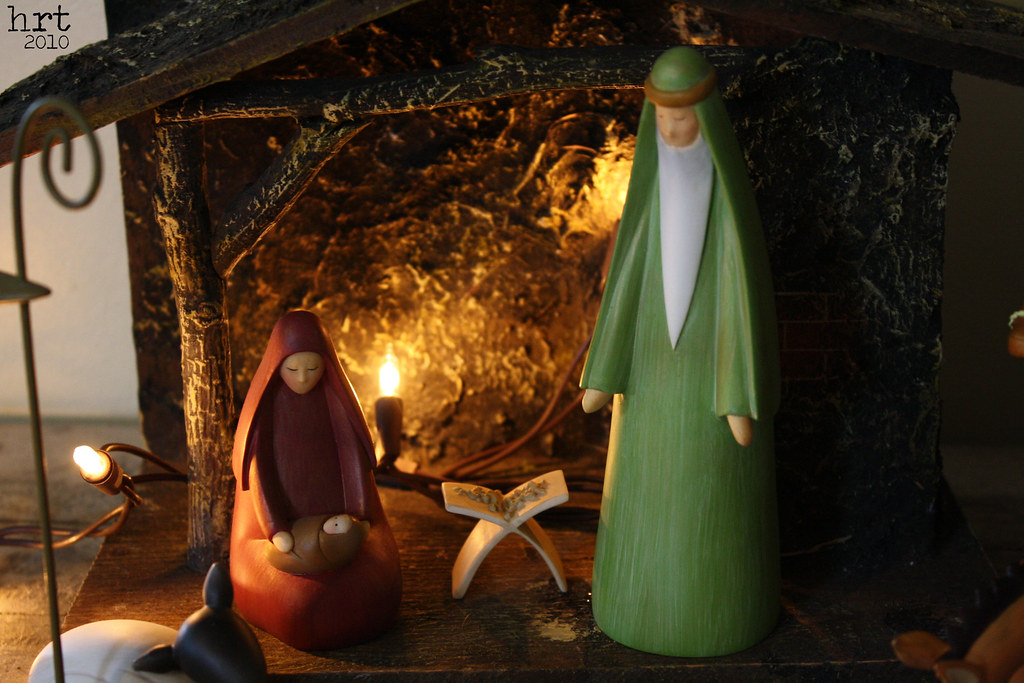
 The set clearly has a modern, clean look - but I do love the very stylistically different manger! [yep, I picked that baby up at a thrift store :] Derrick is still unsure that the figures 'match' the stable.
Love it...
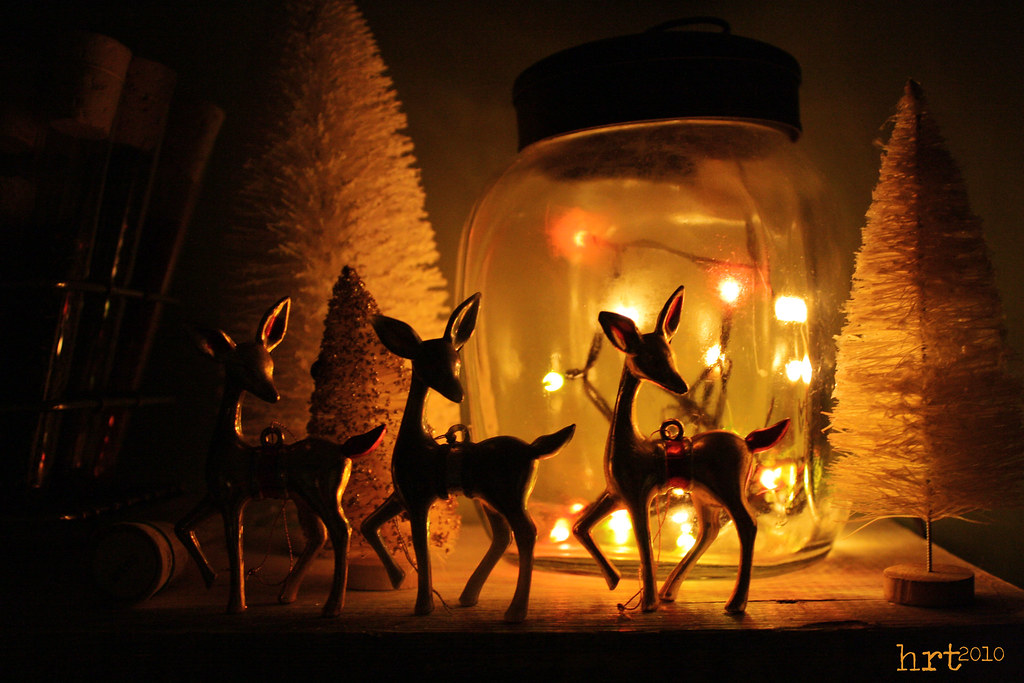
 Just wanted to let y'all know [I'm now totally southern :] that it is SNOWING in Georgia right now. Like, inches of snow snowing. I really thought that going to the south meant that it would be warmer, but no dice. I opted to save space in my luggage by not packing my winter coat, b i g mistake, so I am stuck with my zip-up fleece jacket. I really liked this pic, Iucked out at an estate sale and scored these sweet vintage deer ornaments [one is blue and two are gold].
Back out to the snowglobe...

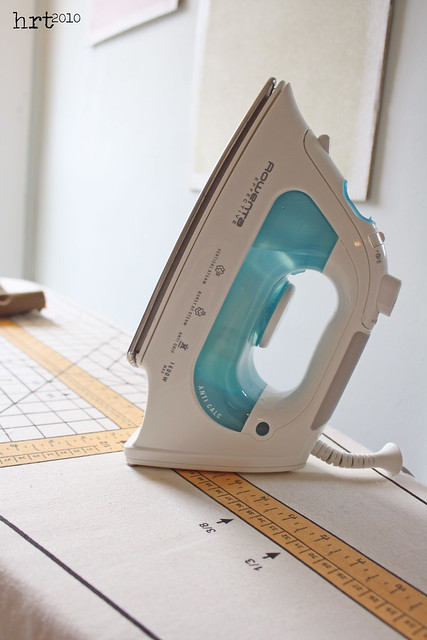 This post is dedicated to my two beloved friends, Berni and Row. Berni and I have been friends since 2001, while Row and I just met in June. Row is a slick piece of quilting and crafting necessity. I truly enjoy ironing now that my Dollar General-$10-Proctor/Silex-goo encrusted-leaky iron has been kicked to the curb. Lovely Jordan was SO kind to gift Row to me as a wedding present.
  Berni and I have whipped up more than a few projects together. Recently she got a new foot - 12c to be exact. Now [hopefully] I can make pretty pillow cordings with ease! I never can sew close enough to the cord when I use my zipper foot. Incidentally, when I was paying for the foot at Chestnut Ridge Sewing, I thought to ask the kind sales lady if they did cleanings for the machines. As the words, 'There is really nothing wrong with it, but I have had it for about 10 years' slipped out of my mouth, she cringed, 'You've not had it cleaned?' I told her of my diligent use of the tiny brush that came with my machine, but that was not sufficient. Apparently one should have their sewing machine cleaned once a year as opposed to once a decade. Berni recently got back from a day at the spa and is good as new :]